Dec. 20, 2012
So after the coupe was painted, I decided it was about time to get the car looking like a whole car again. Most people around town knew me as the guy with all the 86’s (which happen to always be missing a body panel). So I decided to piece the coupe together to be as close to 100% appealing to the eye as possible. So first thing first, was to get the rear over fenders to fit the 15×9 -41 rear work equips.

Just look at that… NOT CUTE
The CBY (copy) sideskirts that I got fit mighty fine and looked fantastic (as you can see in the picture). It was quite expensive, but you’ll find out later on why it was worth the money! They say you do get what you pay for.
Dec. 26, 2012
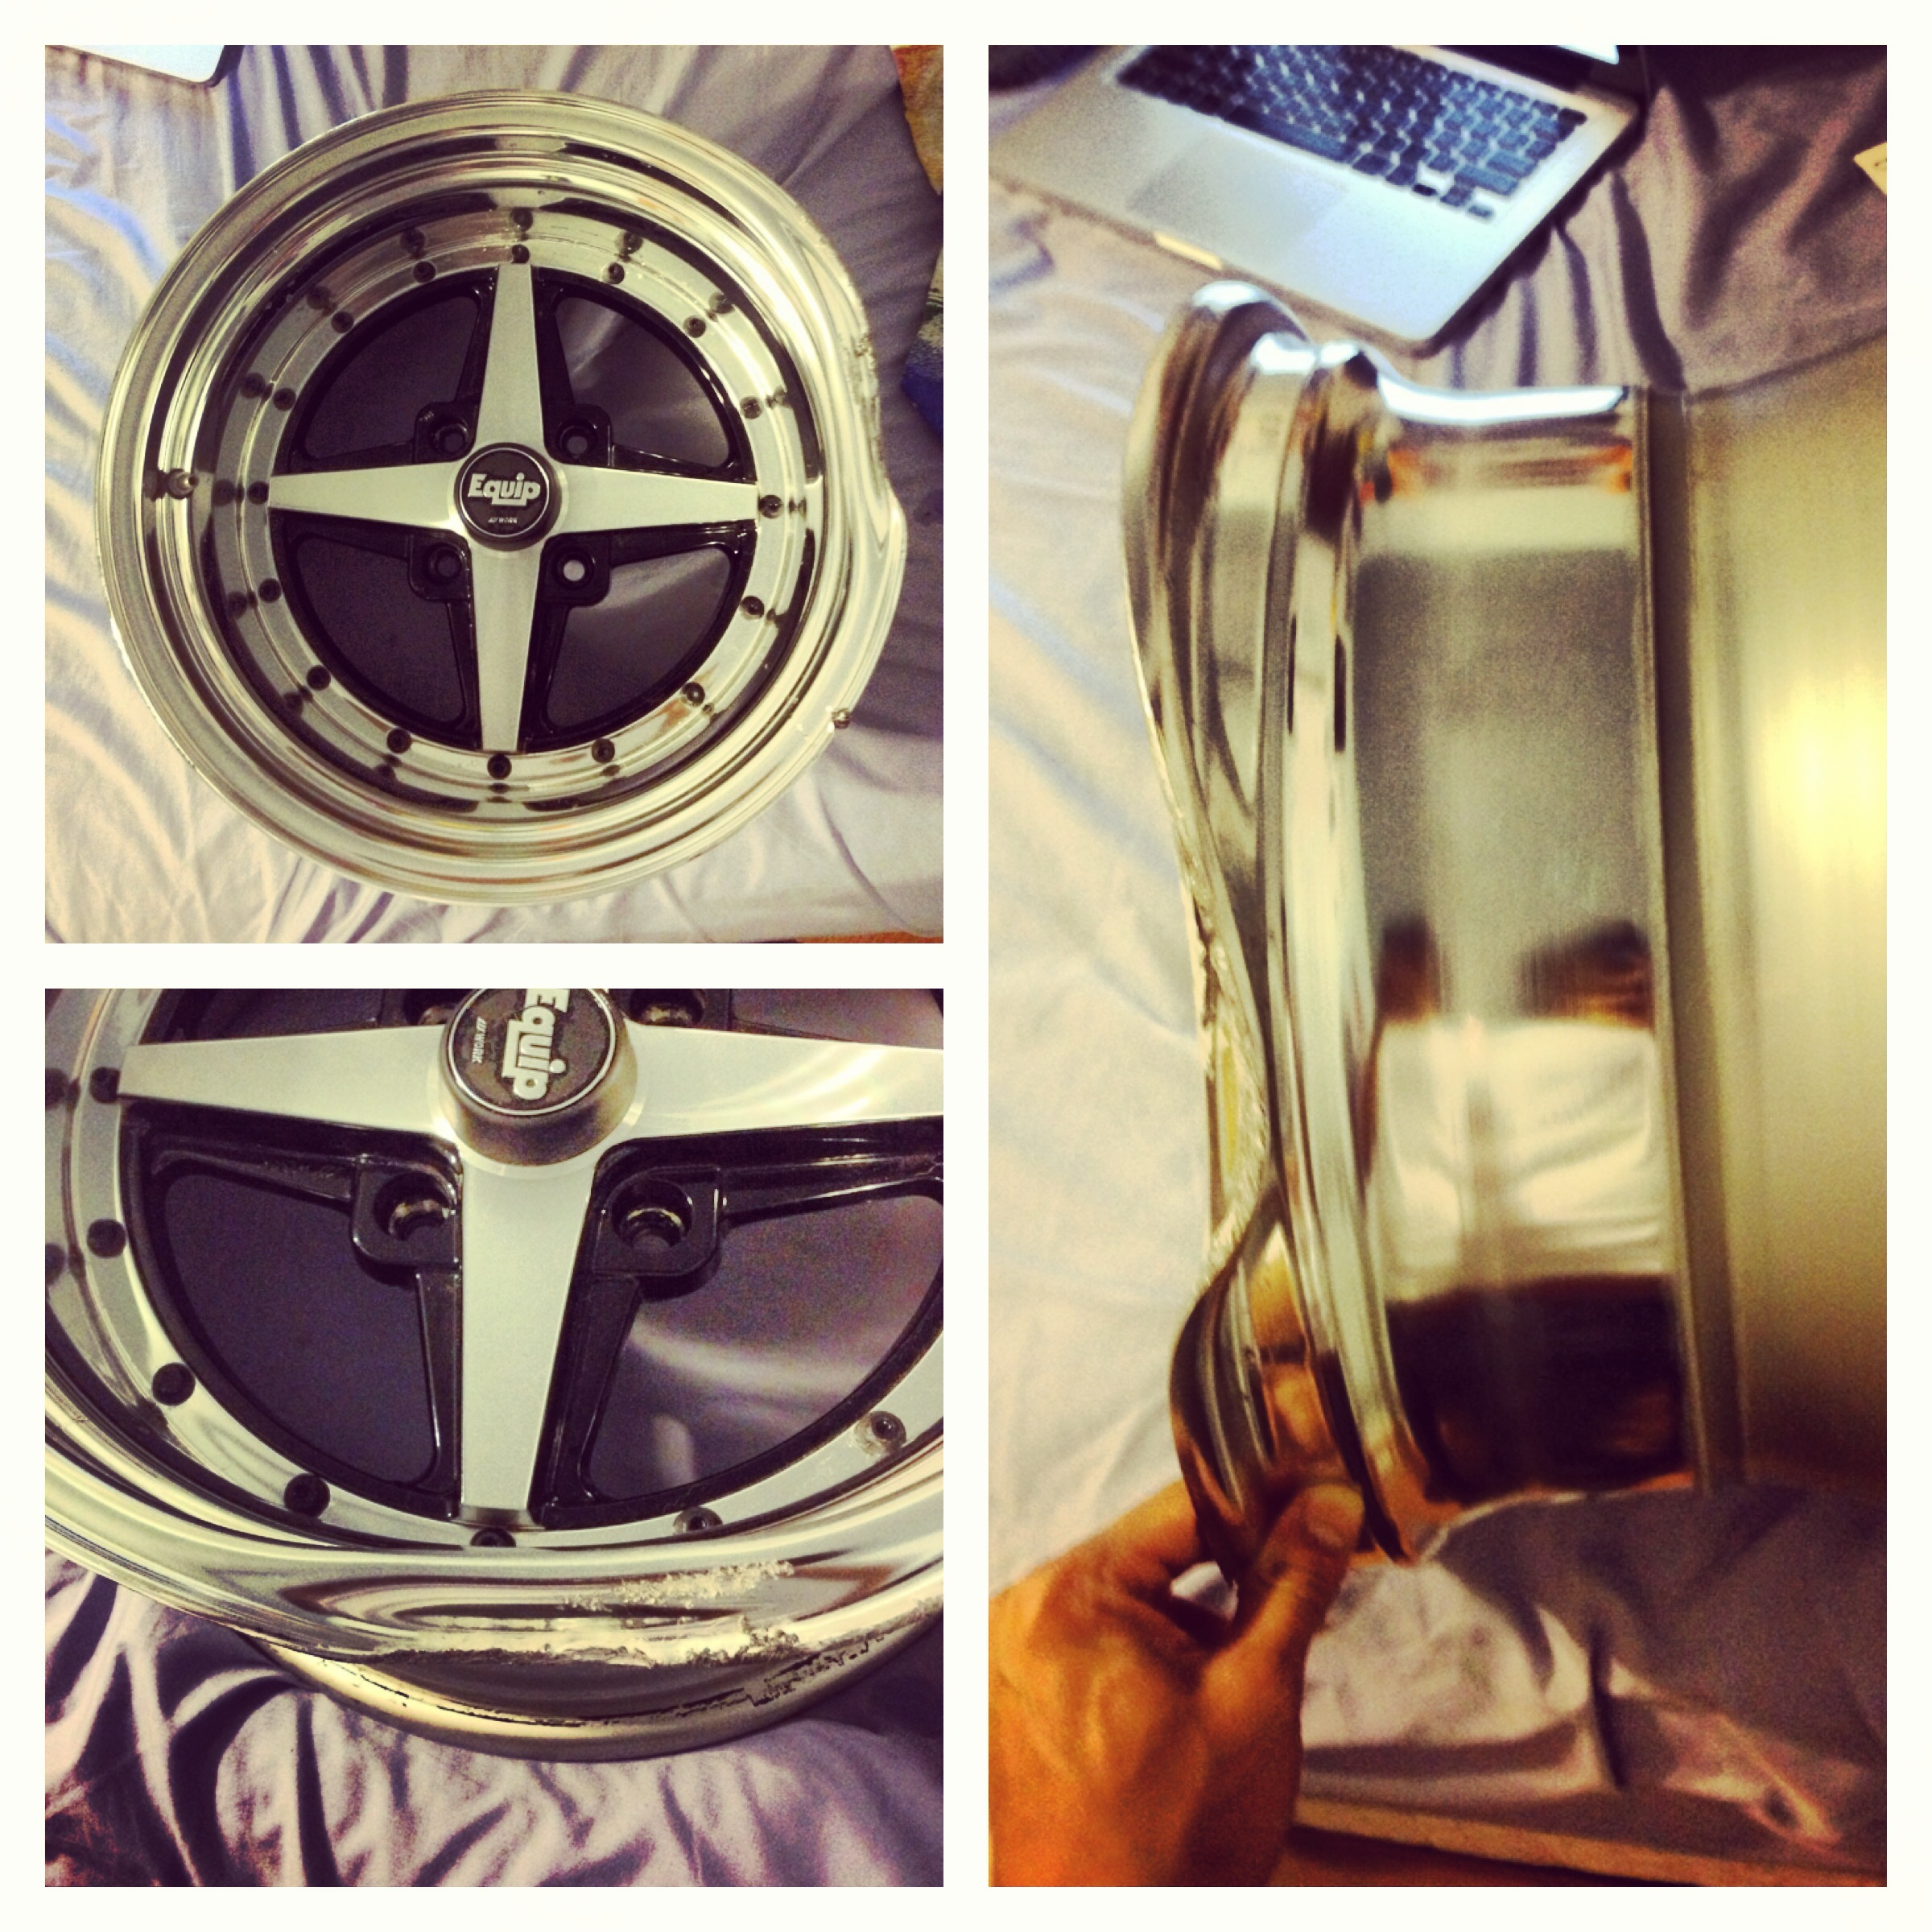
Anyways, onto fitting the rear fender flares. There are a lot of guys on club4ag and various other 86-oriented forums who are starting to sell, Made in USA, Origin-style bubble flares. They are designed to be a +35mm wider than stock fender, that maintains the majority of the stock ae86 body lines. Previously on the coupe, I ran my 1tx8.5 -35’s in the rear and it fit PERFECT with a 195/50 tire. However, now, I needed to fit a 15×9 -41. Giving me 12mm MORE poke. Here’s the website I use to compare current to future wheel widths/offsets to determine if I can fit the wheels with the tires I needed.
I knew that with the 205/50 tires that were on the 15×9’s that there would be NO WAY they could clear the flares. So rather than buying new tires, here’s what I decided to do on a whim one day:

BOOM. PERFECT FIT.
Wow, Thaison! What is that you used there?? You ask. IS THAT A CUT UP BALL POINT PEN???!?!? Ding ding ding, you got it!
Redneck engineering/asian ingenuity at its finest hahah. I thought about what would fit around a screw and could help space out the flares and that was the first thing to come into mind! One ballpoint pen and some dikes to cut it and bam! Spaced out flares.
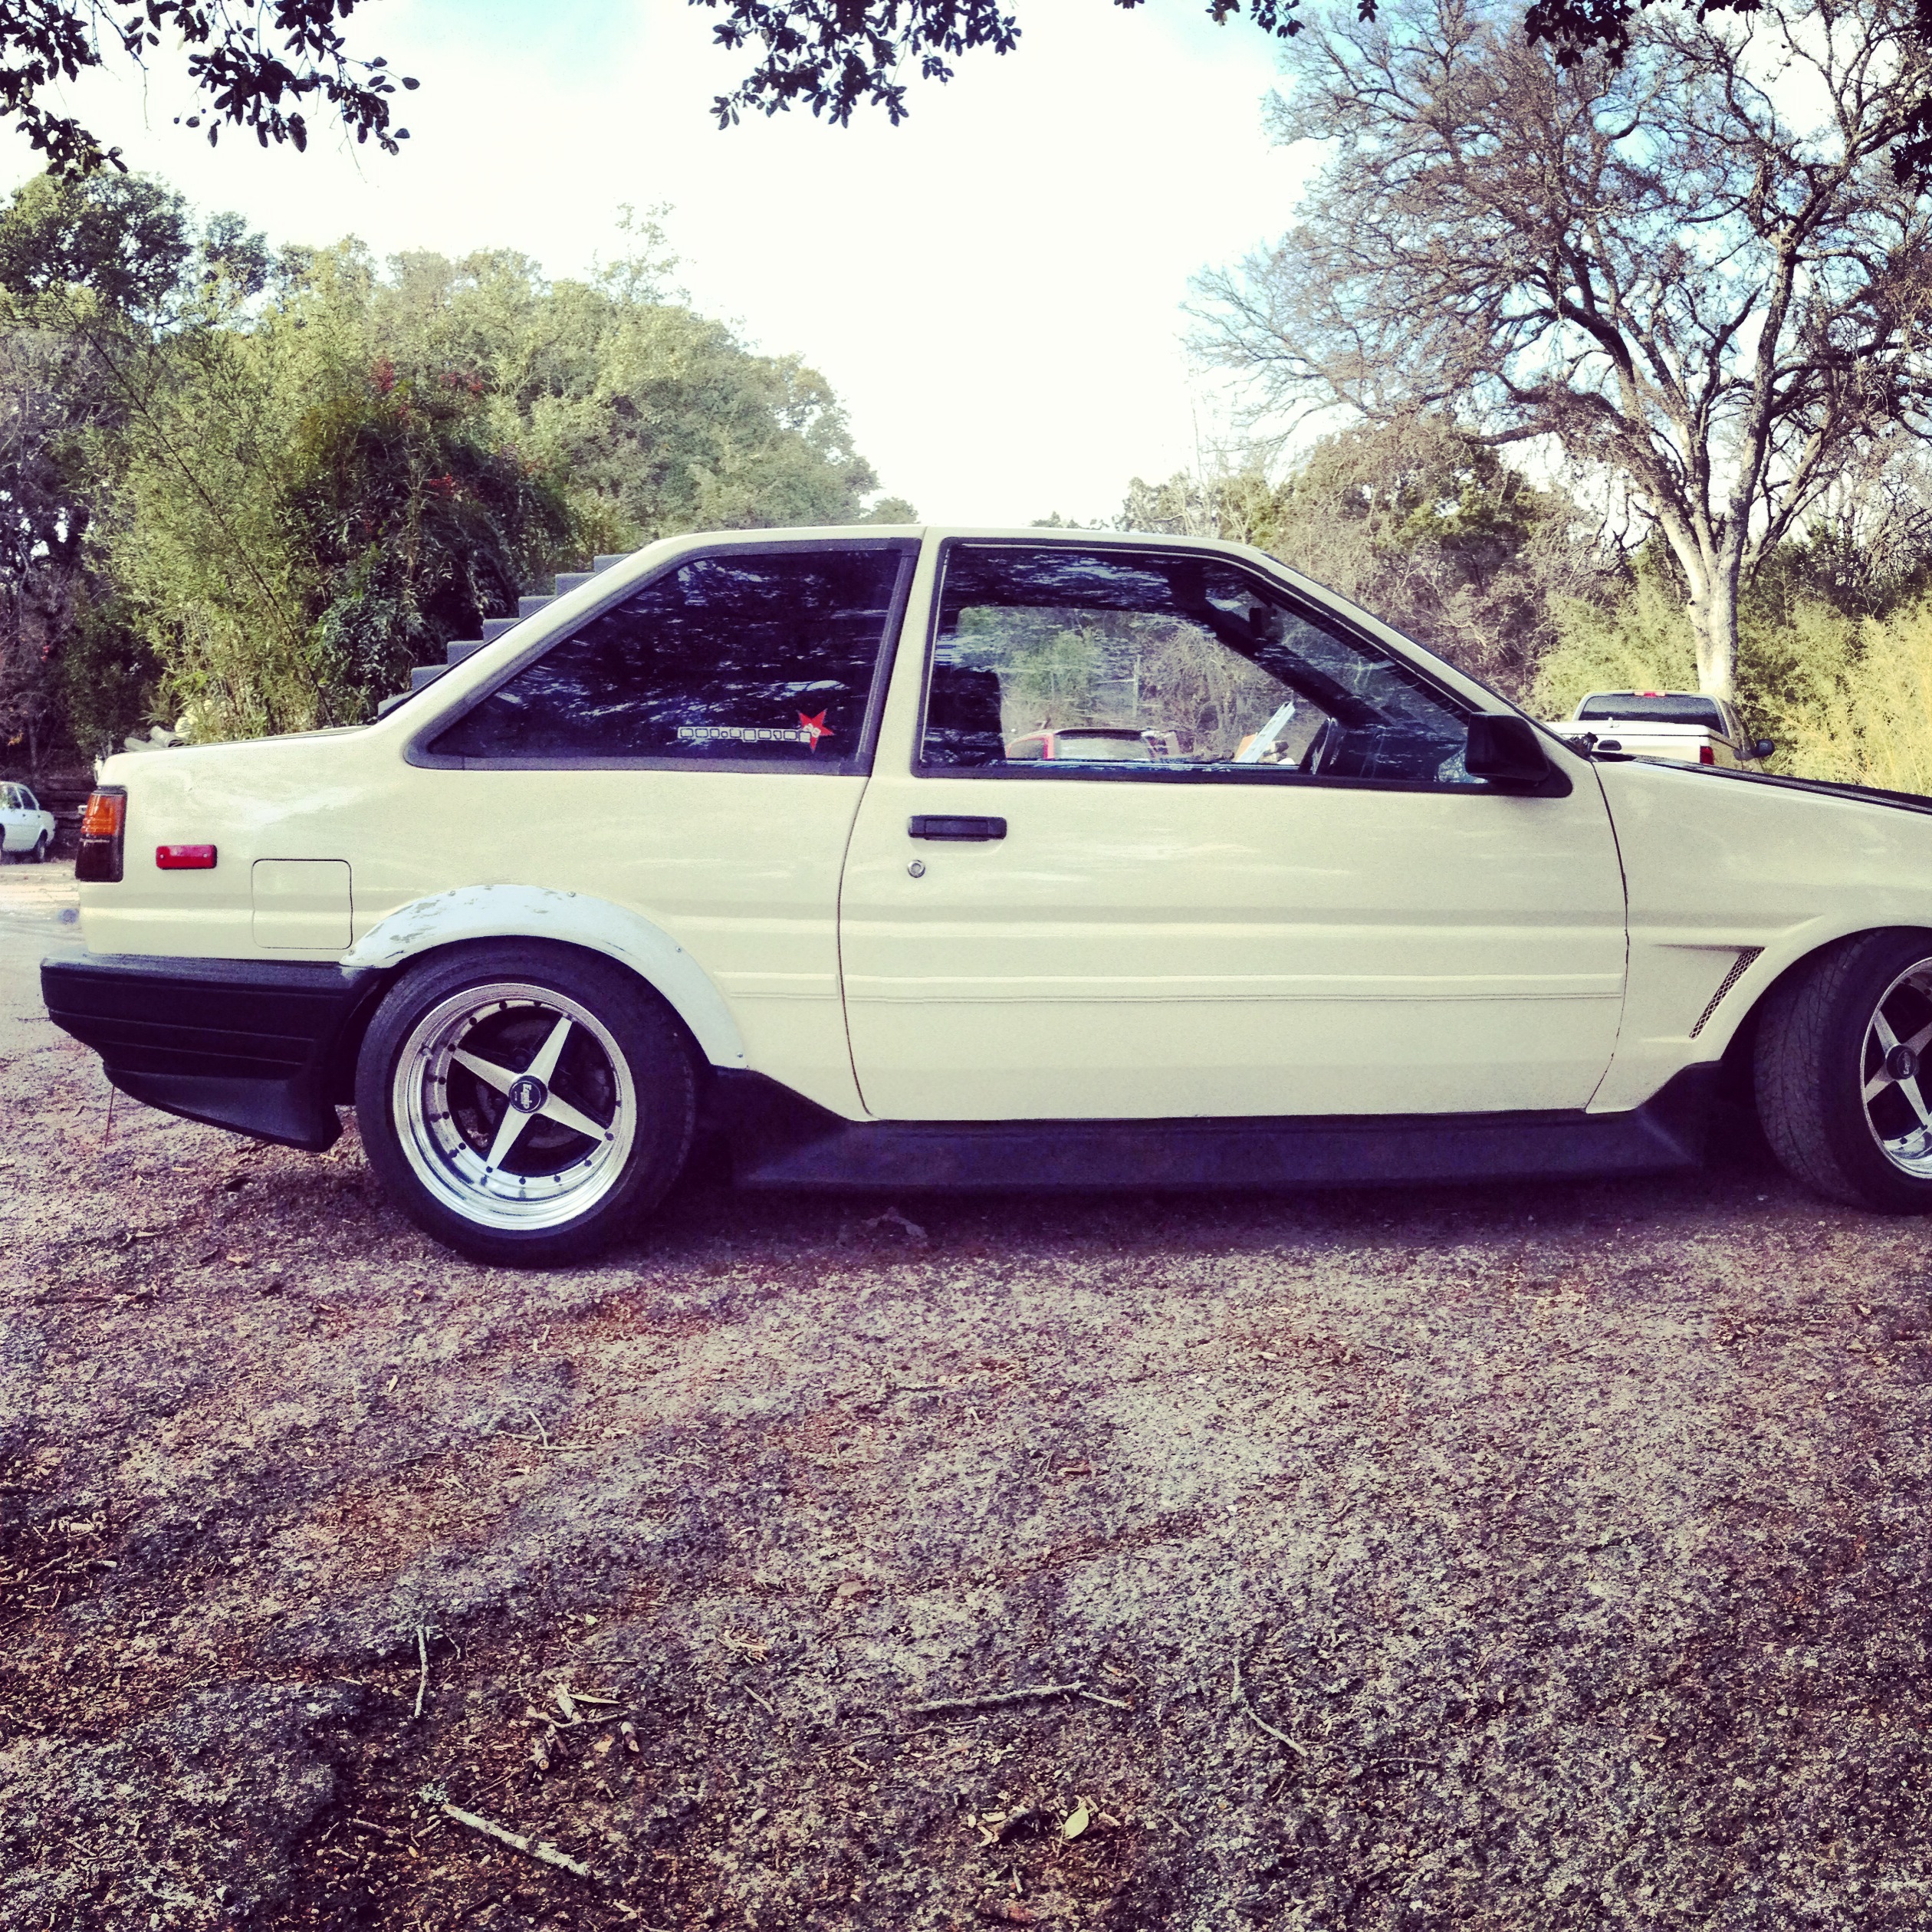
Looks pretty good all put together
mmmmm, smexy
But as much as I loved the 16v 4age motor, it just wasn’t enough for me. With plans for a new motor in the hatch, I decided that it was time to swap the 20v from the hatch into the coupe. The night I designated I was going to pull the coupe’s motor and start prepping the bay for the swap, it had sprinkled a bit.
A bit damp outside…
Jan. 9, 2013
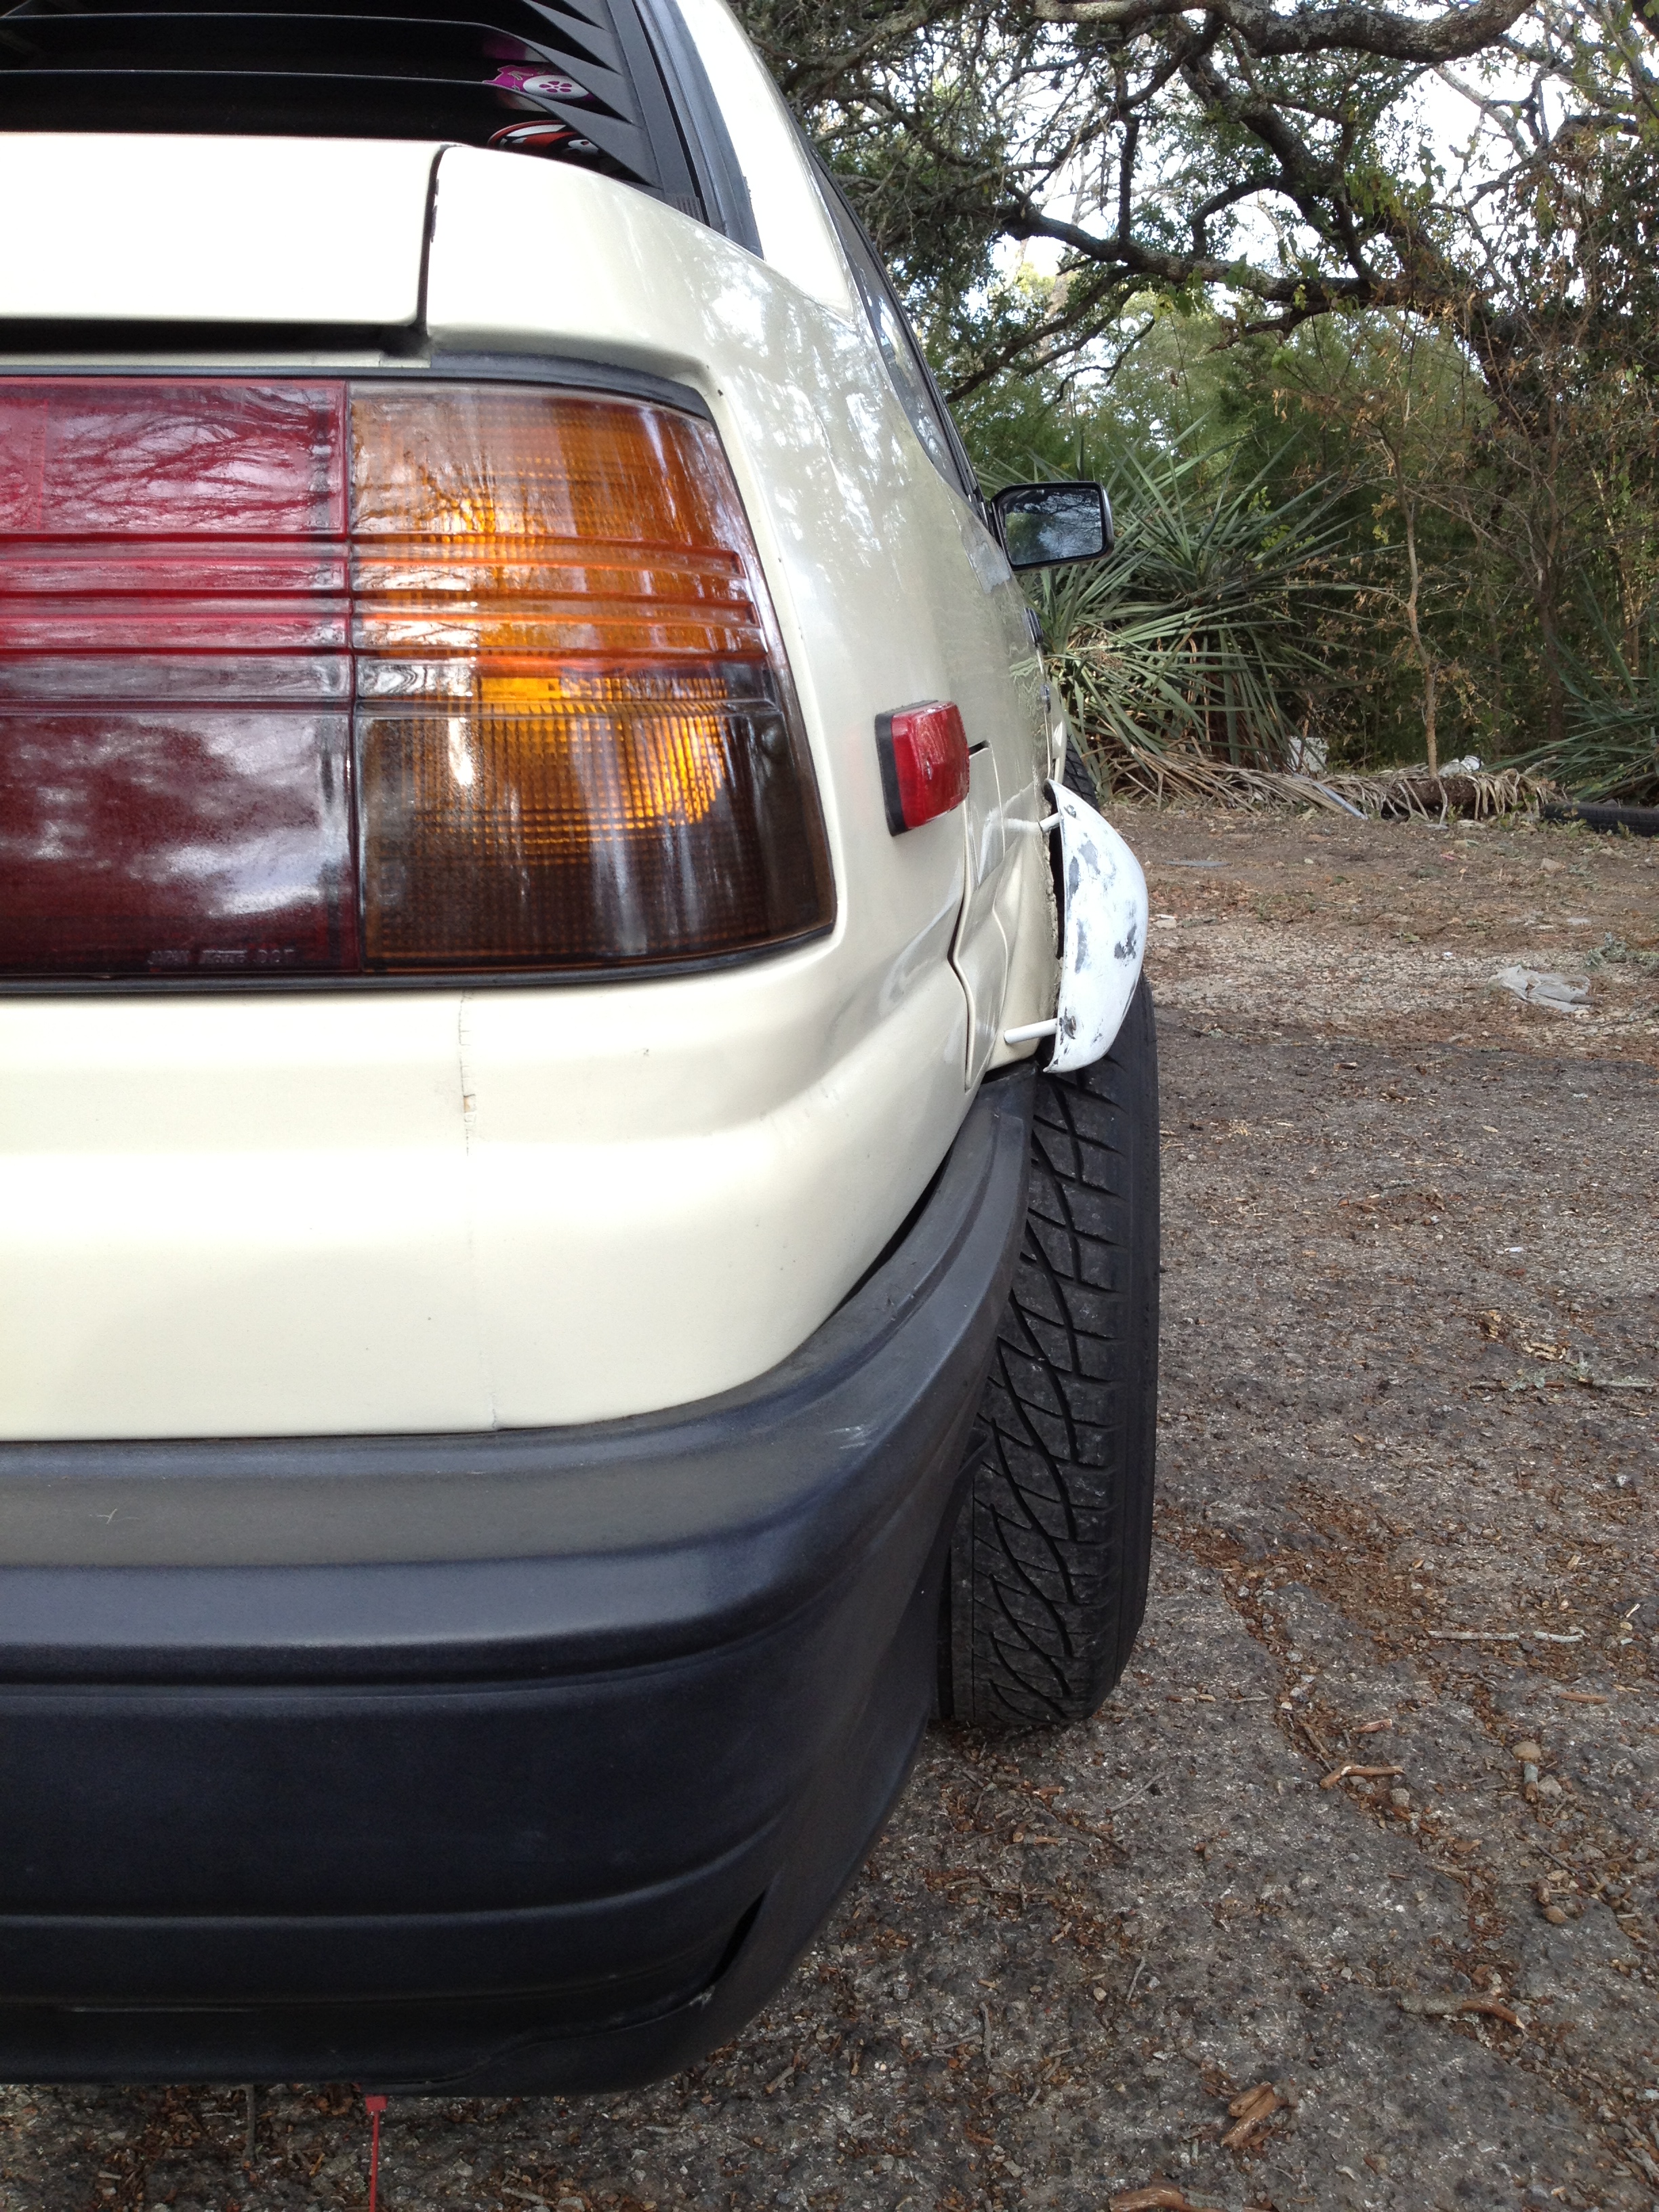
So on my way home to start working, I decided to conquer some of my favorite turns in the area. It was my favorite spot I used to kick the tail end out back in highschool. I did one pass and it was alright, got a bit sideways and so I decided to go back for a second. But this time, FASTER. We can all guess how this turned out. Errrr er er er errrr. CRUSH.

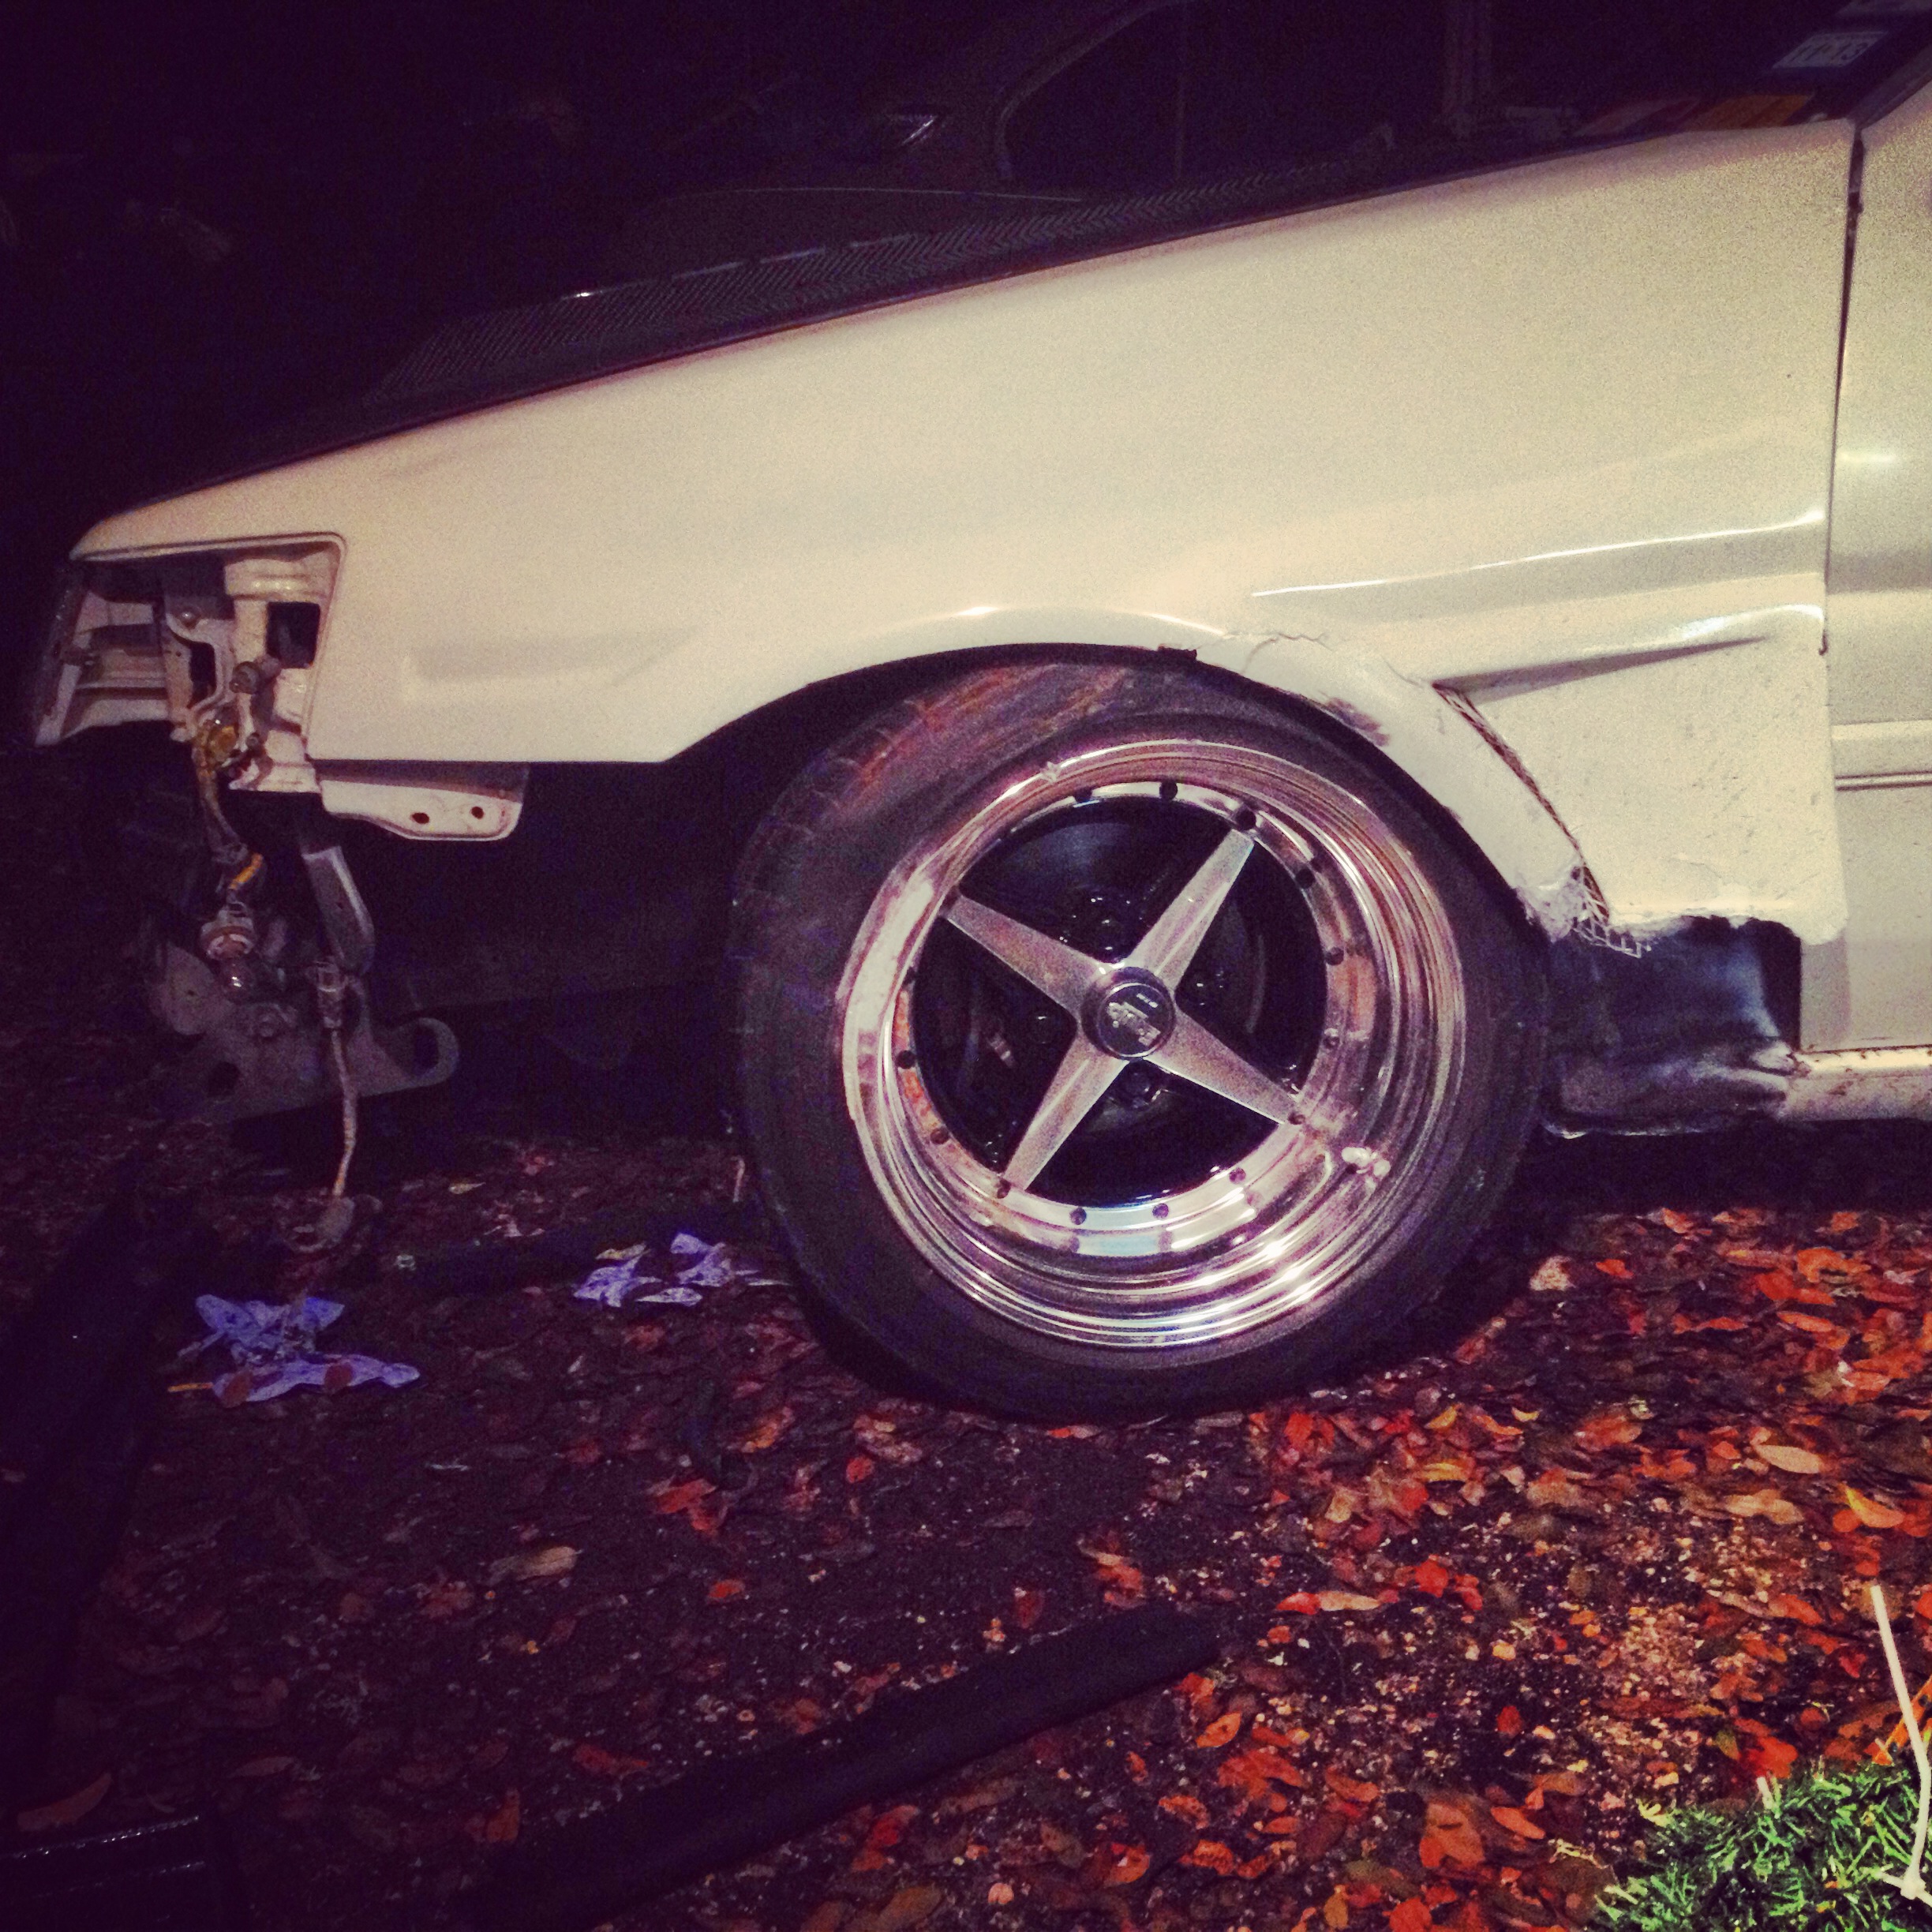

My bumper got dislodged, bumper bracket all bent up, brand new levin corner light broke on the bottom trim, Work wheel got bent in, and inner tie rod/lower control arm were all bent up. If you look at the profile of the car, you can see the triangular-shaped tow truck tie-down bracket hanging off the frame rail. That bracket hit the curb and in turn, crumpled a bit of my frame rail, which ended up causing more damage than I had hoped. Depressed with the nights turn of events, I decided to stay focused and start pulling the car apart.
At least it still held air for as mangled as it is. Could’ve been worse
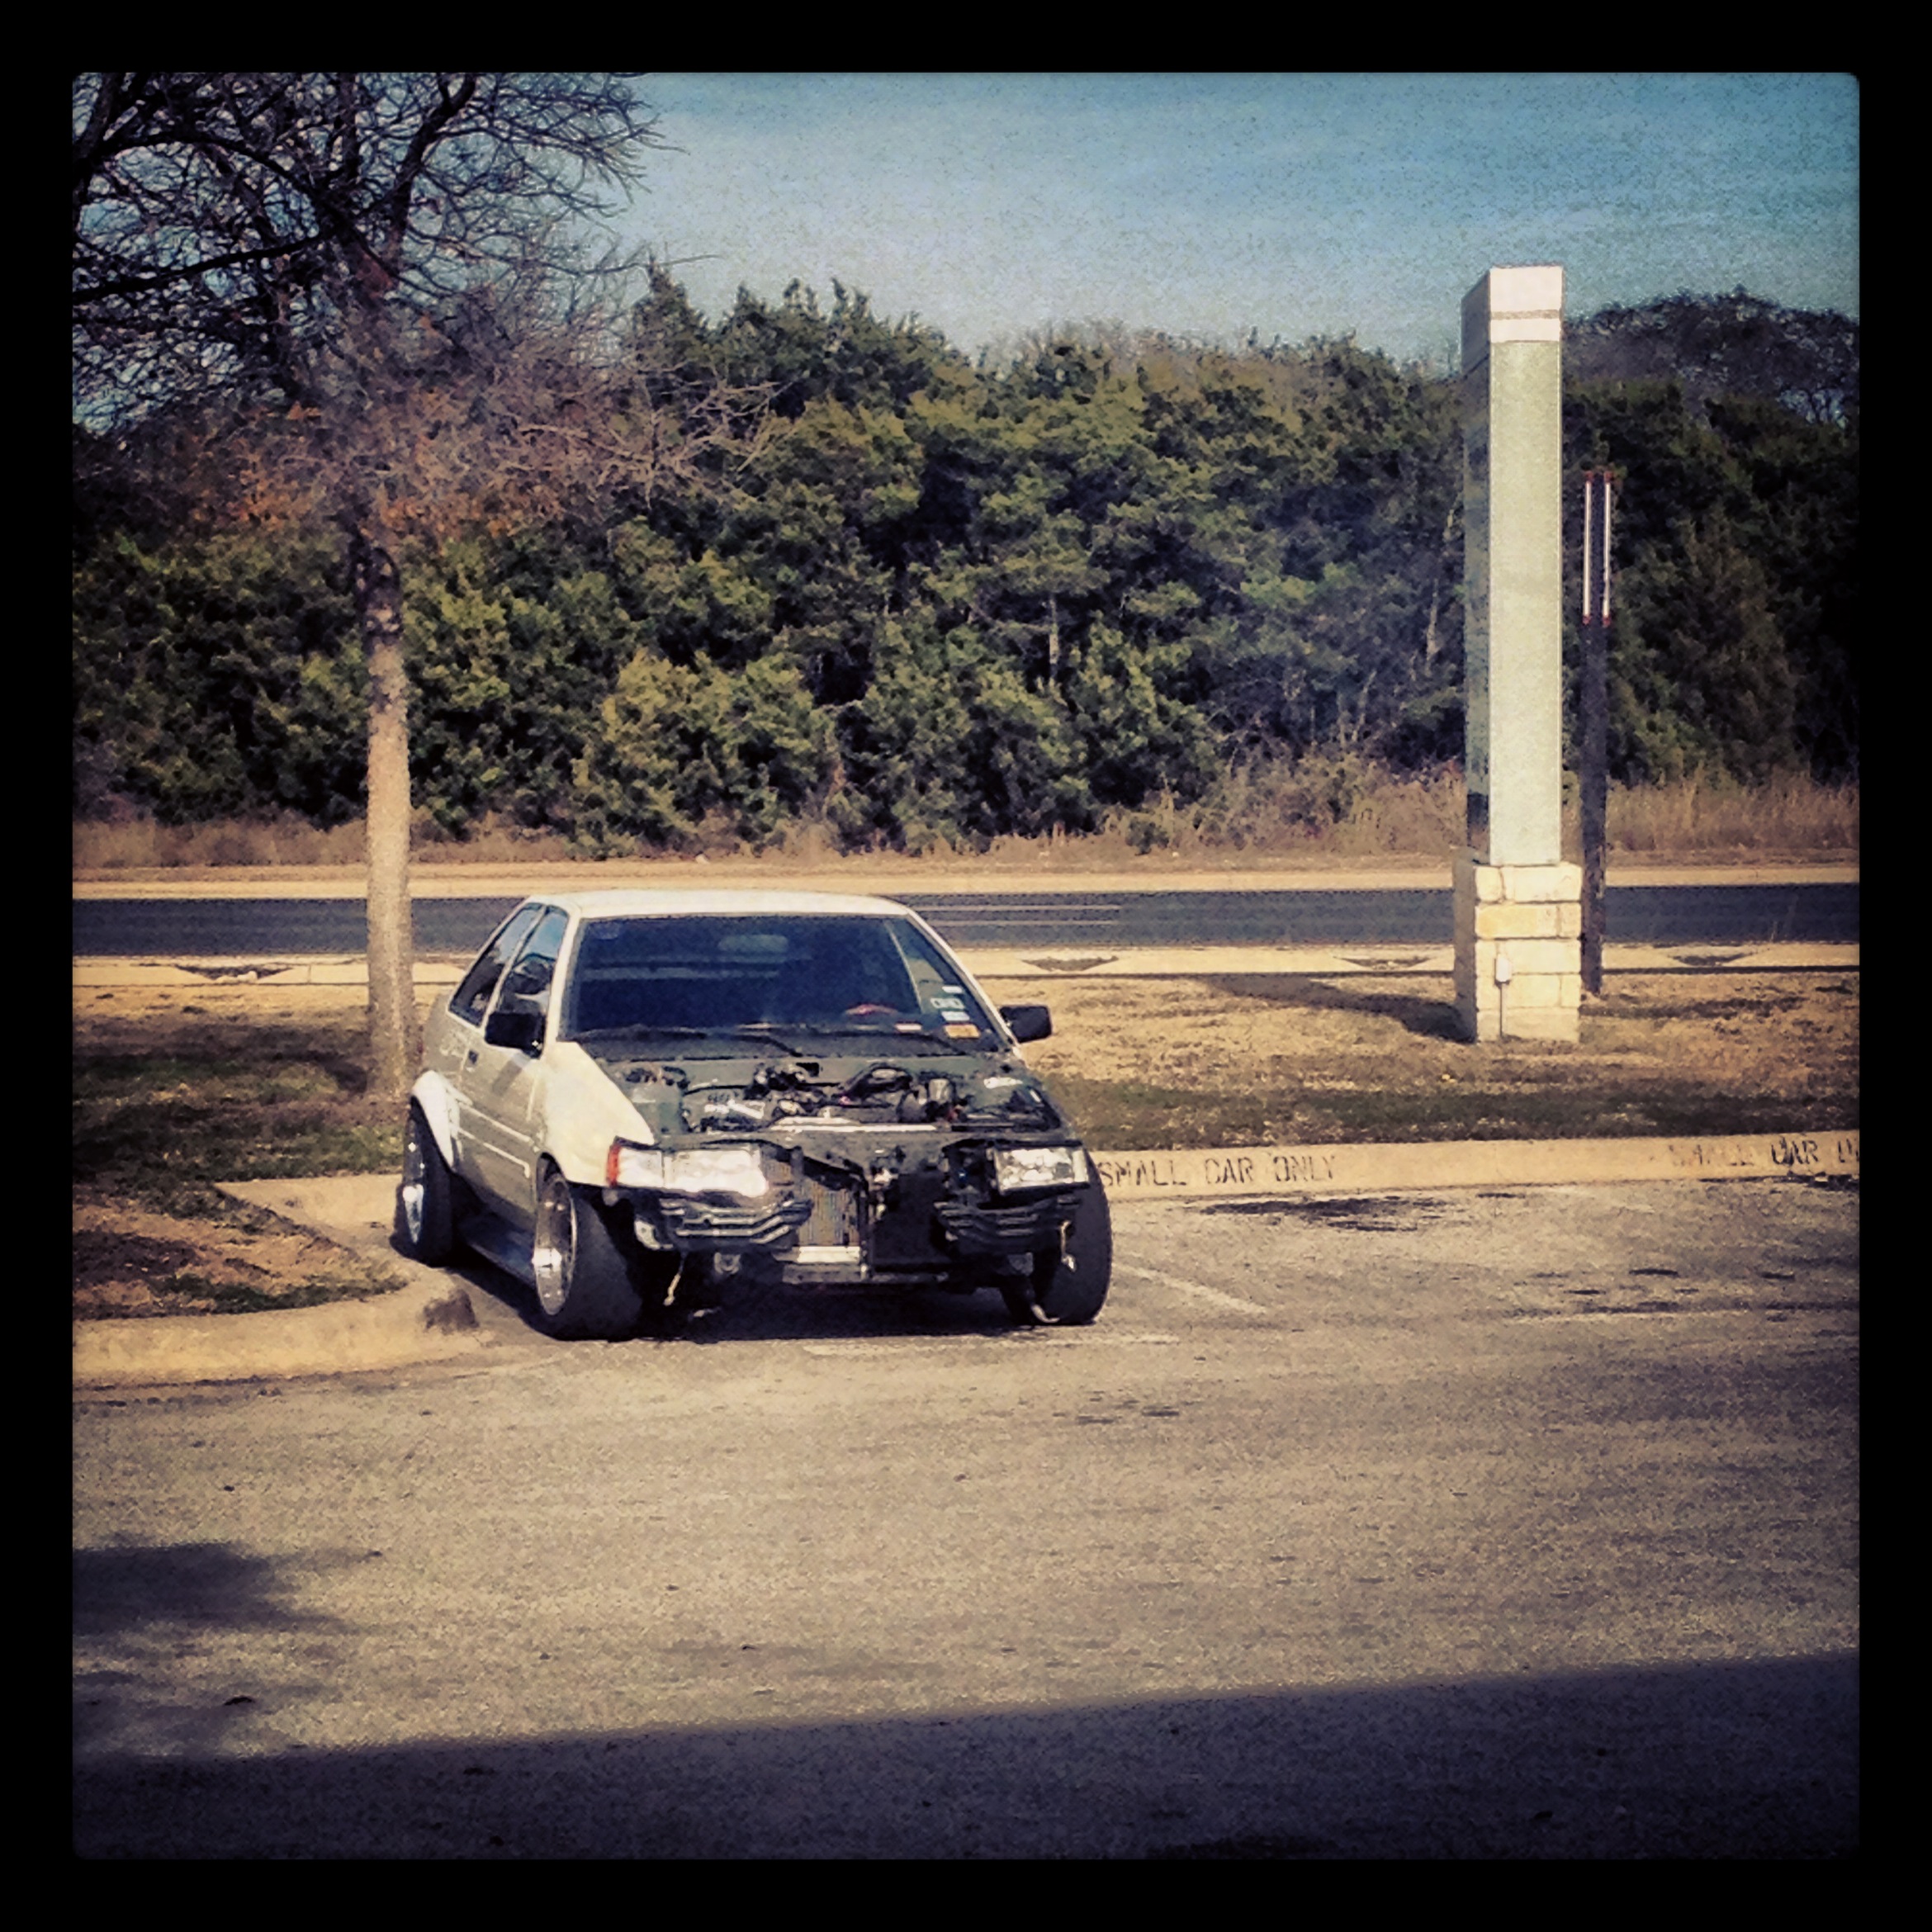
I took the bumper, corner lights, fenders, and hood off and stored them safely away. It was now 3am. I started the car up and limped it into the driveway with the destroyed driver side suspension. Amazingly as destroyed as it was I managed to drive the car home from the accident site, even though it was pulling SUPER hard to one side and wobbled like a crackhead on withdrawl.

Look close at the driver-side wheel and you can see the damage
Since I had the next day off, I didn’t even go to sleep that night. I was hard at work pulling everything out of the coupe by myself with nothing but hand-tools. (I KNOW I KNOW, I NEED TO INVEST IN AN ELECTRIC/AIR IMPACT) By 8am I had the motor, tranny, and motor harness all pulled out. The coupe’s heart was hanging from metal chains on the cherry picker. By then, it was sunrise, so I rolled the coupe out of the garage and into the driveway for some cleaning and washing. With a bunch of soap, degreaser, and scrubbing pads, I had the bay looking as clean as it’d every been. (I wish I had known about the WD-40 trick at this time. Cody told me that if you spray the entire bay down with a big bottle of WD40, let it sit for 10 minutes, scrub, and then rinse, it’s better than the majority of degreasers out there)

Out with the old

All clean!
Jan. 10, 2013
Seeing as how I had then been up for a solid 22 hrs — 12 at work and 10 wrenching on the car, I decided it was time to take a much needed nap. It was almost 10am and my body was pooped. I hopped in the shower and went straight to bed afterwards.
Jan. 11,2013
Then I was up late afternoon and wrenching on the car again. I pulled the 20v motor, harness, & tranny out of the hatch and put it to the side of the garage because I had to now swap the ENTIRE front crossmember of the hatch onto the coupe. Lucky for me, Joseph came over after work and let me borrow his fancy electric impact gun. Three bolts from the top of both coilovers and the four crossmember bolts and the coupe’s entire front crossmember was out. Same for the hatch. Time for a switcharoo! With a BUNCH of hammering later (to straighten out bent things from the impact, LIKE THE FRAME RAIL), the front was all put back together, except for the motor/tranny. By 2:30am that night I had the 20v motor into the coupe and started to piece together the little things — harness routing, coil/ignitor mounting locations, distributor wiring. But since I had done it all before in the hatch, it was much quicker this time around.

New heart
Jan. 14, 2013
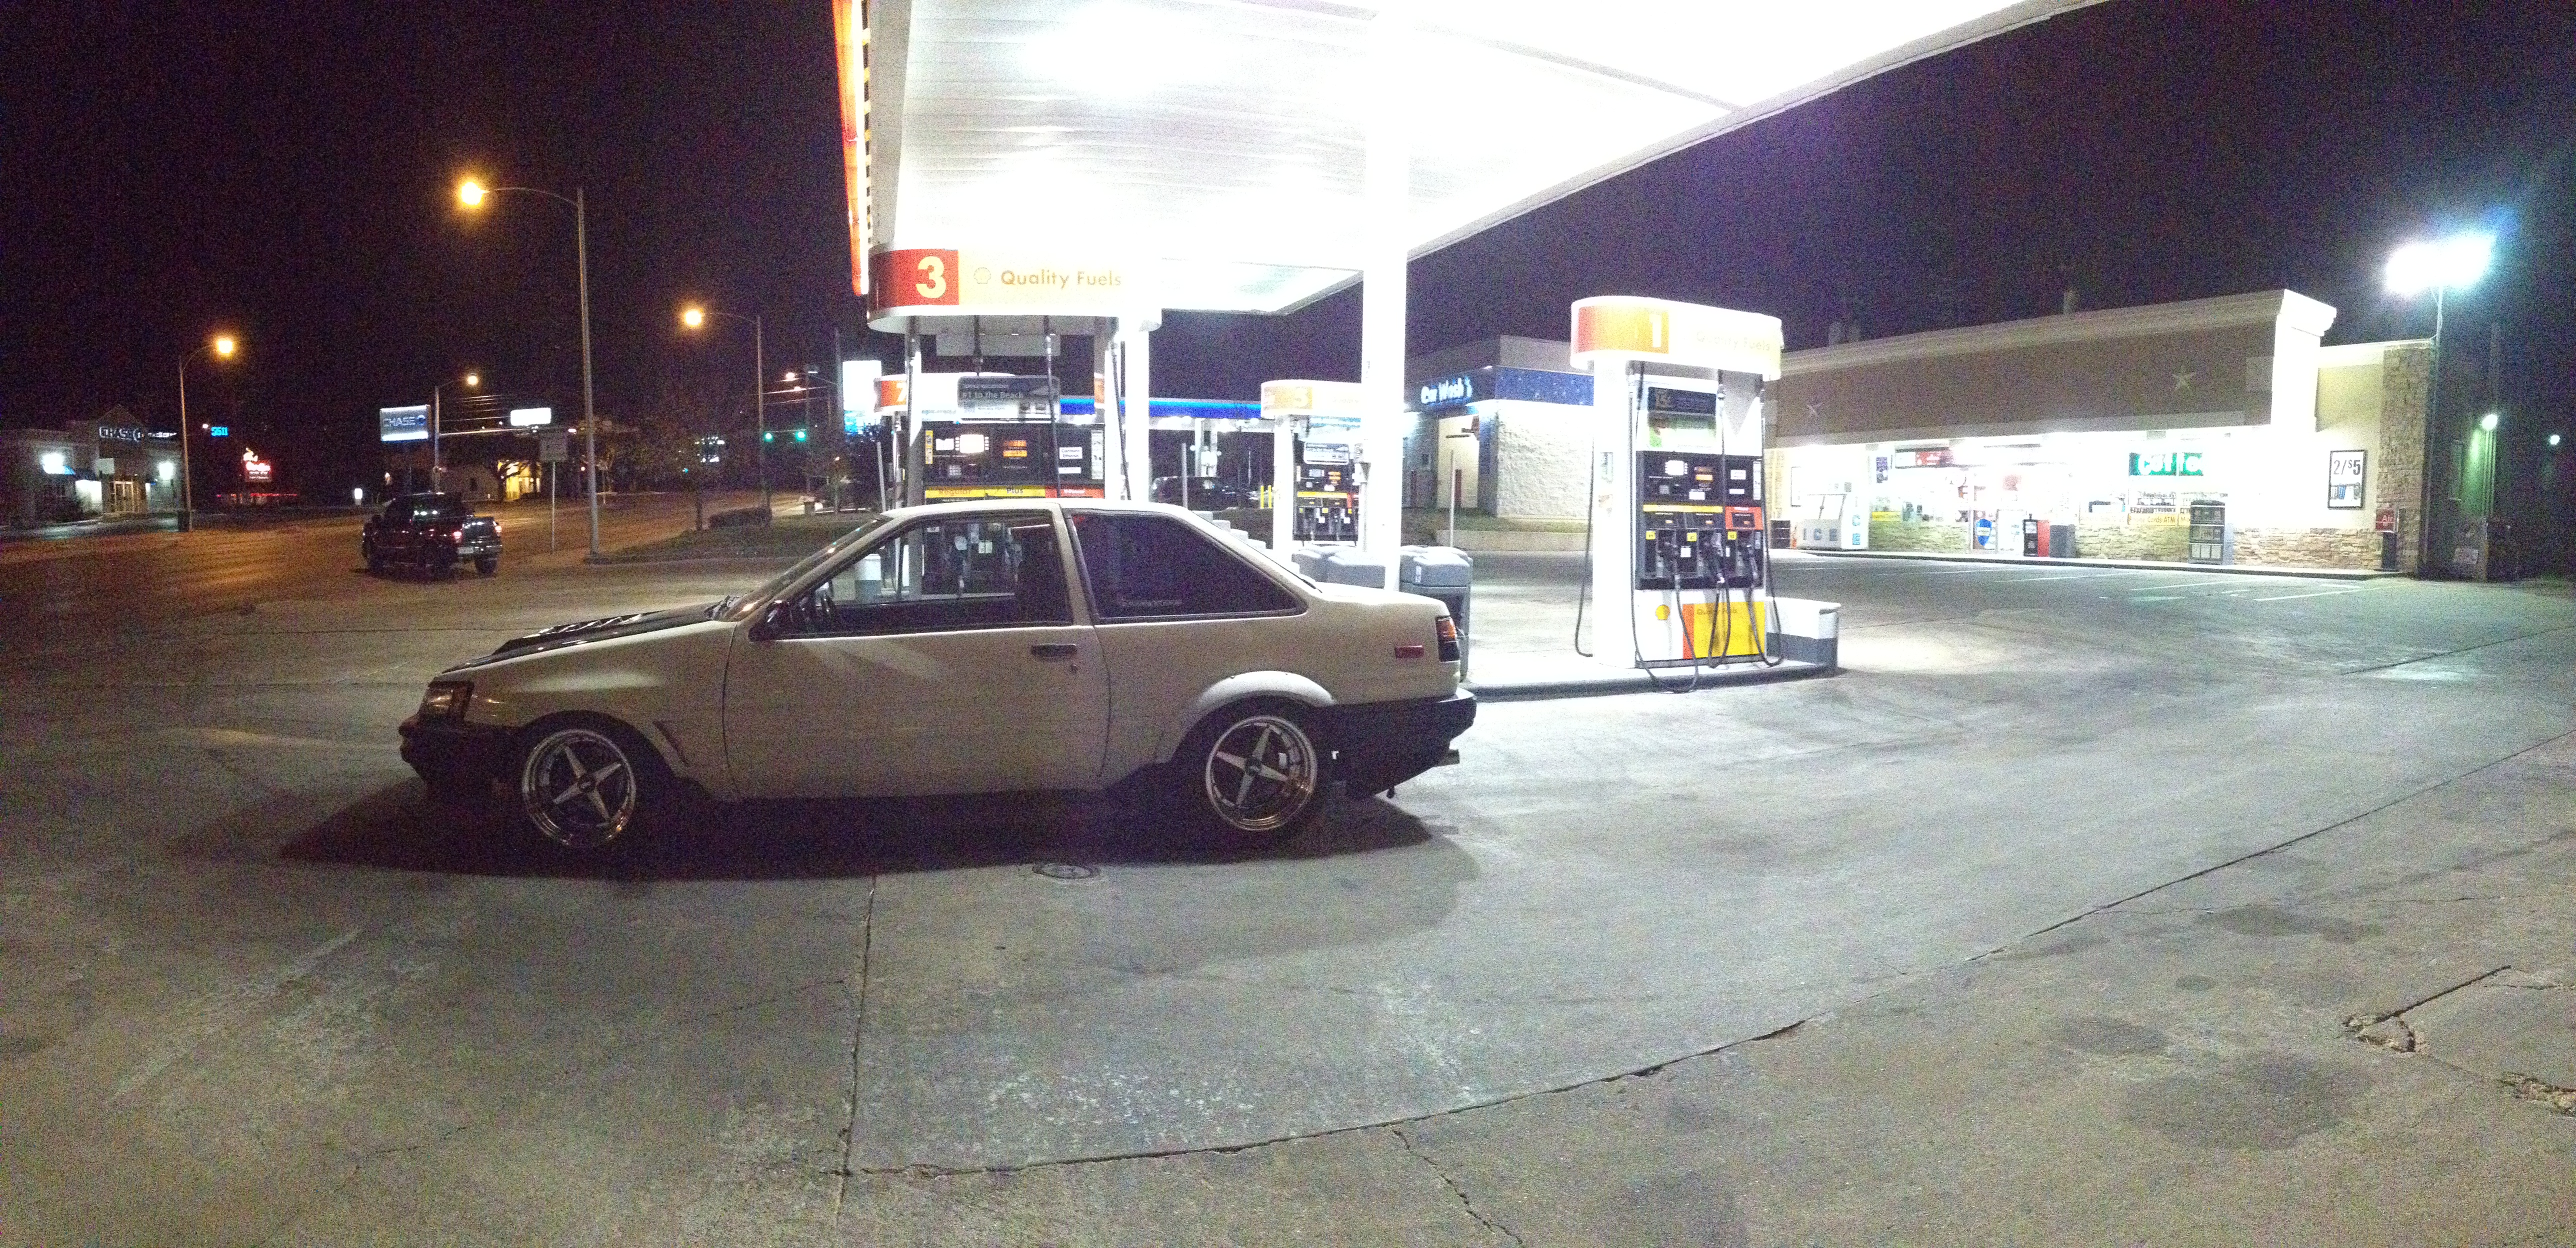
When the 20v was in the hatch, it never seemed to run properly. When I first swapped it in (summer 2012), I ran super rich and was getting about 10mpgs. After replacing the engine harness it ran great, but eventually had spark issues. Then after a while, more electrical issues like the alternator not recharging the battery. But I had a gut feeling that it was the hatch’s dash and chassis harness that was causing all the problems. I just KNEW it would run better in the coupe. And just as I thought, it did! It ran WAY WAY better in the coupe. I didn’t have any charging issues! So I drove it to work.
sittin’ pretty outside my pho shop
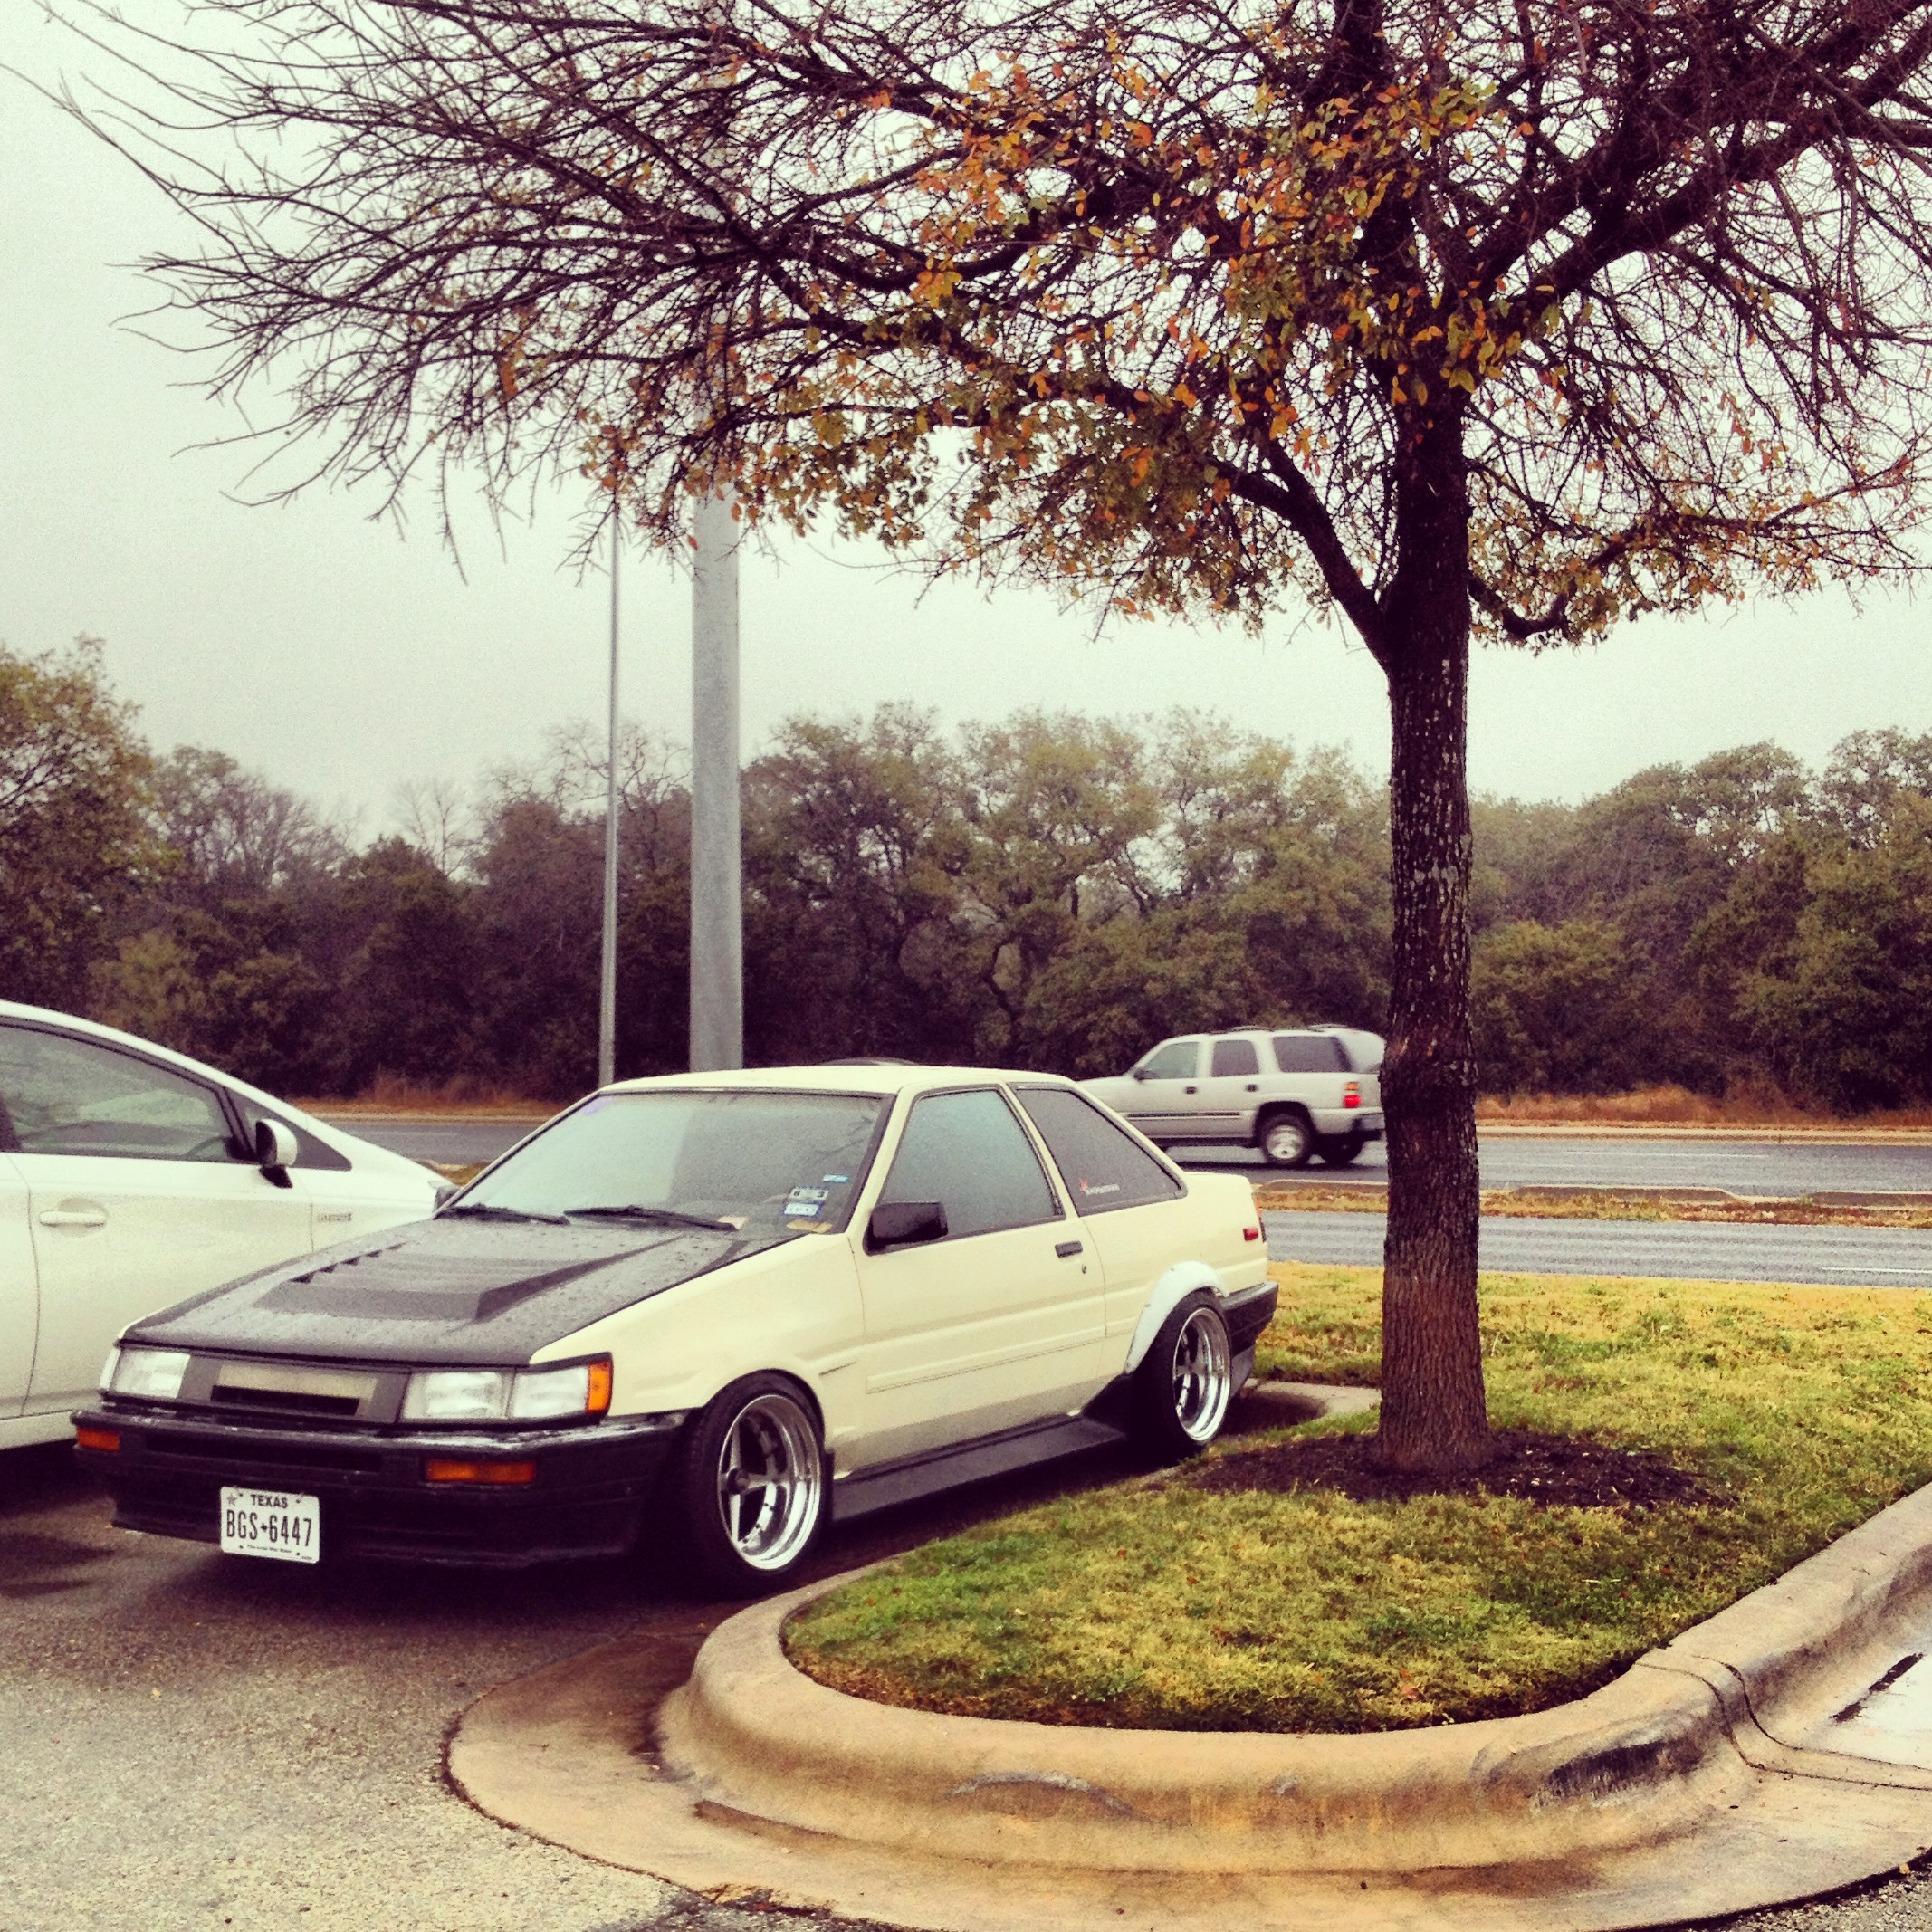
I was really impressed with myself. In less than a week I had wrecked my car, swapped everything out, and improved it. It was actually 5 days, to be exact. It really goes to show that when you put your heart and soul into something, you’d be amazed at the things you could accomplish. When my friends saw the levin was back on the road, they were all amazed. “I THOUGHT IT WAS WRECKED??” “YOU PUT A DIFFERENT MOTOR IN??”
It really comes down to my passion for my cars. I delve so deeply into my builds that some people can’t even fathom. I mean, staying up to the wee hours of the day, multiple days in a row working on the same car? Not all people can understand or have experienced what that’s like. But those of you who have, know exactly what I mean and know exactly how I feel after getting my car back on the road after such a major let-down. When you drive your car and you drive it HARD, it’s inevitable to run into roadblocks. You must work past them and continue on — don’t let a little mishap shy you away from your projects. Keep on keepin’ on and you’ll be amazed at the things you can achieve. It’s when you start doing this that you transition your automotive hobby, into an obsession.
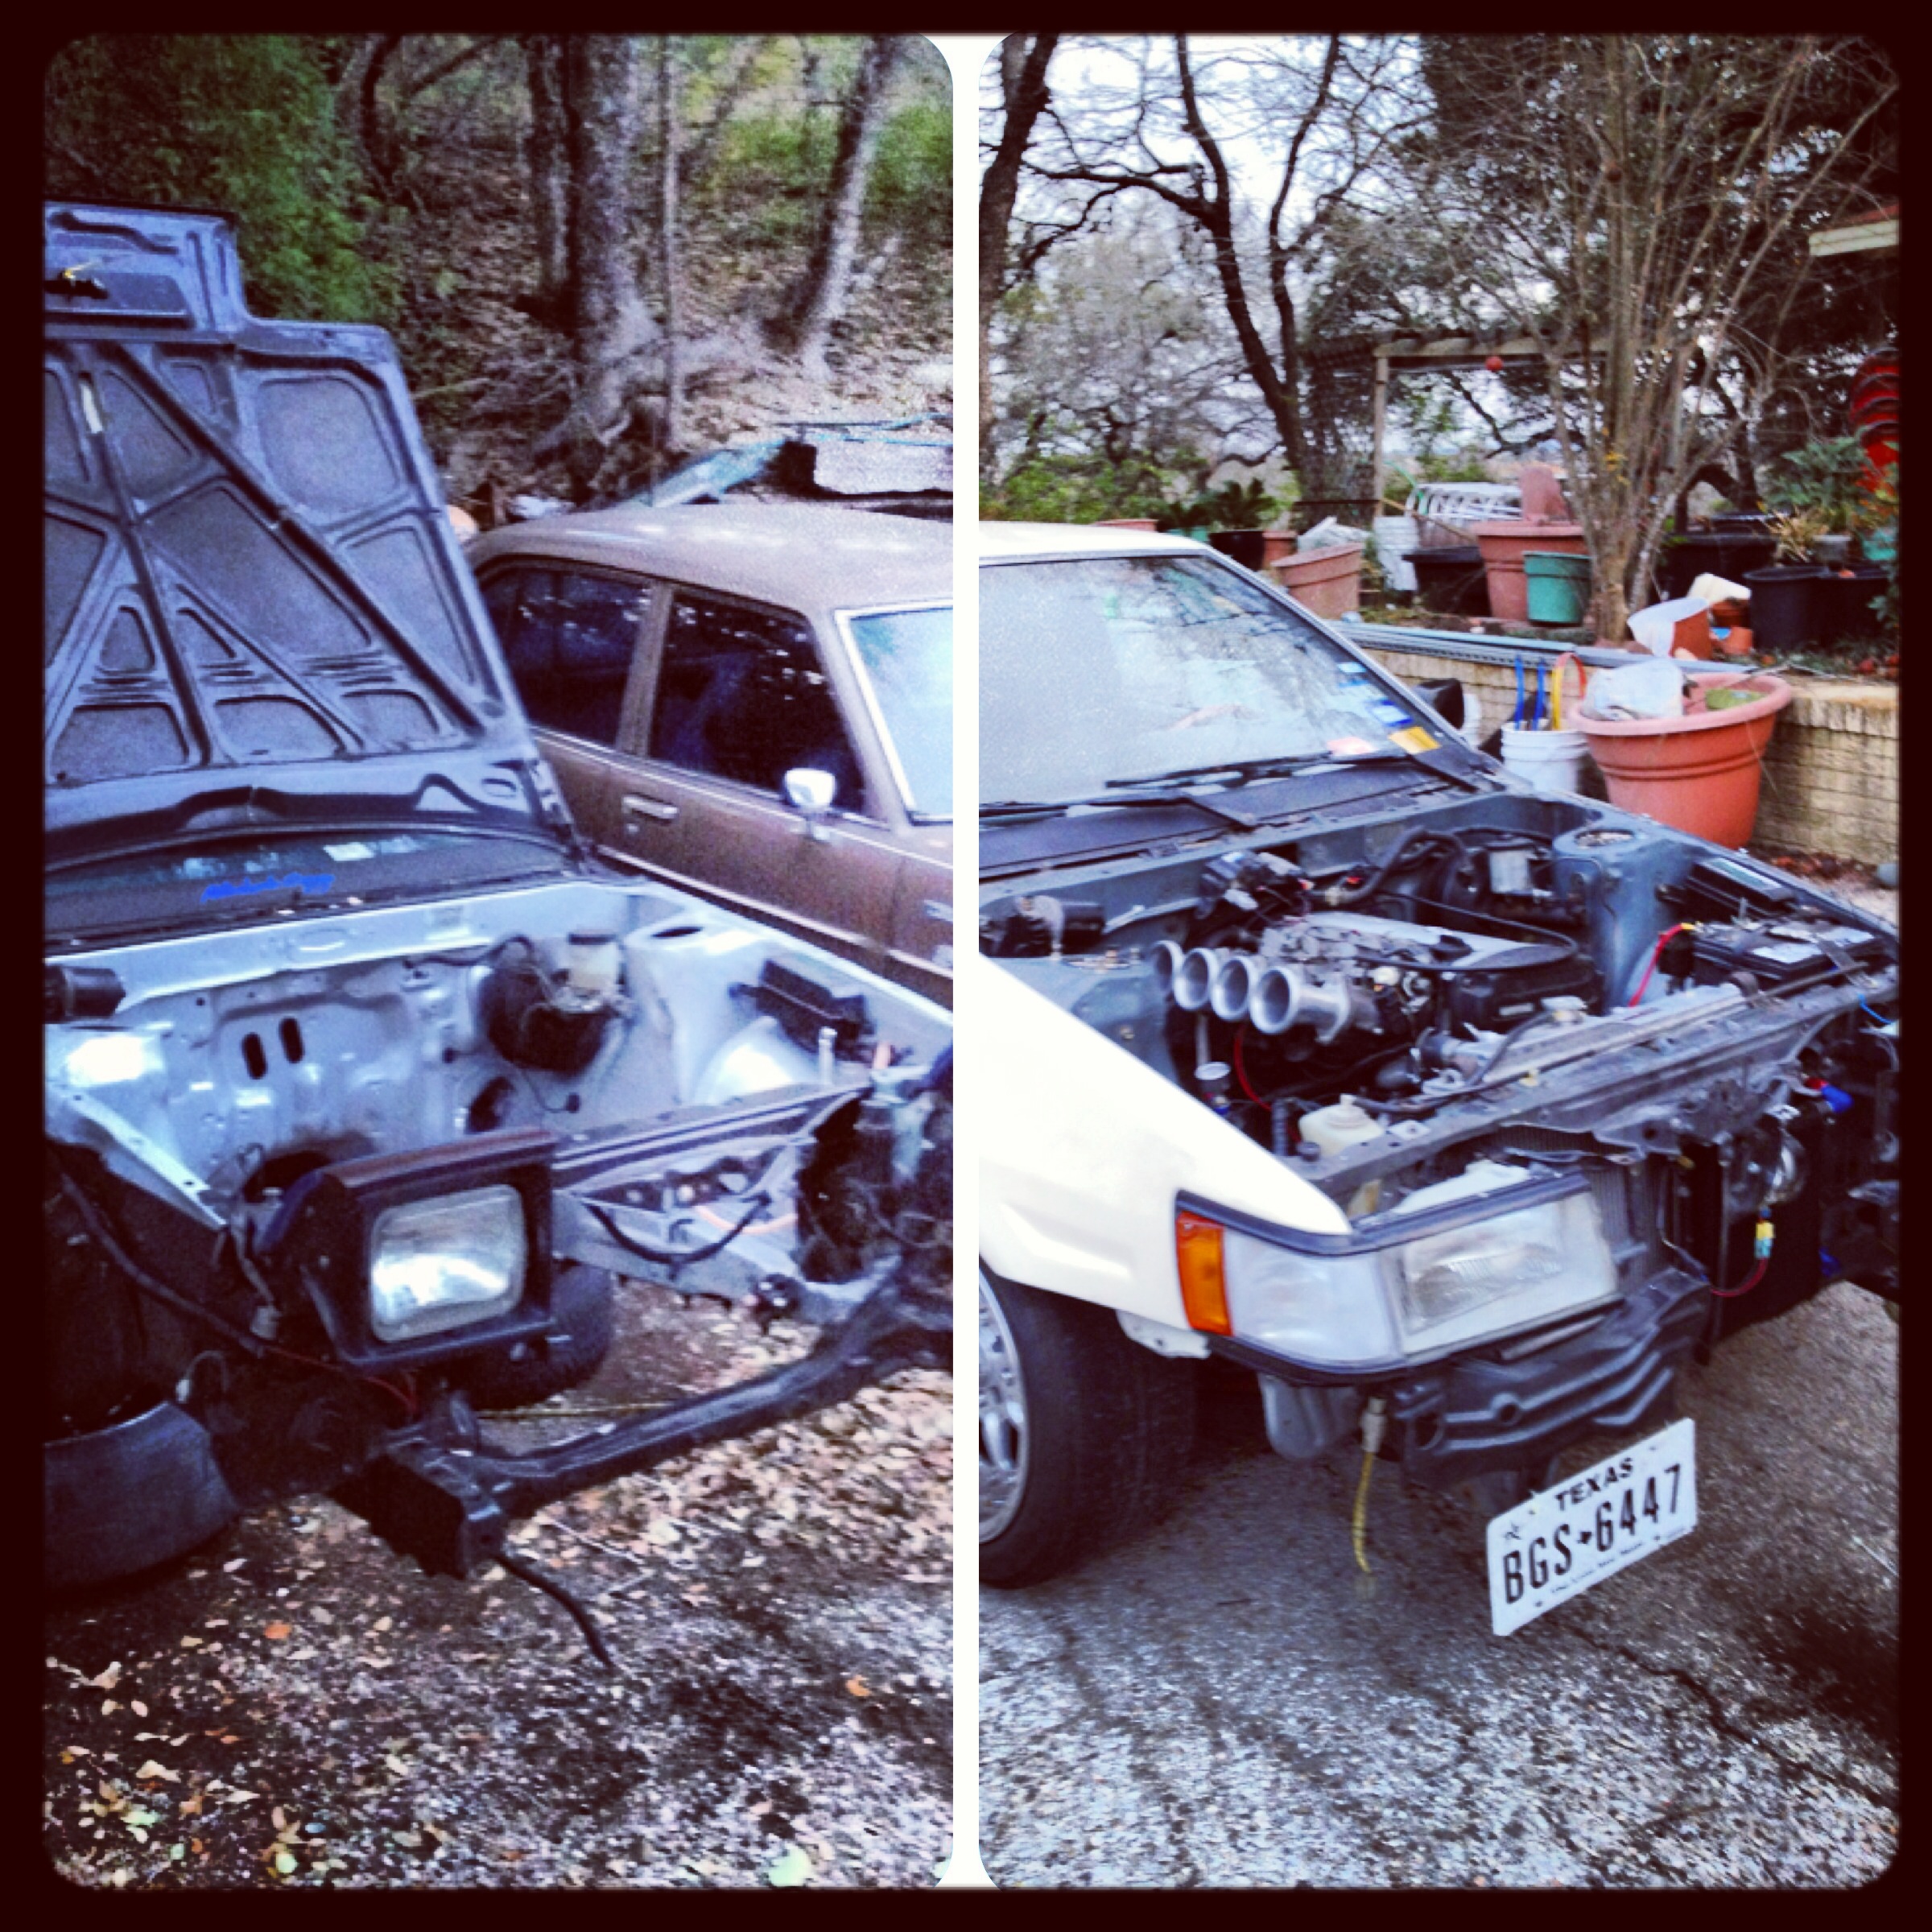
one stripped to save the other
Stay tuned for the long-awaited update on my hatch!

Dat last paragraph doe!
It’s exactly why I can’t bring myself to sell my civic. Even though its been hit in the front by a dumbass, wired by someone that didn’t know what they were doing before I got it, and now blown up. The love for my car makes me want to save it.
Keep on keepin on Thaison