AE86 Timing

Back in January I had my race at Motorsport Ranch Houston. The last race, I was in 2nd place, but coming out of diamonds edge, my car started to blog all of a sudden. Felt like it was low on power, and wouldn’t rev past 4k.

The car ran, but just terrible. I had to pit in and loose my spot for the race. The good thing, is the car ran, and no smoke or obvious serious issues.

Untitled//embedr.flickr.com/assets/client-code.js

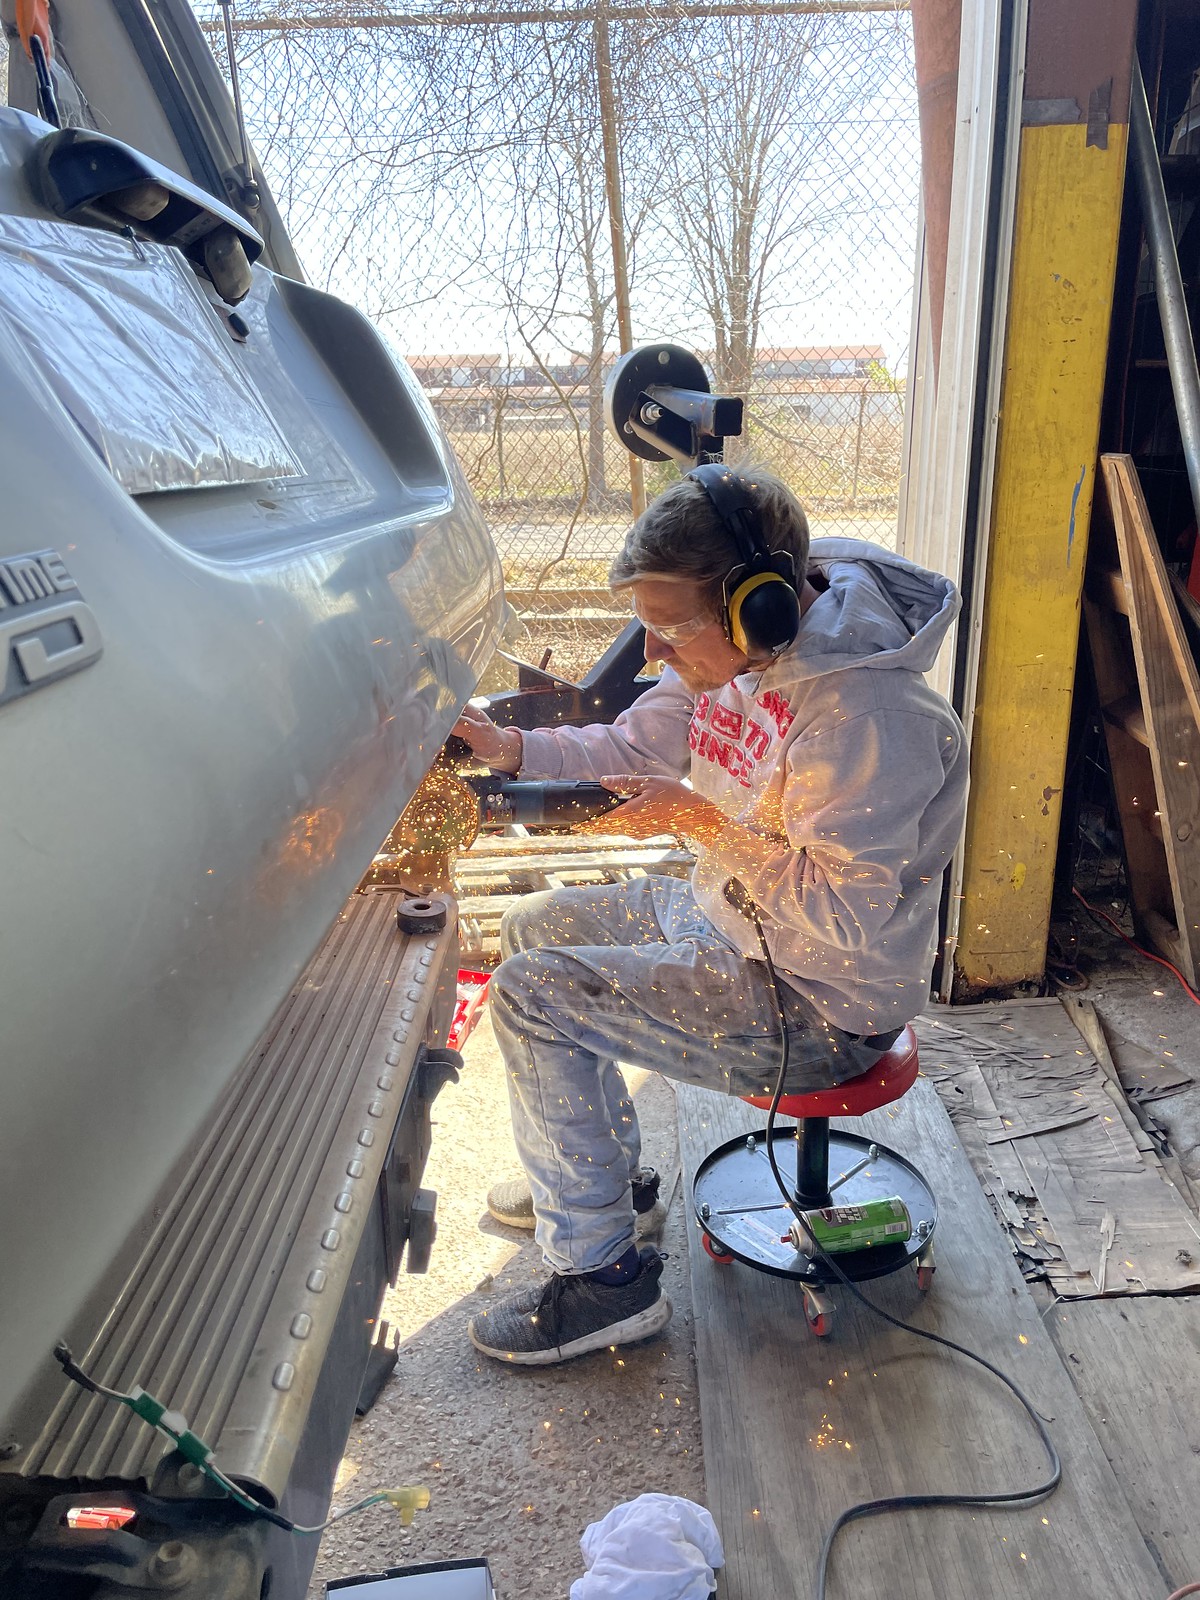
After the race I get back to shop and started to figure out why it was running like crap. The motor was getting fuel, spark and air. But still ran like crap, I was thinking if the timing was off. Sure enough the timing was off! The timing marks didn’t line up. Thankfully the motor is non interference, and the internals was spared from damage

Untitled

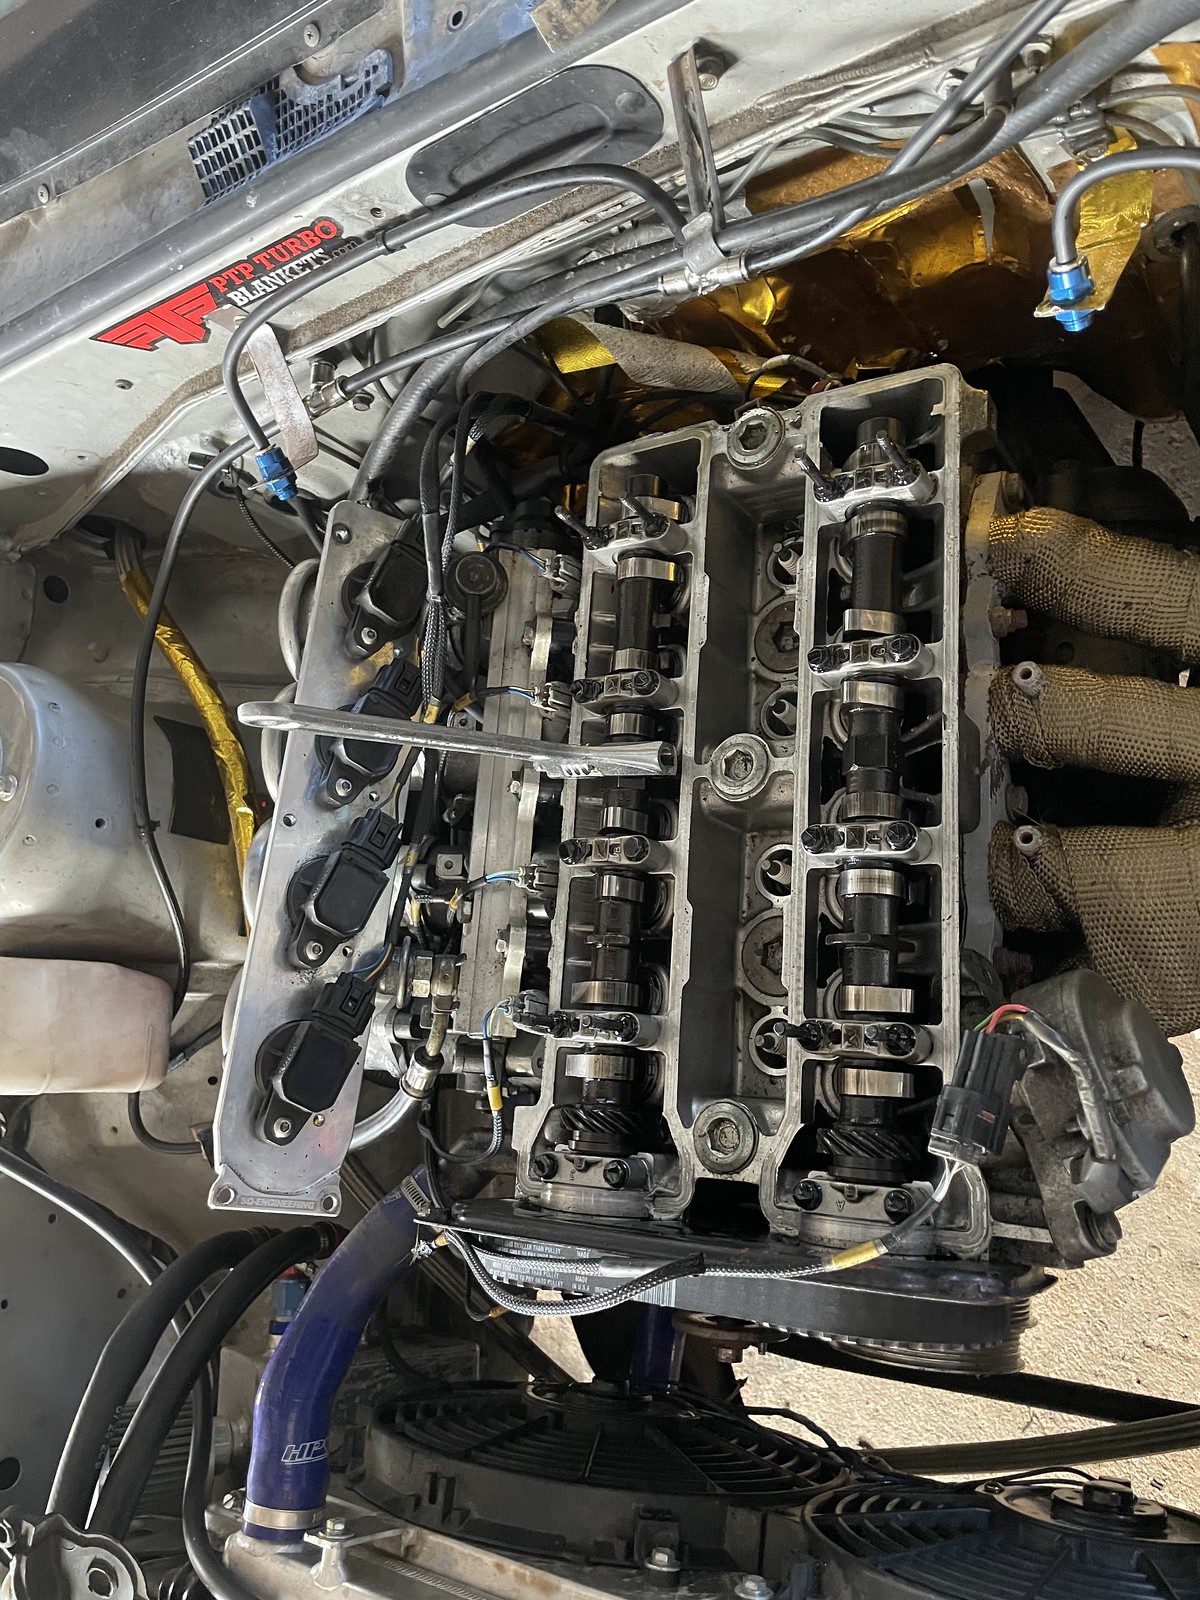
As I was resting the timing, I noticed a tear on the timing belt. Then I found out the culprit. A bolt for the rear timing cover came loose during the race, and cause the timing to slip! My adjustable cam gears also went out of timing.

Untitled

To avoid future issues, I went to back to stock cam gears, replaced the timing belt, and added MRP N2 timing tensioner. This made the belt more secure to the constant redline.

Untitled

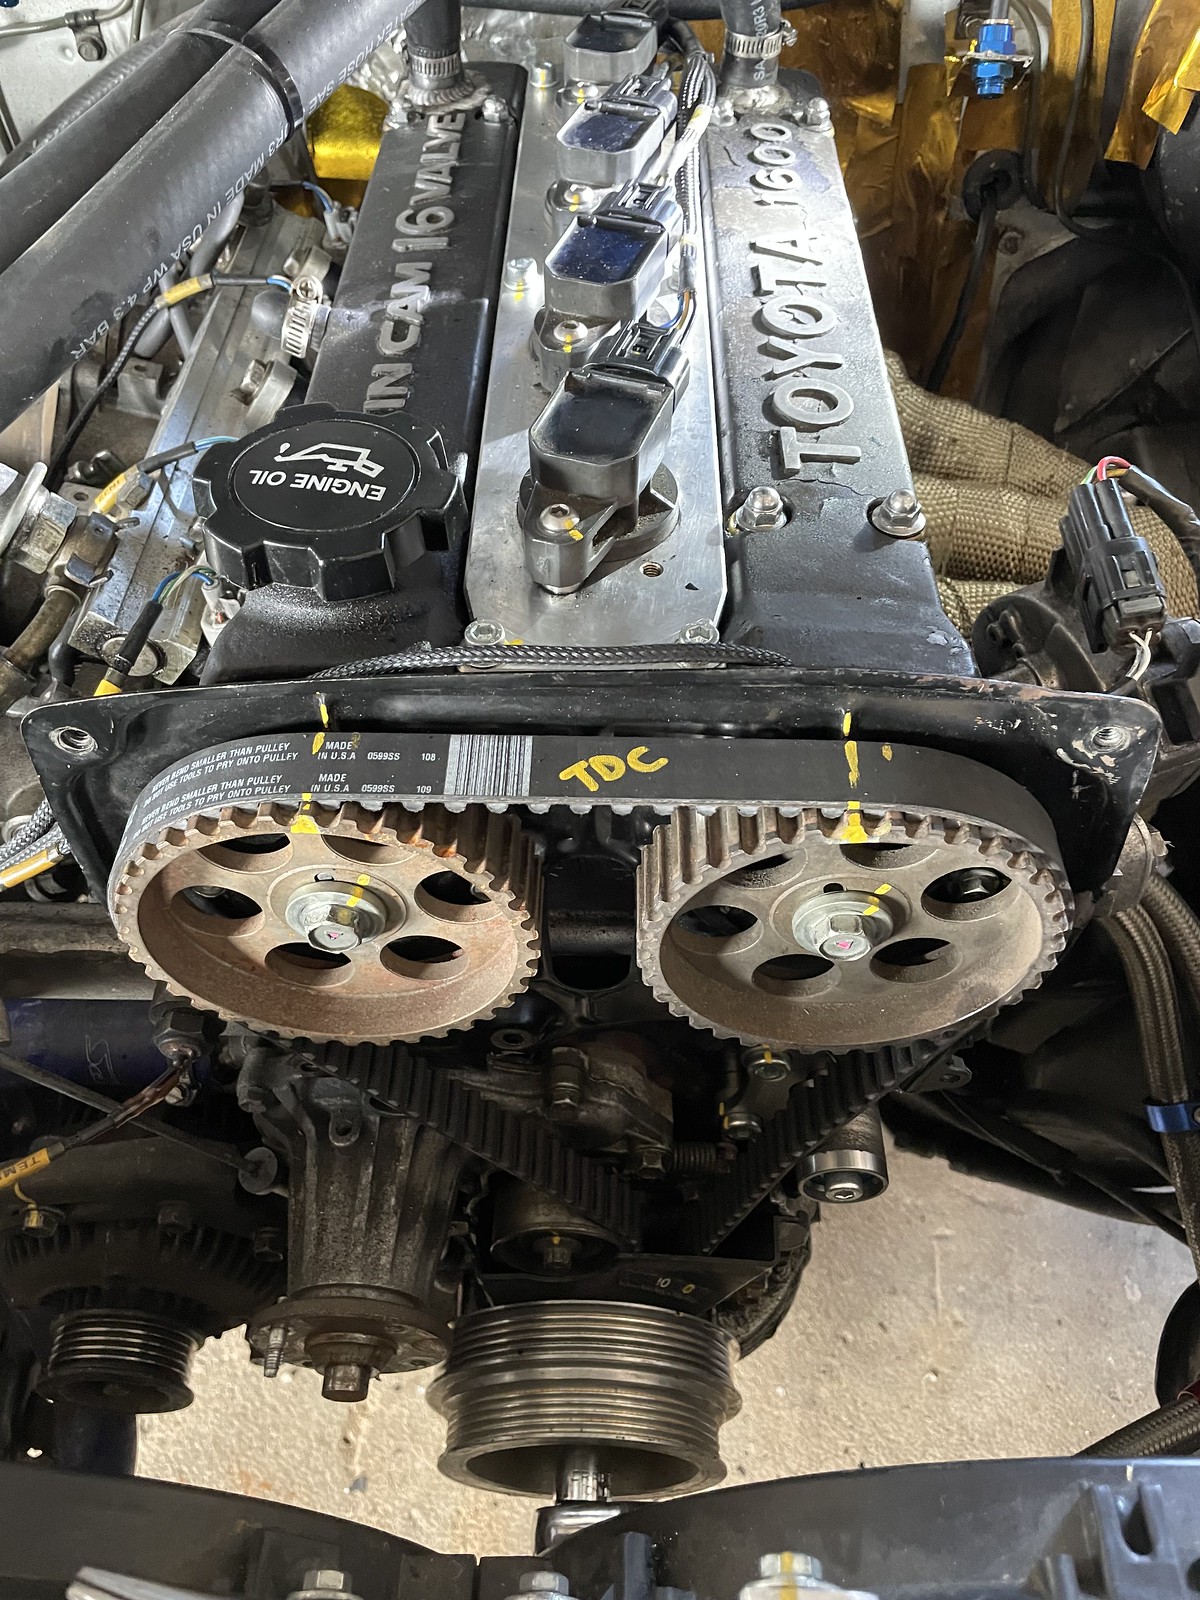
To avoid this issue from happening again. I added loctite to the treads, and marked the bolts. This makes it easy for me to tell if the bolts are starting to get loose. Lessons learned in racing. But thankful it was worse. Thanks for reading!

Land Cruiser upgrades

Since the trail damage I had a couple years ago. I was driving with no bumper and it did fine, but I wanted to get a rear proper bumper. Luckily 4×4 labs was selling a built bumper that was ready for shipping. Since covid, lots of aftermarket companies are dealing with shortage or shipping delays. I couldn’t pass on the opportunity, and I bought it

Untitled

The 4×4 Labs I got is a dual swing out with dual receivers for a motocycle hitch. The left side is for tire mount, and the right side is available for adding on accessories.

Untitled

You do need to cut some parts of the frame. You loose a couple of inches in the rear but the bumper came with instructions. Wasn’t too bad. Just need a sawzall, or circular saw makes work easy. Here is link for cutting instructions: https://www.dropbox.com/s/jut30zw69vhukqn/80install.doc?dl=0.

Untitled

Took one day doing the cutting. Most of the time was spend double checking the measurements. Once the cutting is done. The easy part it next, but will need some help from a few people. You lift the bumper and slide along the frame rails. You use the factory bolt holts. The bumper is held on buy 10 bolts. Very heavy duty.

Untitled

I like how the bumper sits high and tight to the 80 series. A lot better departure angle then before.

Untitled

Then a month later, I ordered the 3 jerry can holder for the right side of the swing out. I did this, because I was carrying the 3 jerry cans on the roof before. I didn’t like how you could feel top heavy. This jerry can holder will make filling up gas and fueling the LC a lot quicker and easier. A nice is the holder came with bottle opener.

Untitled

Next recent mod, I bought my friends 5″ used OME comp springs. I was on a 3″ lift, but when I was fully loaded, I would only get 2″ lift. With 35″ tires, I get some rubbing on full lock. Im glad I went with the 5″ lift. I gained more clearance and the heaver spring rates provided less sagging.

Untitled

With the lift and bumper, I had to get a 7″ drop hitch for the trailer. But I like how the combo looked.

Untitled

Thanks for reading!