Project AE86: Cooling

Untitled

The 86 is going to see the track 90% of the time and cooling a crucial part for a healthy motor. Since I removed my heater core and running ITBs, the cooling system is fairly simple and straight forward.

Untitled

I replaced some of the old rusted parts of the cooling system. OEM parts are still cheap and I did buy extra and spare back ups for a future 4age build.

Untitled

I also did some cutting of pipes and hoses that I wont be needing.

Untitled

Fresh new seals.

Untitled Untitled

Next I bought a 90 degree heater silicone hose and clamps from Amazon. Thank goodness for 2 day shipping. I cut the the hose to size and clamped it. Not to hard of a job.

Untitled

And just like that… The cooling system is complete. Replaced all the seals and tighten everything up. Next is oil cooling. Stay tuned.

Project AE86: Shifting Gears

Untitled

My 4age motor sealed up and 90% done, I was waiting on some few gaskets and miscellaneous hoses for the cooling system. I figured now would be a good time to work on the transmission. I didn’t have any issues with the transmission shifting or getting into gear, but it looked very dirty and was leaking oil on both ends of the transmission.

Untitled

This meant the gaskets were bad and needed to be resealed. This is a common problem with old cars. Since they are old, a lot of the factory seal and gaskets gets worn out. Thankfully, the parts isn’t too expensive and I don’t have to do it again for many years to come. While the transmission is out, I might as well do it.

First thing I did was clean the transmission. I can tell the leak has been going on for some time with the amount of junk coating the transmission. It wasn’t 100% clean but its good enough for me to work on.

Untitled

I like to make sure the parts are decently clean because its less messy, and you’ll be able to see if there are surface damage.

was able to find the manual for the transmission:

http://www.aeu86.org/forum/Thread-Manuals. I downloaded it online and saved to my hard drive. You never know when the website might go down, and its good to have a back up. 

Untitled

I next removed the front bell housing, and that was pretty easy. Remove the bolts and tap with a rubber hammer. The more difficult part was removing the rear extension housing. The manual states to remove the rear speedo gear but doesn’t specify how to. Searching the online forums and youtube, they didnt provide any helpfull information.

Untitled

I took out the bolt and locking plate for the speedo gear. With lots of PD blaster and constant wiggling of the speedo gear with pliers, I was able to get it off.

Untitled

Trying to pull out the speedo gear was really hard. As you can tell it took me awhile before I was about to remove it. I know the speedo gear, you pull it out but mine was a bit stubborn. I guess thats just the issue with the old cars now. Probably hasn’t been removed since the factory.

I started to clean the inside, and remove the old gasket. Brake cleaner, brushes and a razor blade made the job easy.

Untitled

Untitled

Next was replacing the seals and gaskets.

Untitled

Ideally you want to get OEM, or a reputable aftermarket brand. You don’t to go  back and redo to the job.

Untitled

Apply grease to all the rubber seals. This makes pressing in the seals easier and prolongs the life the rubber from cracking.

Untitled

Good as new.

Untitled

The manual states to apply liquid sealant between the gaskets. I first aligned the gasket and test fitted the front and rear housing. This made sure I wasnt going to run into problems. Putting on liquid sealant is a timed process and if you wait too long the sealant will set before you have time to place the gasket and housing. If that happens, remove the liquid sealant and start over again.

Untitled

Untitled

Torque all the bolts to spec

Untitled

Untitled

I checked if I was able to shift all the gears and spin the gears smoothly. No issues.

Untitled

Finally, its all done.  I’m taking this build one step at a time and slowly completing the puzzle piece. Im learning a lot with the build and yeah I made some mistakes in the process but at least I know what to do next time. Next on the list is the cooling. Stay tuned.

Japanese Tuner Roadtrip

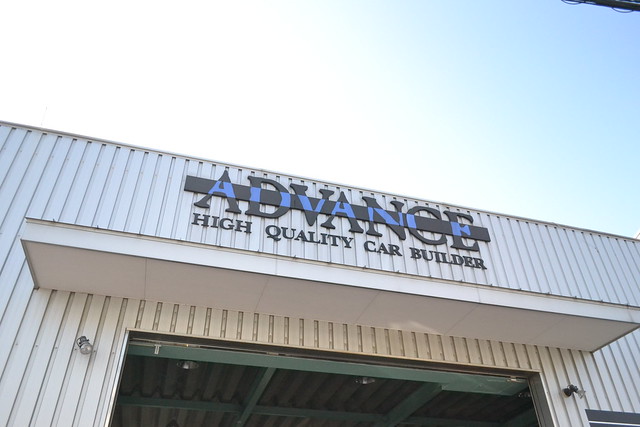
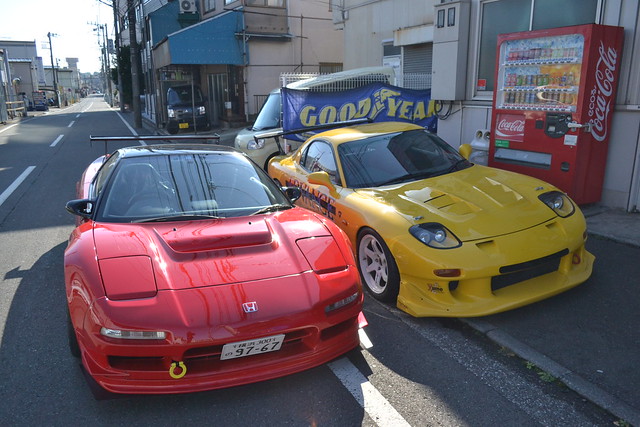
Kinda a very late post, but better late then never! Earlier this year my friend, Joseph and I visited Japan for Tokyo Auto Salon. Our wives didn’t go with us, and that gave us an opportunity to do a lot of car related things in Japan. We only had time to visit 2 shops, because we had to do photoshoot earlier that day. Regardless, we made the most of the day. The first place we visited was Advance.

DSC_0024//embedr.flickr.com/assets/client-code.js

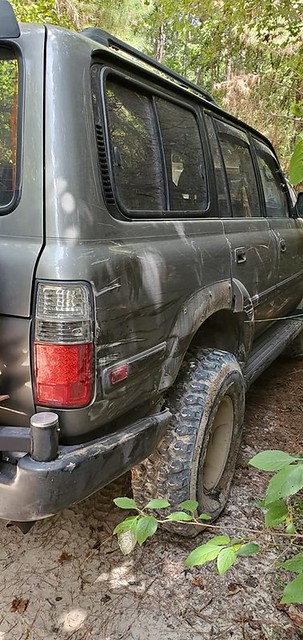
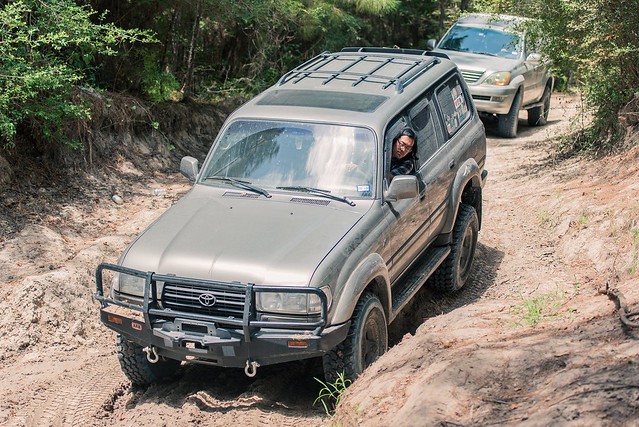
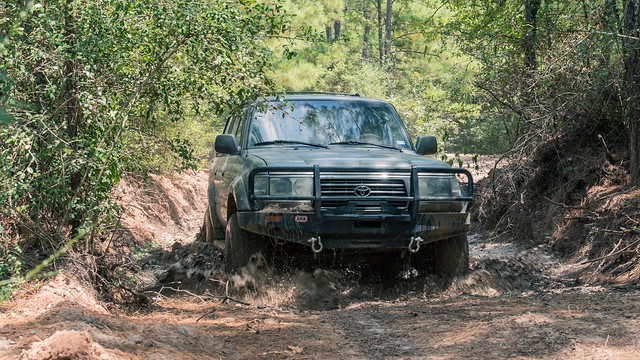
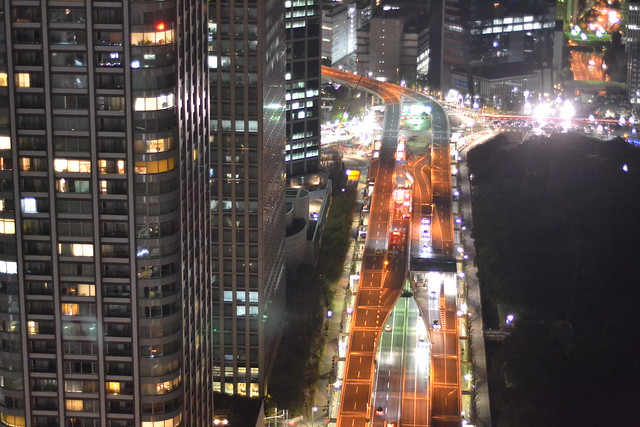
Most of the tuner shops in Japan are not commuter friendly. You could commute via train and bus, but you would have to walk some distances to get the shops. Its is doable, but we rented a car, and highly recommend it. You’ll get to see views of Japan that isn’t seen via public transport. I rented a small Daihatsu K car. K cars are 600c cars and something you can’t get in the States. Super JDM. They are cheap and practical to drive around the narrow streets of Japan.

Untitled//embedr.flickr.com/assets/client-code.js

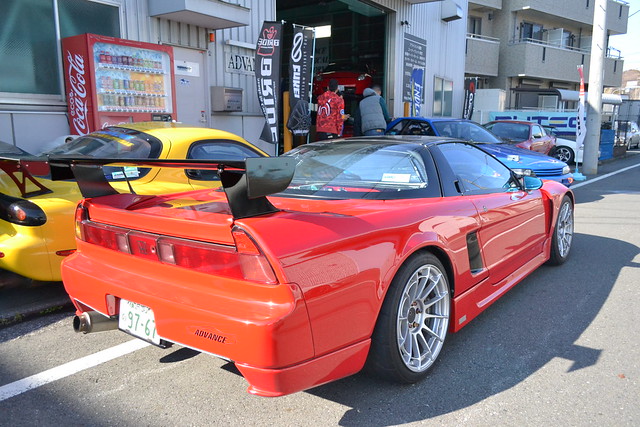
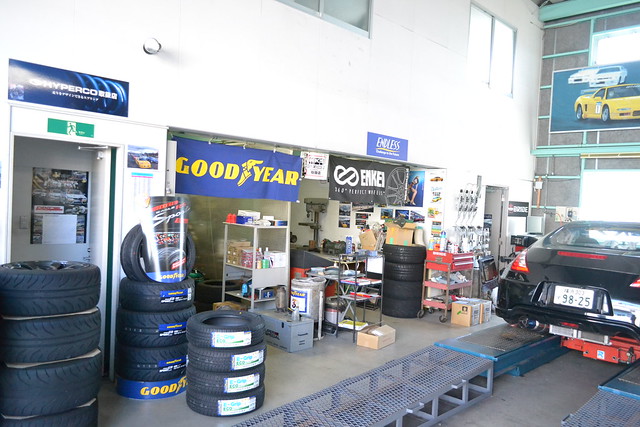
Advance is a Japanese tuner shop that was also featured in a Speedhunter article. http://www.speedhunters.com/2015/04/stopping-by-the-advance-workshop/. They are a small service shop and they also work on cars built for time attacks or circuit builds.

DSC_0021//embedr.flickr.com/assets/client-code.js

DSC_0023//embedr.flickr.com/assets/client-code.js

Joseph was very excited because he owns a NSX and bought an Advance lip previously coming to Japan.

DSC_0022//embedr.flickr.com/assets/client-code.js

DSC_0034//embedr.flickr.com/assets/client-code.js

DSC_0026//embedr.flickr.com/assets/client-code.js

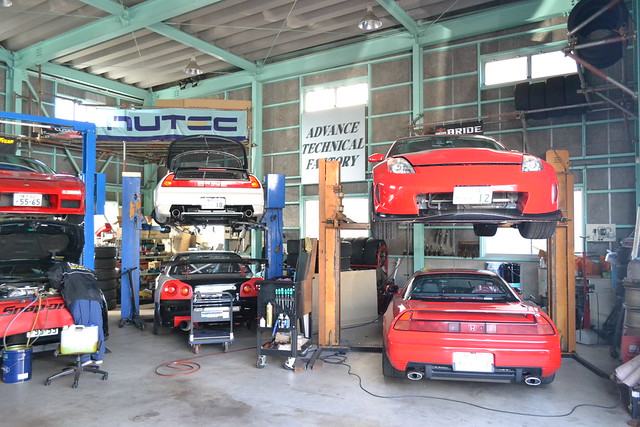
Their shop is very small but this common in Japan. Space is a commodity and you got make the most of what you got.

DSC_0028//embedr.flickr.com/assets/client-code.js

The shop filled with track cars for repairs or maintence.

DSC_0030//embedr.flickr.com/assets/client-code.js

DSC_0029//embedr.flickr.com/assets/client-code.js

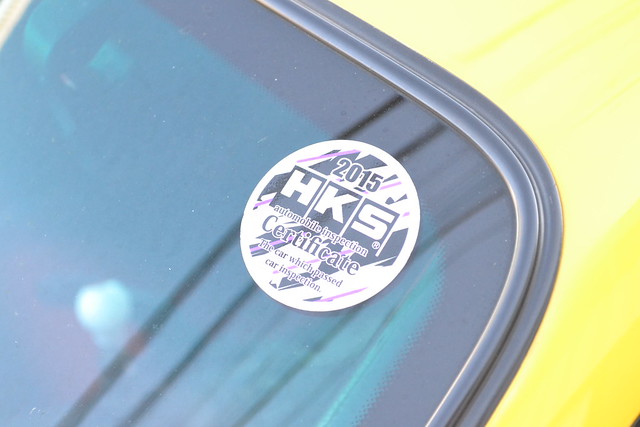
The mechanics where very nice and gave us stickers! I know they don’t sell stickers and was honored I got something special. These will kept in my collection.

DSC_0031//embedr.flickr.com/assets/client-code.js

DSC_0032//embedr.flickr.com/assets/client-code.js

DSC_0033//embedr.flickr.com/assets/client-code.js

DSC_0035//embedr.flickr.com/assets/client-code.js

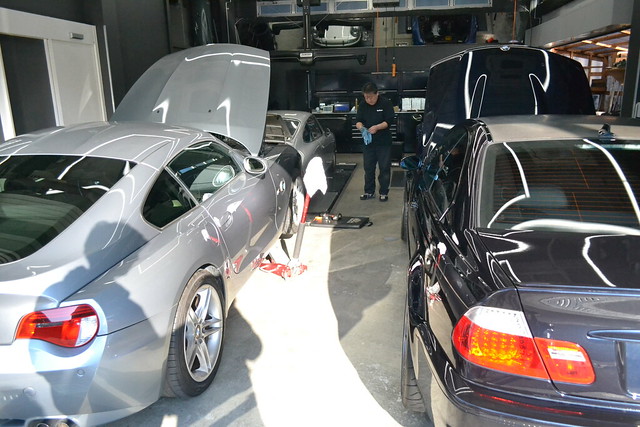
Next stop was my favorite, Sunbeam Motorsports.

DSC_0042//embedr.flickr.com/assets/client-code.js

I used to own a e92 M3 that I tracked, and I followed these guys in IG couple years back. The shop mainly works on BMWs and mostly BMWs that hit the track. They invited me to check out their shop when I was staying in Japan!

DSC_0036//embedr.flickr.com/assets/client-code.js

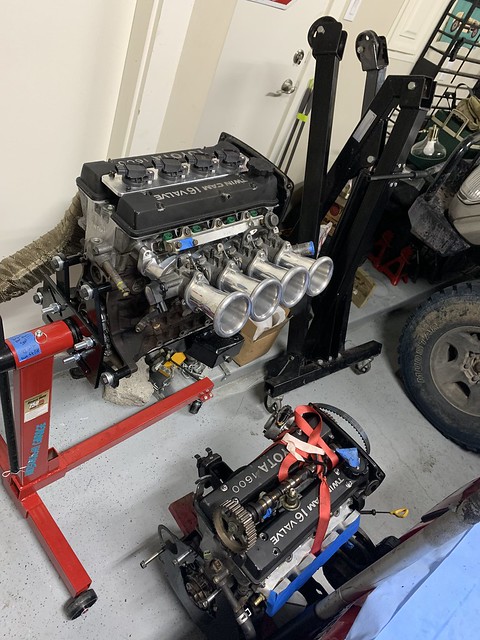
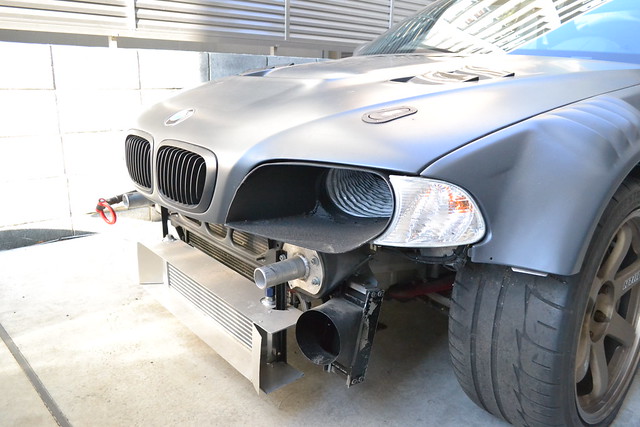
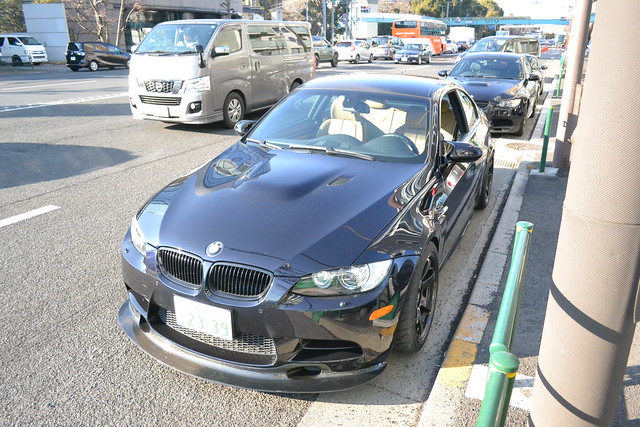
This E46 M3 is one of the owners and has been used for time attacks. The M3 is currently getting rebuilt and receiving some improvements.

DSC_0037//embedr.flickr.com/assets/client-code.js

I like cars, and even better to see them actually built for a purpose. A good expample is the E46 headlight. One side is custom fitted as intake for the ITBs.

DSC_0038//embedr.flickr.com/assets/client-code.js

Sunbeam was featured in a Speedhunters article: http://www.speedhunters.com/2017/12/sunbeam-the-footwork-specialists/

DSC_0041//embedr.flickr.com/assets/client-code.js

The shop reminded me of a repurposed townhome. The first floor is the garage, 2nd floor is the lounge and work shop, and the 3rd floor is the reception and showroom.

DSC_0043//embedr.flickr.com/assets/client-code.js

DSC_0044//embedr.flickr.com/assets/client-code.js

DSC_0049//embedr.flickr.com/assets/client-code.js

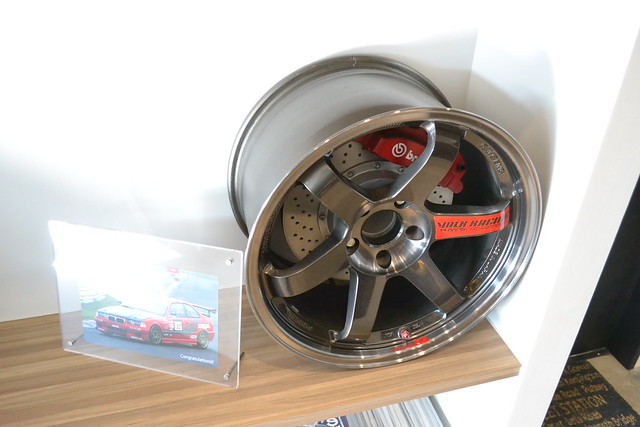
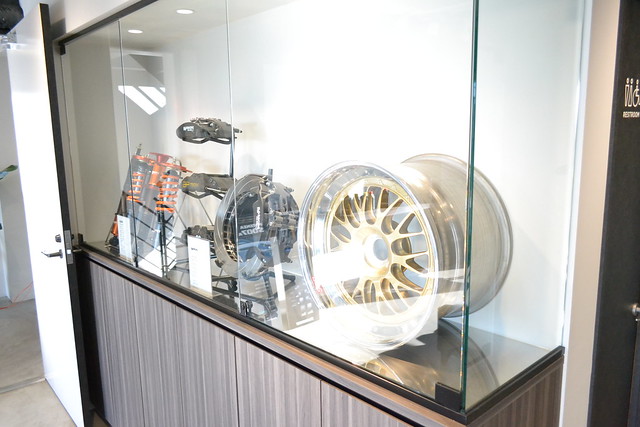
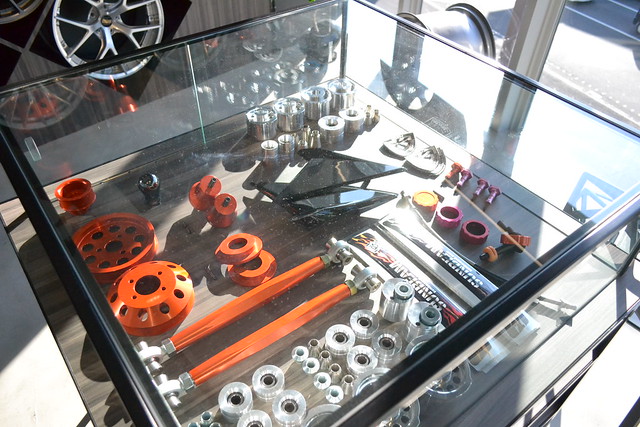
The wheel display was pretty cool. I loving the modern style, something I wouldn’t mind putting in my house.

DSC_0047//embedr.flickr.com/assets/client-code.js

DSC_0050//embedr.flickr.com/assets/client-code.js

DSC_0045

DSC_0051 DSC_0052

DSC_0055 DSC_0057

DSC_0059 DSC_0061

Visiting the tuner shops in the Japan is something only unique to Japan. The Japanese culture kinda feels like everything has place and purpose. Japanese shops look clean and everything in the shop is there for a purpose. The shops in the States are a lot bigger but some look and feel disorganized.

DSC_0867

The people working at the shops didn’t speak any English and I couldn’t speak Japanese but the universal language of cars understood each other. Ohhh Japan, its such a cool country to visit, and in my opinion the the holy grail of car culture.

Land Cruiser Off Road Battle Scars

 After a fun day at Hidden Falls my friends wanted to do another wheeling trip. We decided to go to General Sam’s Offroad Park in the Huntsville, Texas. Roughly a 1hr and 30min drive from Houston. It was going to hot summer day, Im expecting the tails to be dry and dusty. Untitled

What was supposed to be a nice little off road fun turned to be more then what we expected. The trails on the park where unmarked. They have an app for the park which is cool, but the app doesn’t show the level difficulty of the trail. We took a trail that looked easy going, or so we thought.

Untitled

The trail entrance lead to a somewhat damp river bed. We got some minor pinstripe from the bushes but noting new there.

Untitled

The trail looked wide enough but that changed the deeper we got.

Untitled

Some areas you literally had millimeters of clearance. I couldn’t even open my door to help spot in some areas. Traction wasn’t an issue, it was the clearance.

Untitled

It was soo tight, that body damage was going to happen. And we couldn’t back up because there was another group of 4×4 behind us.

Untitled

I was starting to think if this trail was made for ATVs only.

Untitled

I was able to clear that tree no damage. My ARB bumper took most of the hit. ARB is such a tough bumper, that I didn’t get damage.

Untitled

The very exit of the trail is where all the rigs got the worst damage.  There was a big root on the left side that everyone hit, and then the tight wall on the side of the exit took out my rear flare.

Untitled

I was pretty bummed out it. Trail scars sounds cool, but for me not really cool if it happens on your nice rig. Its like a big scar I have to get used to.

Untitled Untitled

Finally we all made it out.

Untitled

After everyone getting body damage and bruised egos, we hit the main trail to find a good camp spot for cooking.

Untitled

Untitled

We found a good little shaded spot to cook and reflecting on the body damage caused. Joking about it wasn’t that bad or how our wives would get mad at us. Technically it could have been worse, but it could have been avoid if we didn’t take the trail in the first place.

Untitled

Untitled

Battle scars… sometimes it’s cool and sometimes its just a bad reminder on bad decisions. I learn that if the trail gets too hard, dont push and just go back. I had a nice 40th anniversary Land Cruiser that unfortunately got body damage. Probably going to take it to the body this year to get that fixed. Whats done is done, and Ill just have learn from it and go on. Im not going to stop offloading but this experience was a lesson learn. Take it easy, and don’t continue to a trail that might be too tough. Looking forward to the overlanding trip in October. Hopefully it wont be too difficult.