Project AE86, more weight loss

After after removing all the sound deadening, I still had one more task to lose more weight. This was taking out the interior HVAC system, because I already pulled out the AC system of the 4age motor. My goal, hopefully, is to be under 2000lbs and every bit of weight savings counts.

Untitled 
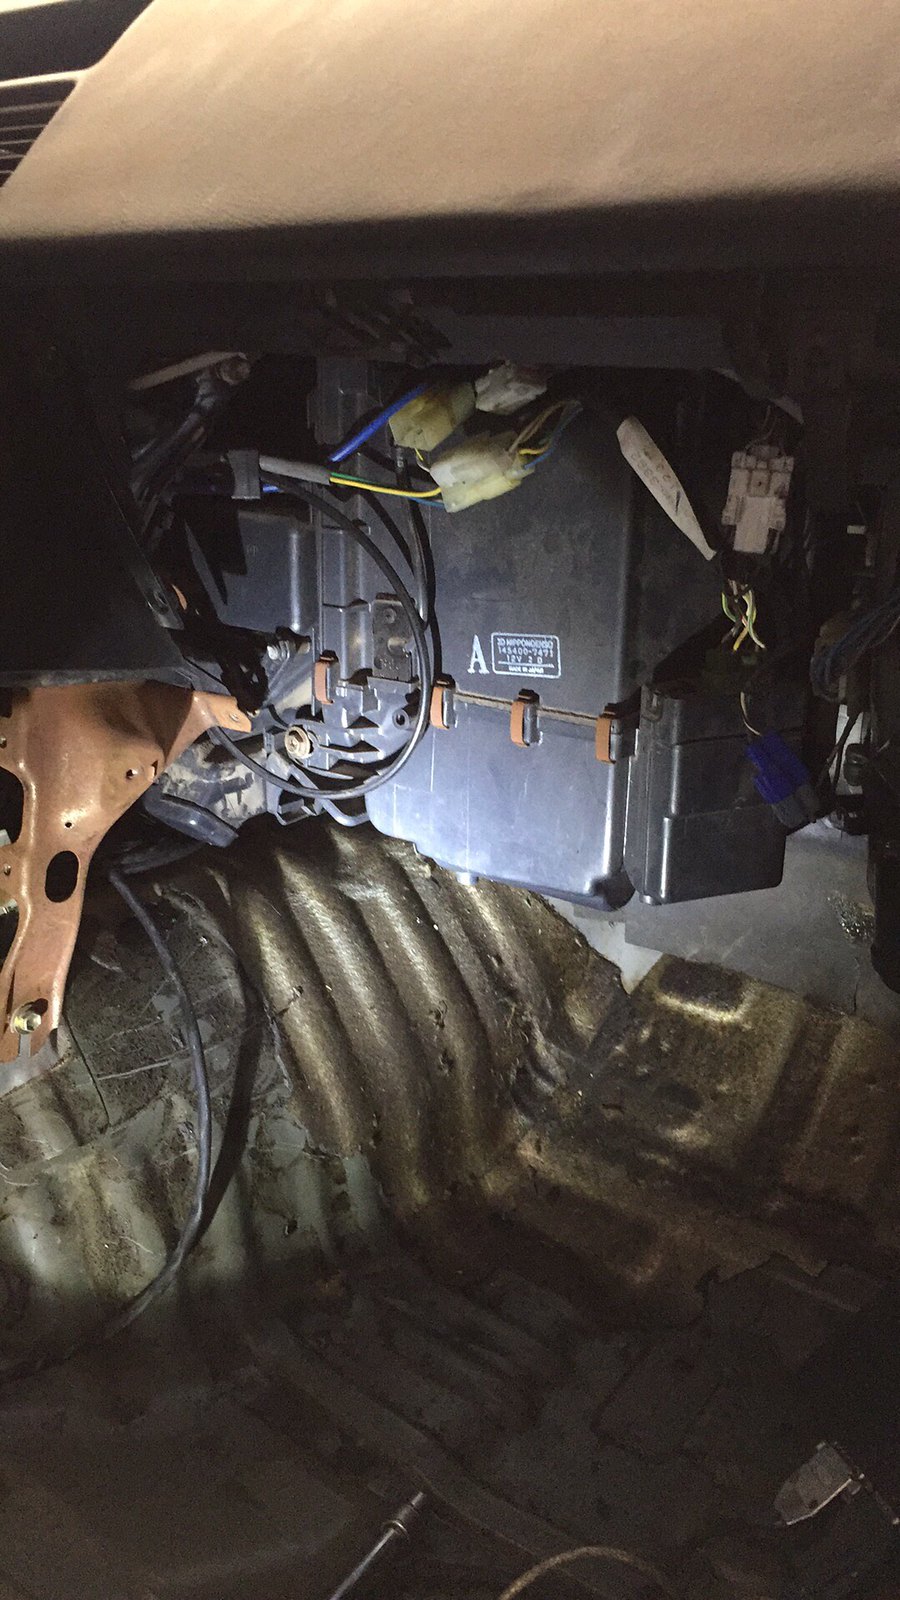
Now to remove the HVAC, I had to remove the dash. Since the car was pretty much bare with minimal trim pieces left, it shouldn’t be that hard to remove right? Well, Im not really good with mechanic stuff and I had no idea what I was doing haha. I removed some bolts thinking that was it, but the dash wouldn’t budge. I was getting frustrated, because how hard could it be? Untitled

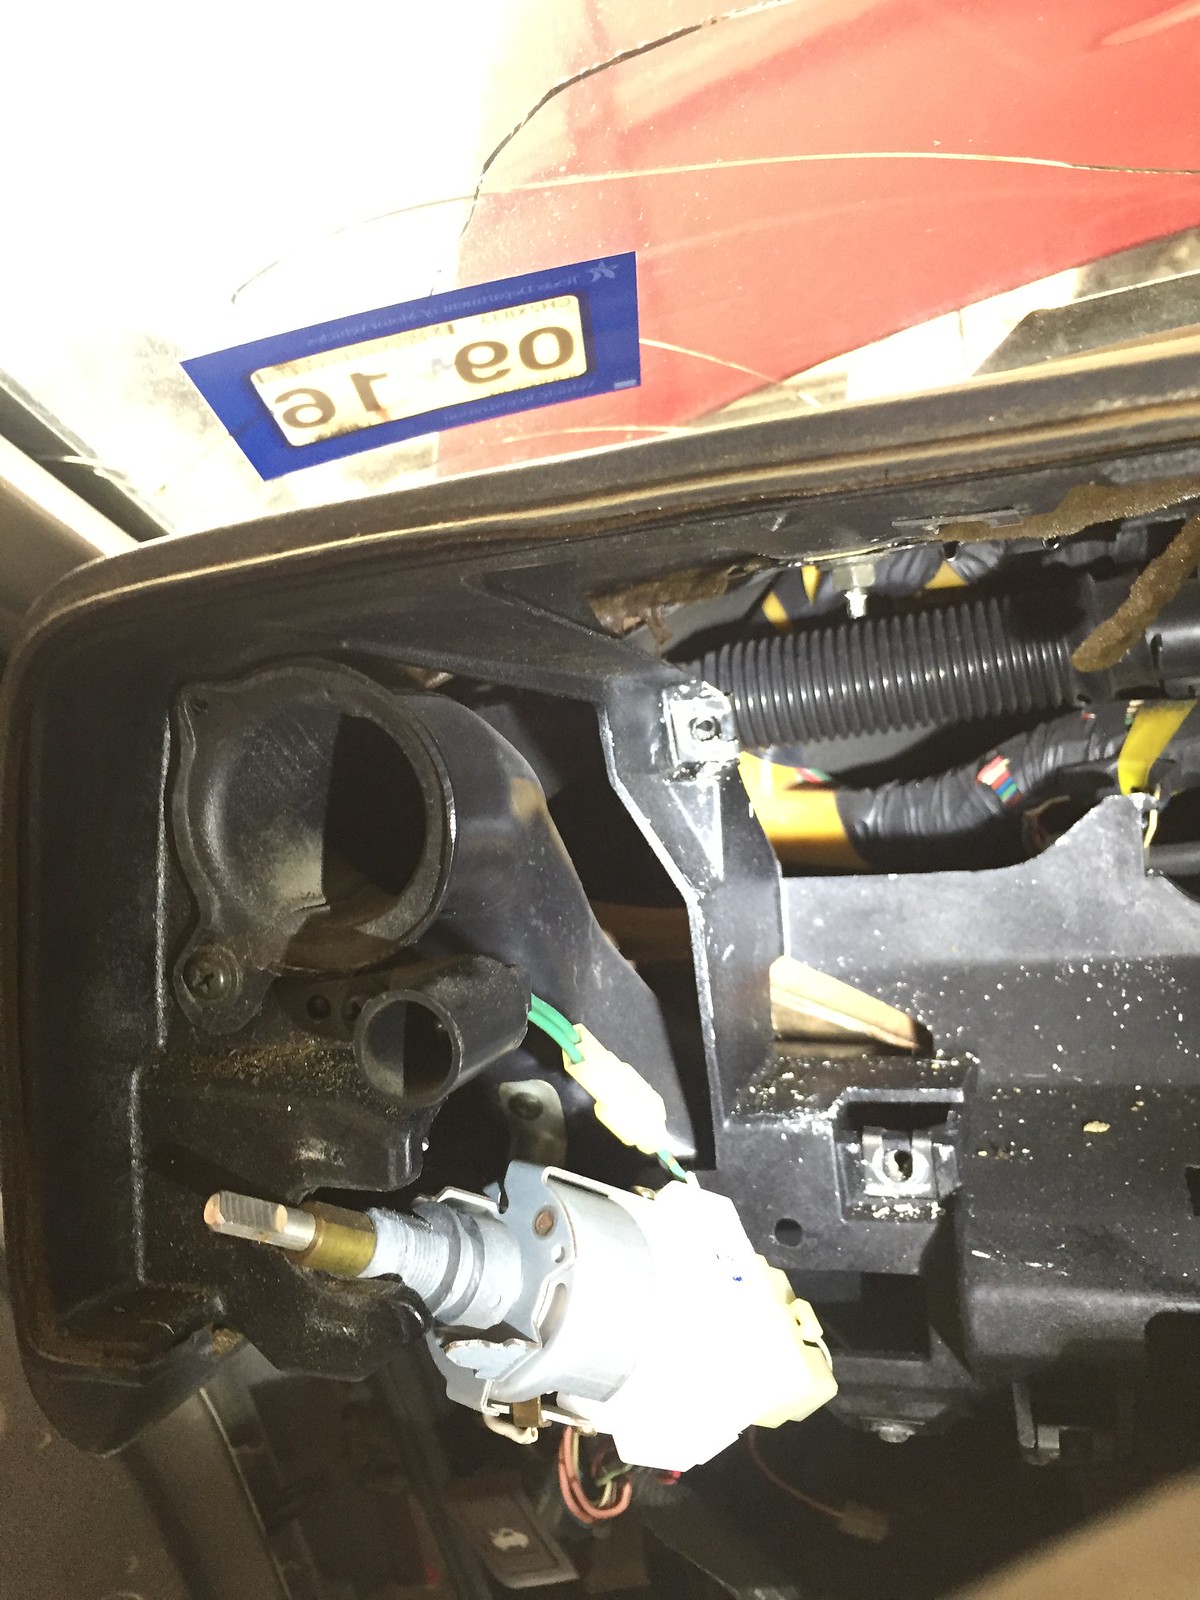
Thankfully, my friend Thaison messaged me and sent a youtube link for dash removal on the ae86. This gave me a general idea where to looks for bolts and this allowed me to remove the HVAC. Ill send a link at the end of this blog.

Untitled Untitled

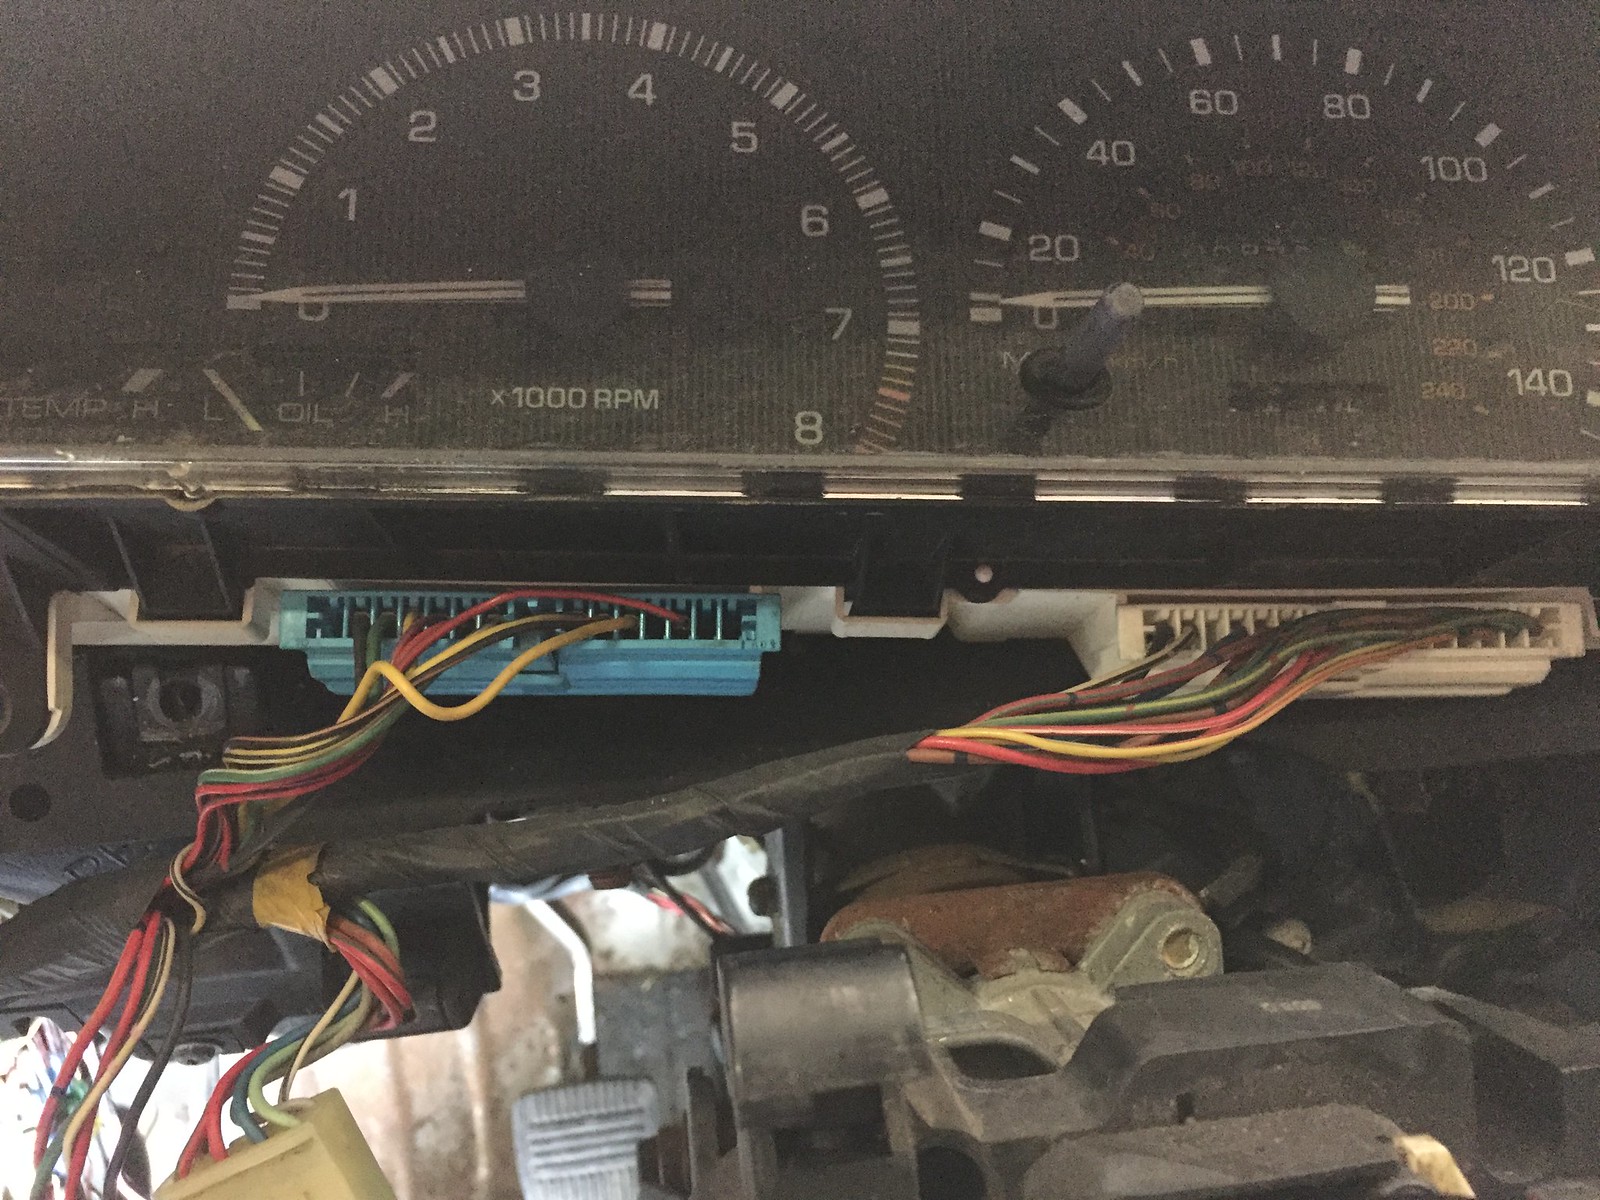
I gotta say, working on old cars is much simpler and less complicated then newer cars. All I need was a 10mm and a screw driver to remove the pieces. My Milwaukee power tools made the work less tiring.

Untitled 
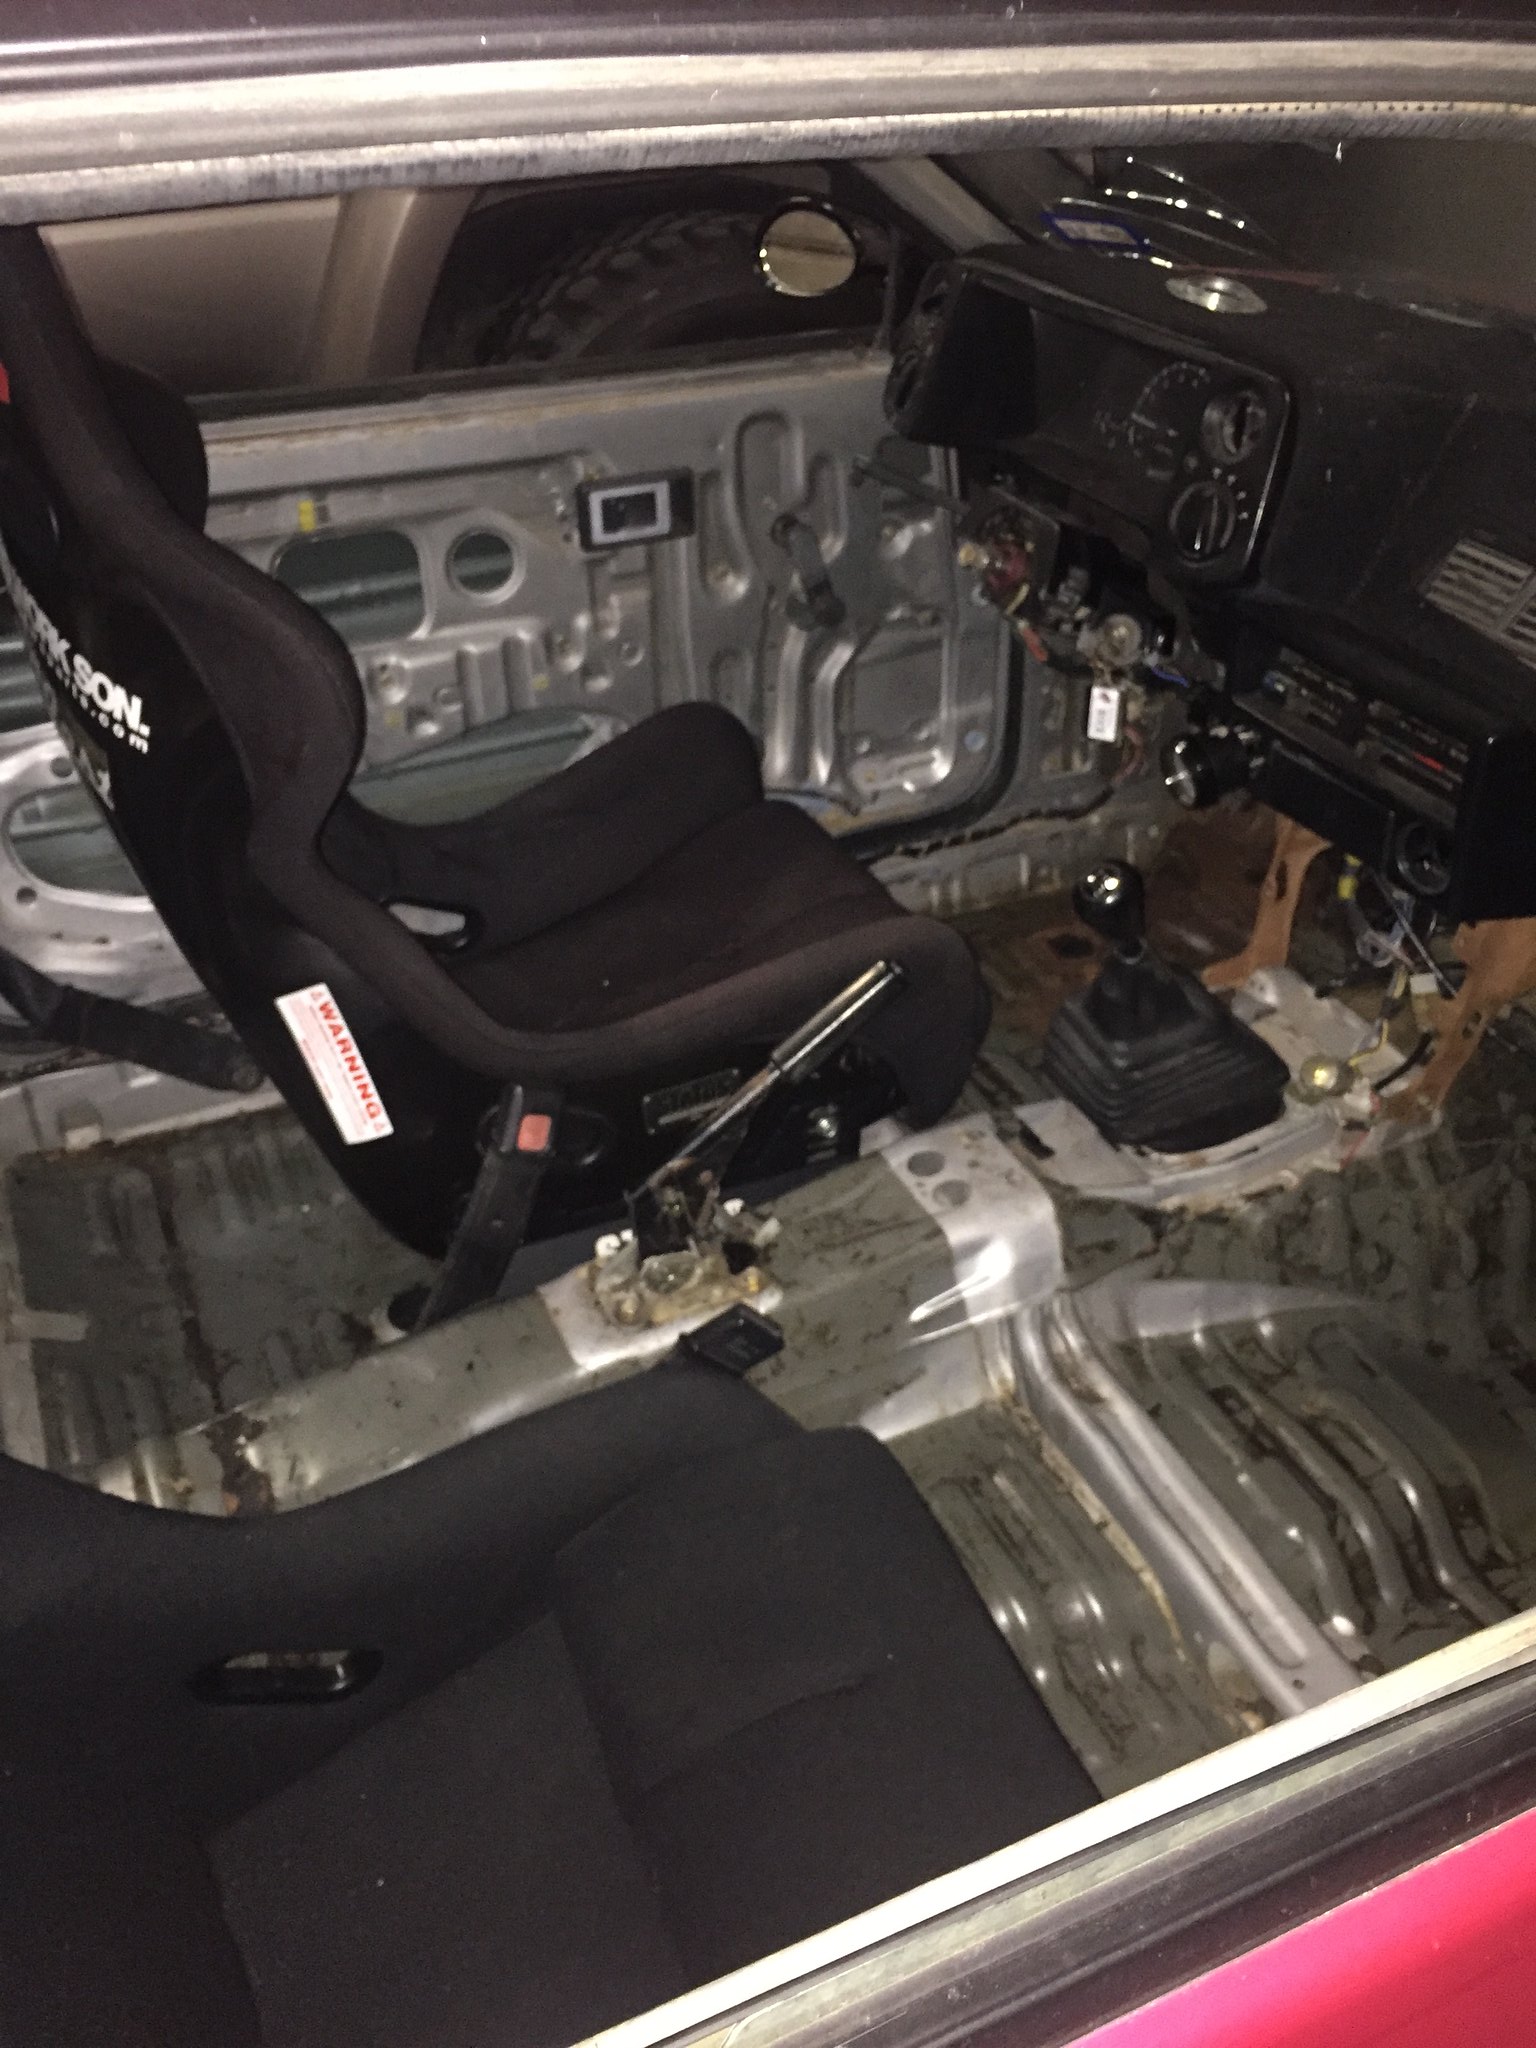
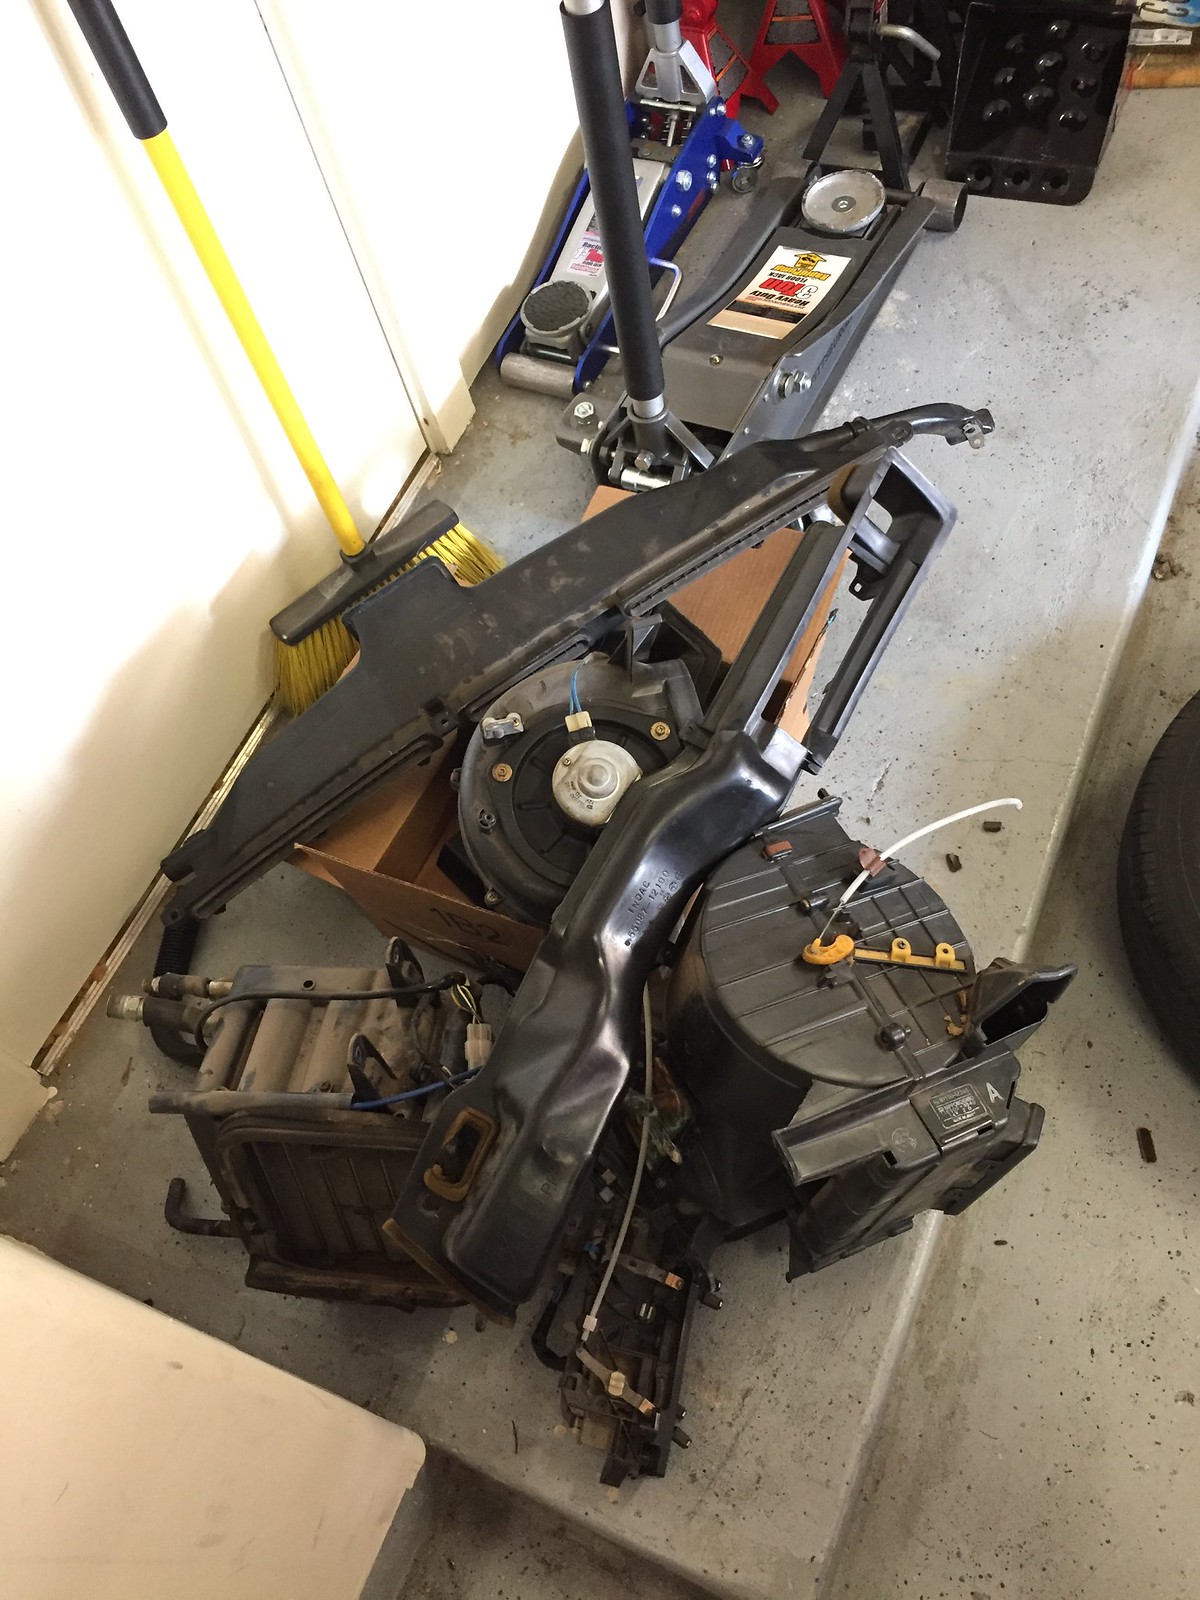
With the HVAC removed, I think I lost another 30lbs… I didn’t weight it all because the parts are pretty bulky in size. After removing the HVAC, it sure opened up the space behind the dash. More simple and clean. Untitled

Untitled

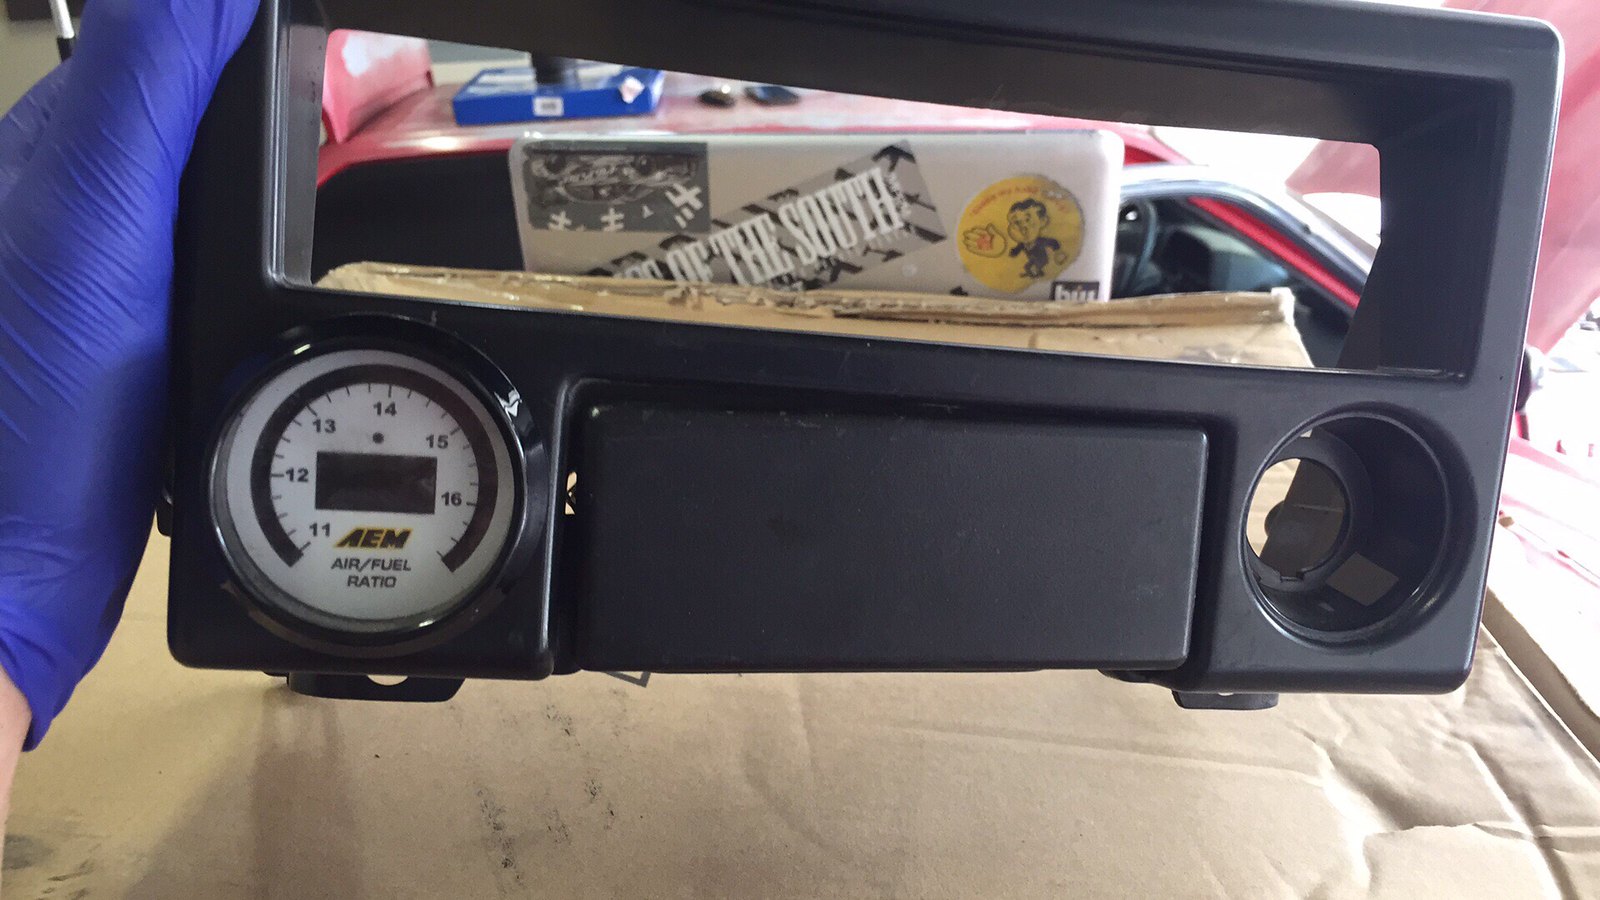
While the dash was removed I had time to fit the AEM air/fuel gauge to one of the vents. I used a dremel to widen the ac vent hole. Looks a lot better then it was dangling before. Then I put my dash, and remaining trim pieces back in! I think Im done losing as much as I can at this point. Next is coil-overs and brakes!

The link for AE86 dash removal: https://www.youtube.com/watch?v=JErlFx3rFHI&t=183s

AE86 Stripdown

Untitled

With 30lbs of dry ice and couple bottles of rubbing alcohol I was able to out 99% of the sound deadening from the 86. The dry ice and alcohol makes some kind of comical reaction which basically freezes the sound deadening. This only takes about 10mins, you’ll know when the sound stops popping. Then with a scrapper and hammer they break away in big chunks. I wasn’t able to remove all of the sound deadening around the pedals and front footwell because of the angle and tight space. I’m focusing on the intior part of the track build then working my out. Still some more work but she is getting there.

Start of an Epic Road Trip Part 5: Death Valley Day 2

DSC_0330

Waking up to a nice sunrise overlooking the mountains.

DSC_0338

DSC_0334 DSC_0337

DSC_0336 DSC_0341

Cabin fever.

DSC_0342 After morning coffee and some cooked spam breakfast, we headed out to Father Crowley Overlook. There is an off-road trail that took us to the edge and gave us nice view of Death Valley. DSC_0344

DSC_0345 DSC_0346

Lambo exploring and sniffing around. I was kinda nervous that he was going to find a venomous bug under those rocks, so I kept him on a short leash.

DSC_0348 DSC_0350

Then we headed out to Saline Valley Road. Its dirt road trail that would lead us to other trails. This is when planning out the route before hand comes to play. There isn’t any cellular reception here. I pre downloaded the map route on my phone and I also brought an actual map of Death Valley just in case my phone GPS messed up. Lucky we didn’t lost, and saw some views only few people have seen.

DSC_0351 DSC_0359

DSC_0358

Always got to air down when going offloading. Provides a bigger footprint for traction and smoother ride.

DSC_0362

DSC_0363 DSC_0370

Really impressed with the Nangkang Mud Terrain tires, super cheap, and tough for when the road gets rough. I aired down to 20psi for this journey.

DSC_0372 Joshua trees scattered throughout the landscape. DSC_0374

DSC_0378 DSC_0381

Stumbled upon a little oasis.

DSC_0379 DSC_0382

DSC_0377 DSC_0384

The trail lead us into the mountains and different side of wildlife.

DSC_0385 DSC_0388

DSC_0392 DSC_0397

DSC_0398 DSC_0399

Teakettle Junction!!!!

DSC_0403 DSC_0402

DSC_0400 DSC_0406

Made it to the moving rocks!!! But unfortunately there are vandals the move the rocks from its original postition. Kinda of a bummer on how we cant have nice things.

DSC_0408 But I did manage to get one good picture! DSC_0410

DSC_0423 DSC_0412

DSC_0424 DSC_0425

DSC_0428 Then remade our drive to Ubehebe Creator and the road turned from desert rocks to volcanic-like sand. Felt a lot smoother because the heavy rutted road was a nightmare. The driving going from Teakettle Junction to Racetrack Playa was the worst riding experience ever.DSC_0429

DSC_0431 DSC_0434

DSC_0436 DSC_0439

It was super windy that day.

DSC_0441 DSC_0444

There was a trail that looked like it takes you to the bottom, but with Lambo in the car and the heat, we didn’t want to risk him getting heat stroke. He is super furry.

DSC_0446

We then drove to Old Stovepope Wells, and was pretty hot desert. From chilly mountains to the hot desert all in one day.

DSC_0447

Veiws you dont get anywhere else, and its off the beaten path.

DSC_0448 DSC_0449

The Land Cruiser looking good, and racking up miles.

DSC_0451 DSC_0454

We made it back to our small cabin, and called it a day! I didn’t take much pictures after that, because I just wanted to soak up the moment. Not many people are able to visit Death Valley and yet alone even drive the off road trails. Two days in the Death Valley isn’t enough and need at least a week to really explore the place. We did bring three 5 gallon jerry cans and used two jerry cans for the trip. Mainly because the only two gas stations in Death Valley is very expensive and only serve diesel and low grade octane. Its understandable considering you are pretty far from closest city. In the next series, we will be heading to Nor Cal and looking forward to the cool weather and sea breeze!!! Stay tuned!!!