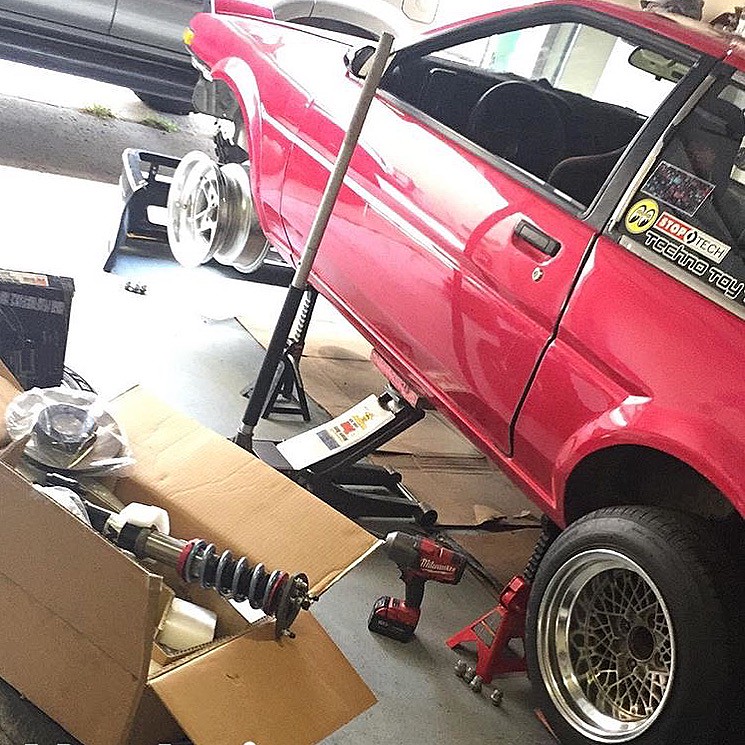
Let me just say, this is my actual true real car build. My past cars I would do mainly maintenance stuff and thats pretty much it. They rest of the parts I would take it to a shop to do the installs. Im more of a driver then a mechanic. But getting involved in this build makes me understand my car better, with that, I’ll be installing my coilovers.
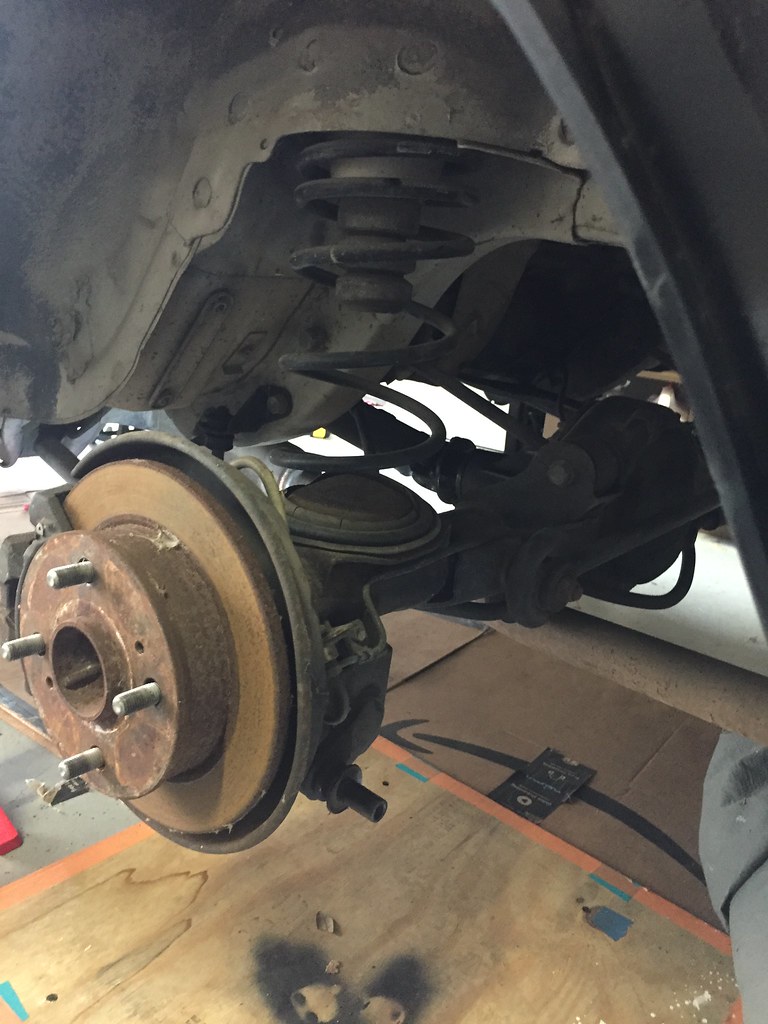
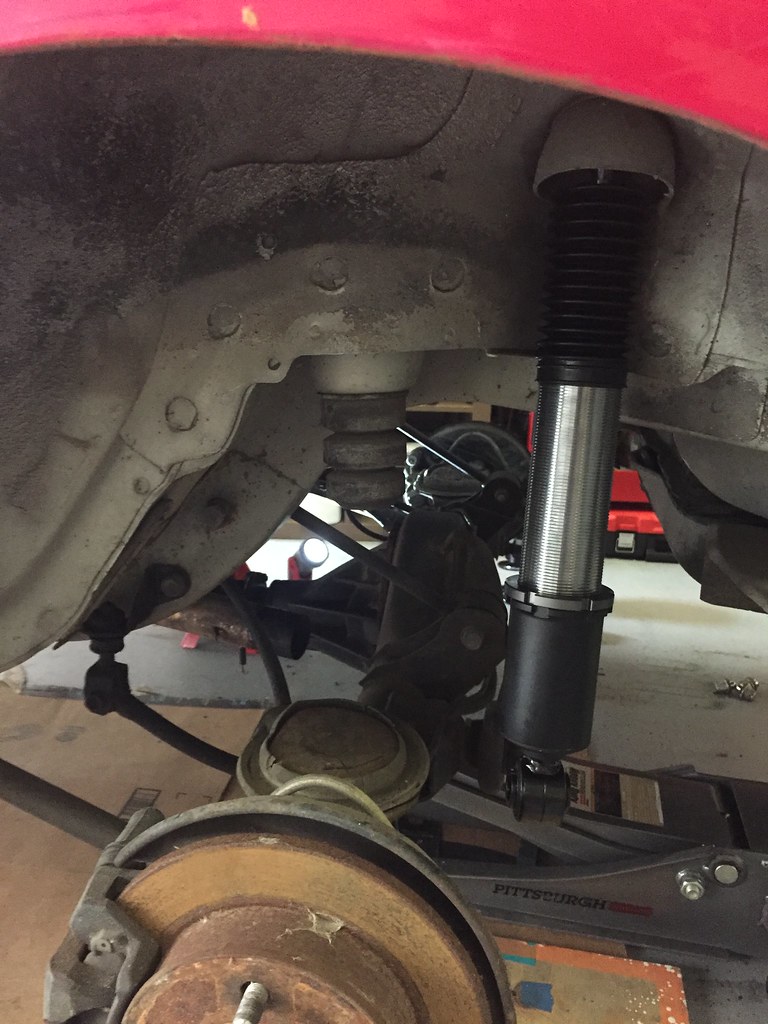
The first thing I tackled on was the front suspension. I was kinda familiar on how to remove it, when I helped Donnie do his suspension on his Carnia. I really do like how simple old Toyotas are simple to work on, you don’t need any special tools to do the work. There are three 10mm bolts on the top strut and 2 bottom bolts that hold the suspenion. Pretty simple and easy.
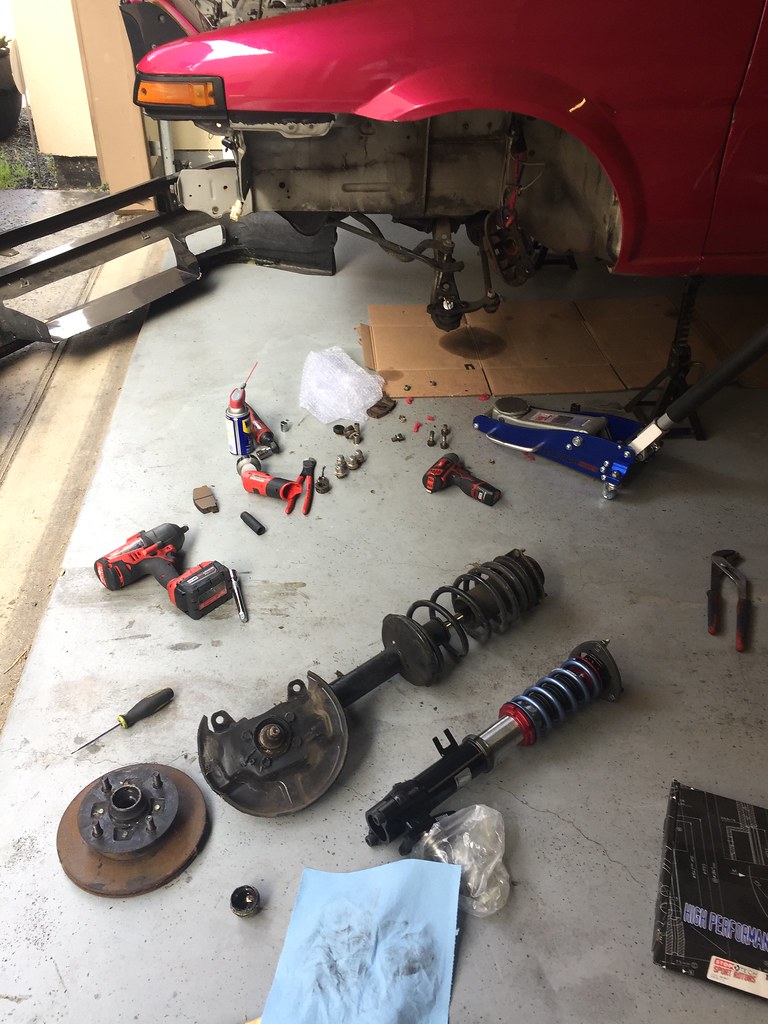
The stock suspension is alot longer then the coilovers so I had to remove the sway bar connection to get enough room to remove the suspension. Power tools made the work a lot easier. They pay for themselves! Worth the investment if you own a home or even do a lot of wrenching.
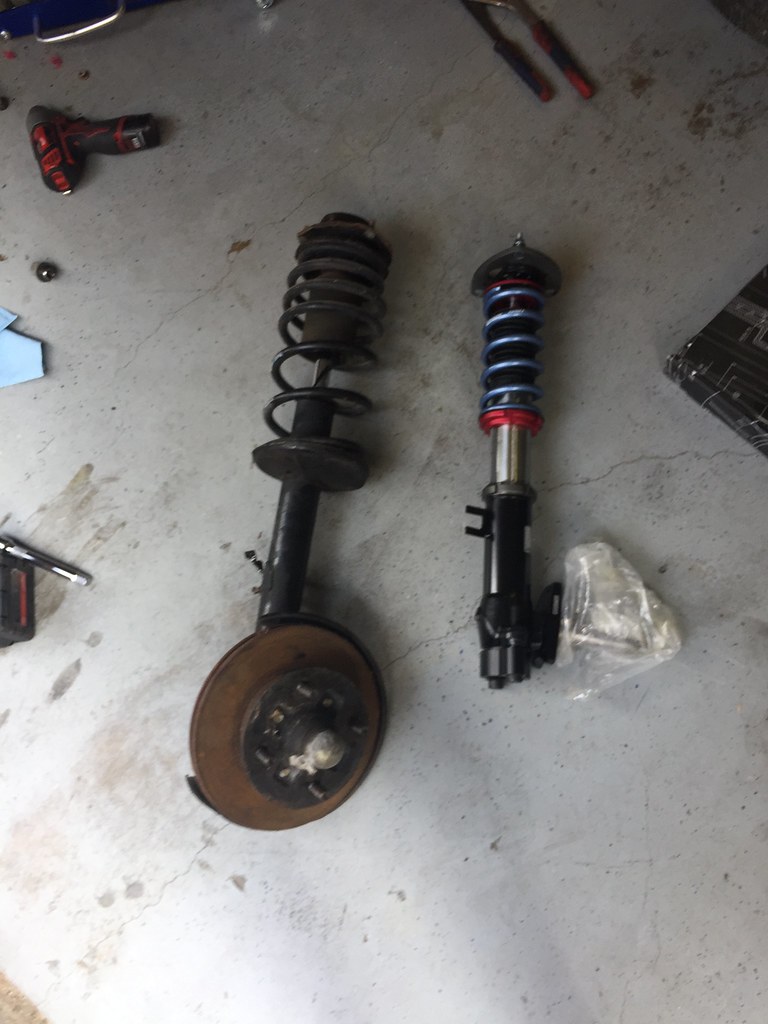
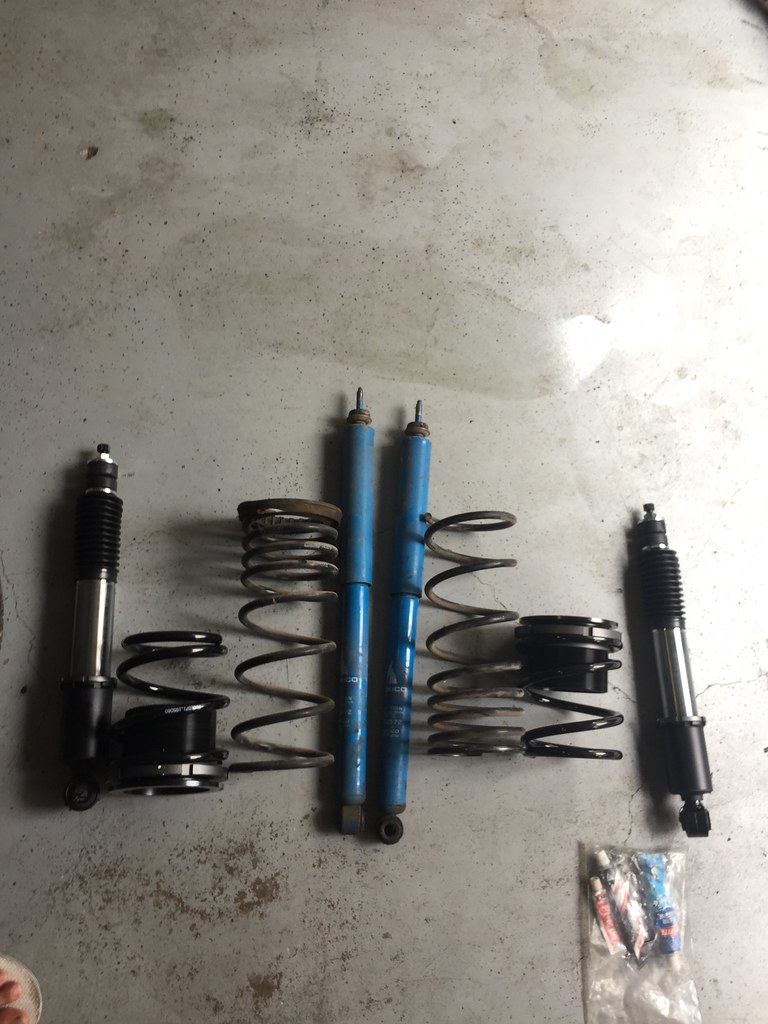
New verses old.
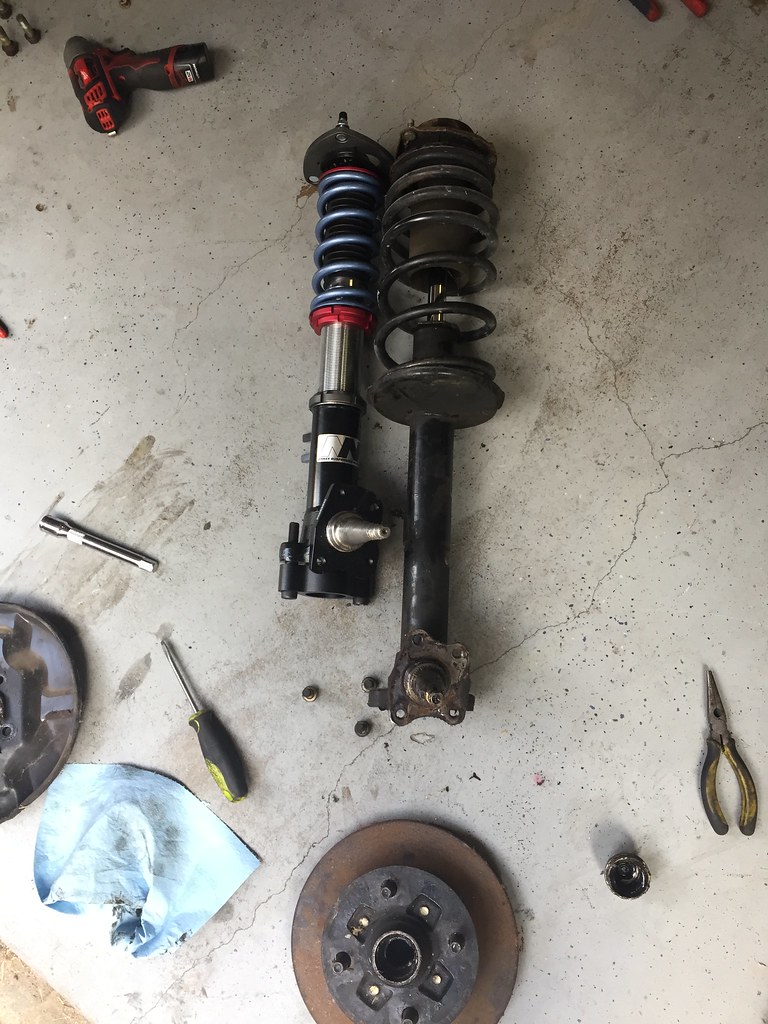
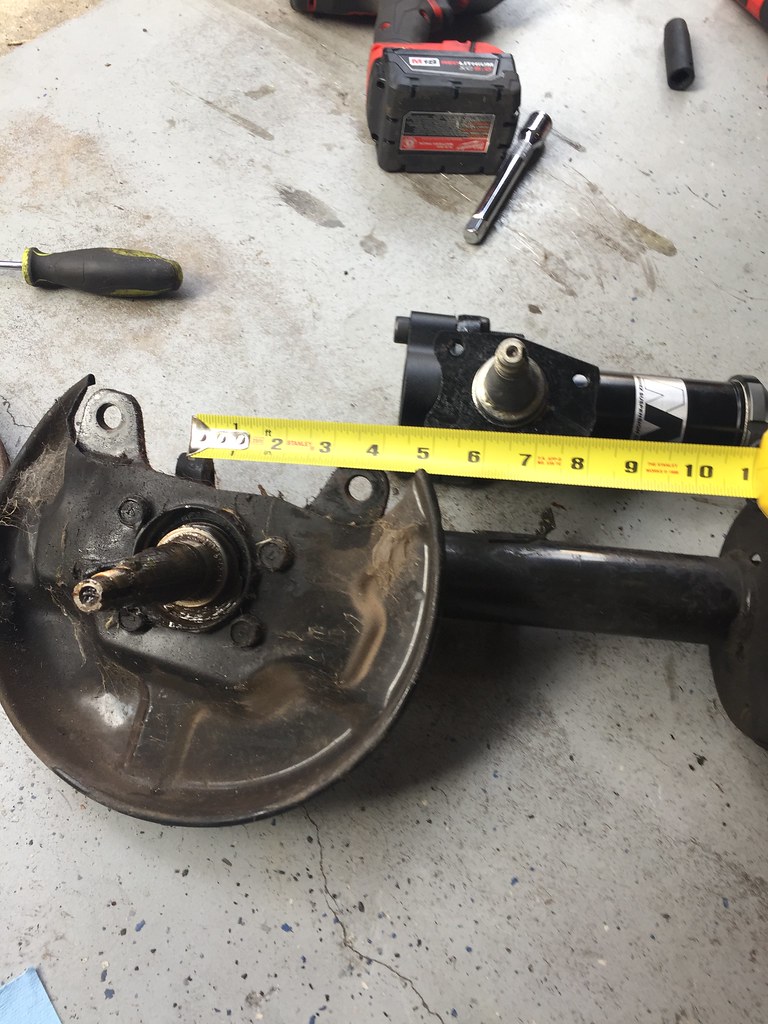
What I forgot to do was take measurements of the old suspension, but with a side by side comparison I was able to kinda guess how low I wanted to go. These new coilovers have room to go slammed, if you wanted to.
And removing the wheel hub from the suspension was pretty easy too. I didn’t take any pics because its a messy job. But basically, you remove the dust cap with a hammer and flat head screw driver. That exposes the locking pin, where you use a plier to remover. After that you remover the nut on the spindle, should be loose enough to remove by hand, and then you put the entire wheel hub out!
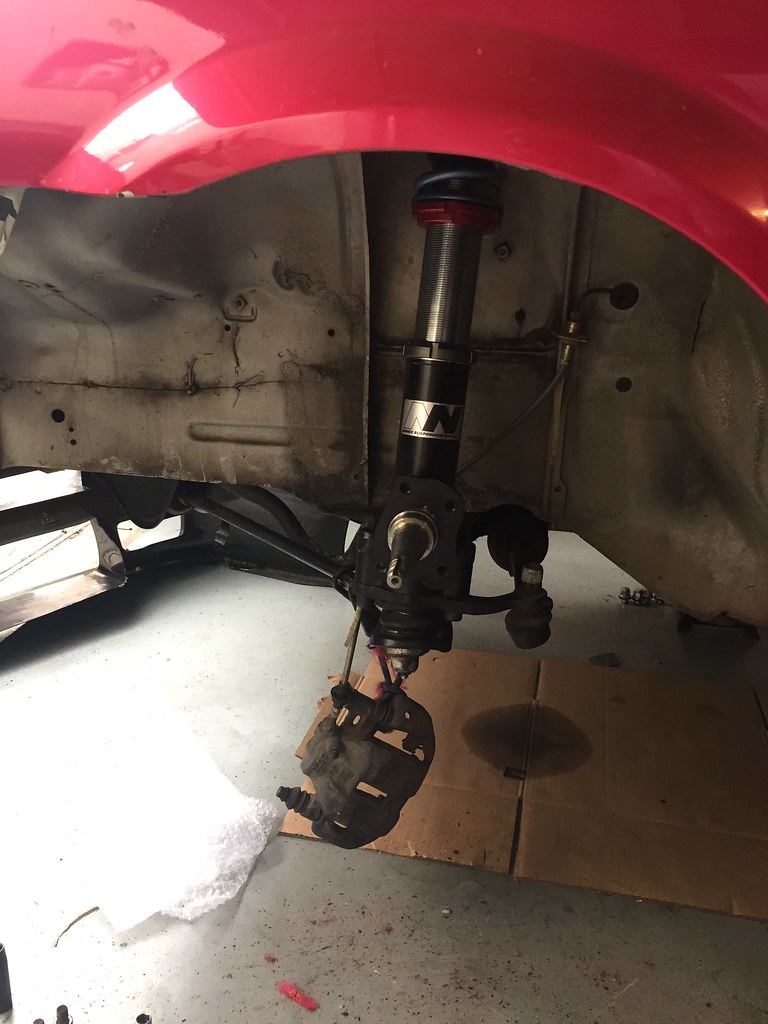
The wheel bearings install ill do another post. You could use the repack the old bearings but for me I wanted new ones since the car was going to see track time. I do like the fact of not having a front control arm made the front suspension easy to remove. I bolted the front coilover back and moved on to the rear!
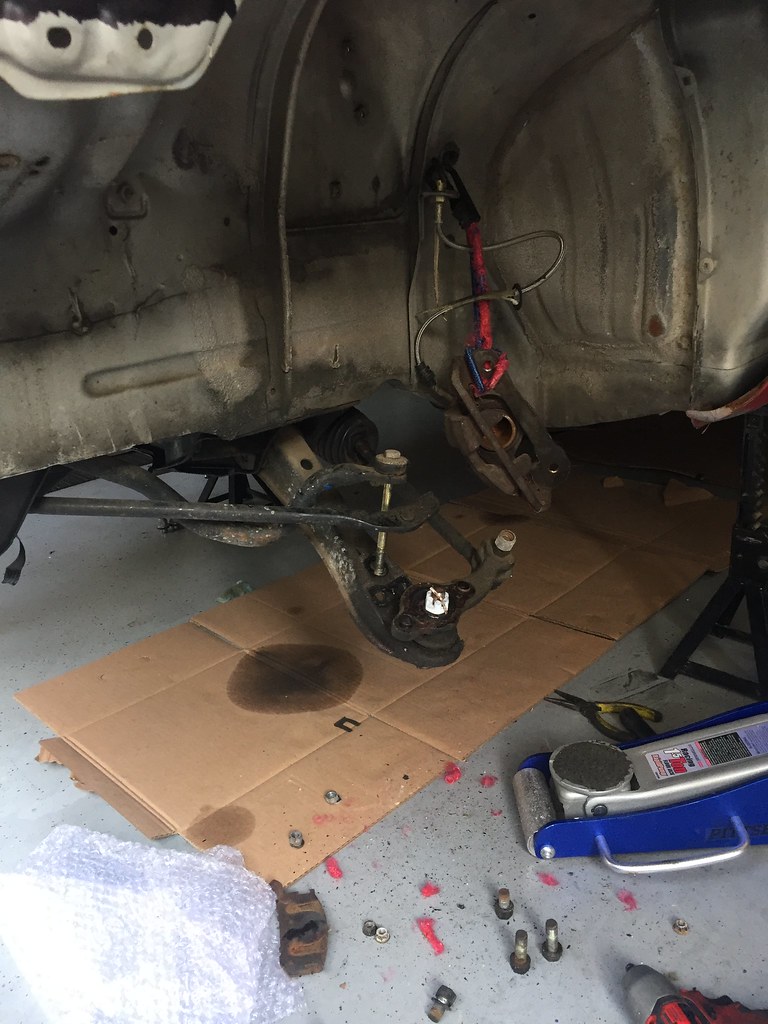
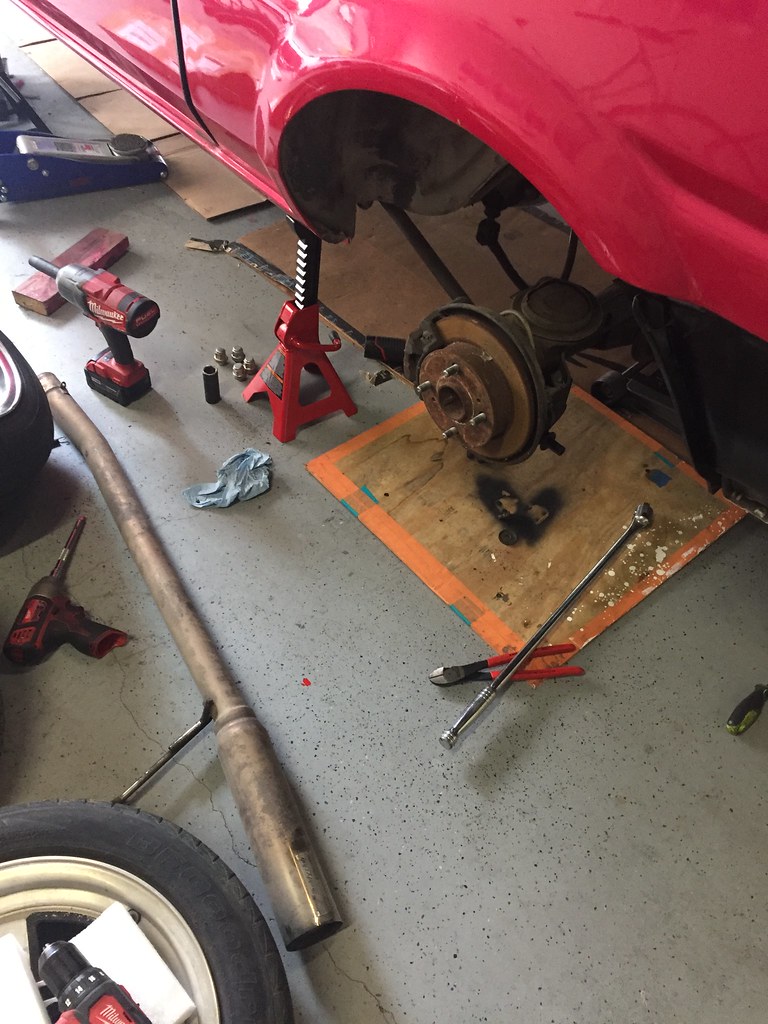
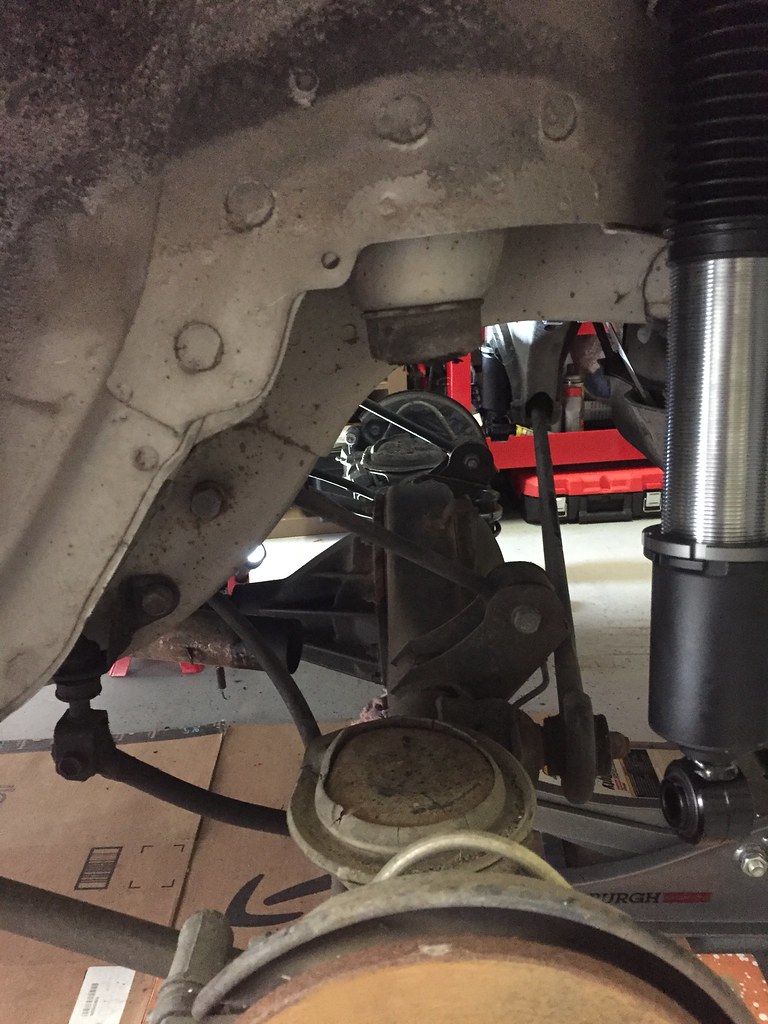
When I removed the rear lower bolt for the shock, I thought I stripped or broke off the bolt considering how short it was. Thankfully that wasn’t the case, and is actually the bolt length. Then I removed the top bolt holding the stock, used used the rubber hammer to get the shock out. This worked just fine.

I noticed the the solid rear axle was resting on the exhaust, so I remove a section the exhaust so the rear axle can droop more. The car came with a buddy club exhaust and had a quick release conveniently placed behind the rear axle. The extra droop allowed me to pull out the rear springs.
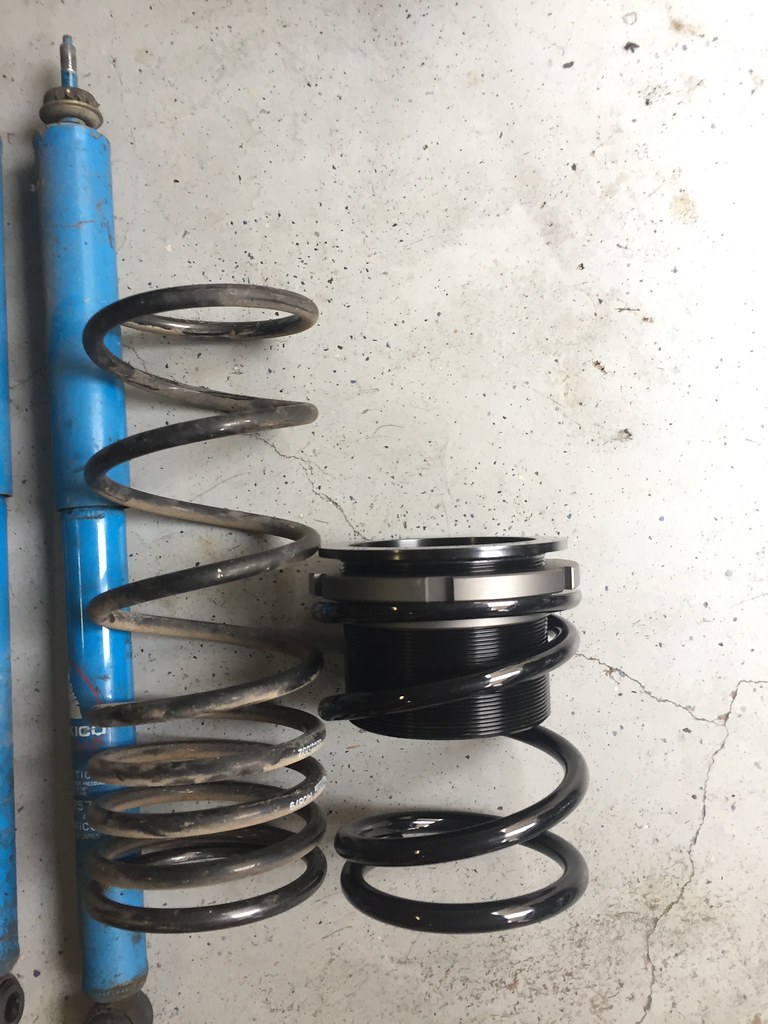
The AE86 came with Eibach lowering springs but look at the hieght difference!
The collars comes with a lock so you dont have to worry about the springs getting loose.
With any lowered cars, you have to make sure to cut off the bump stops. I know I was going to be pretty low so I opted to cut of a majority of the bump stop.

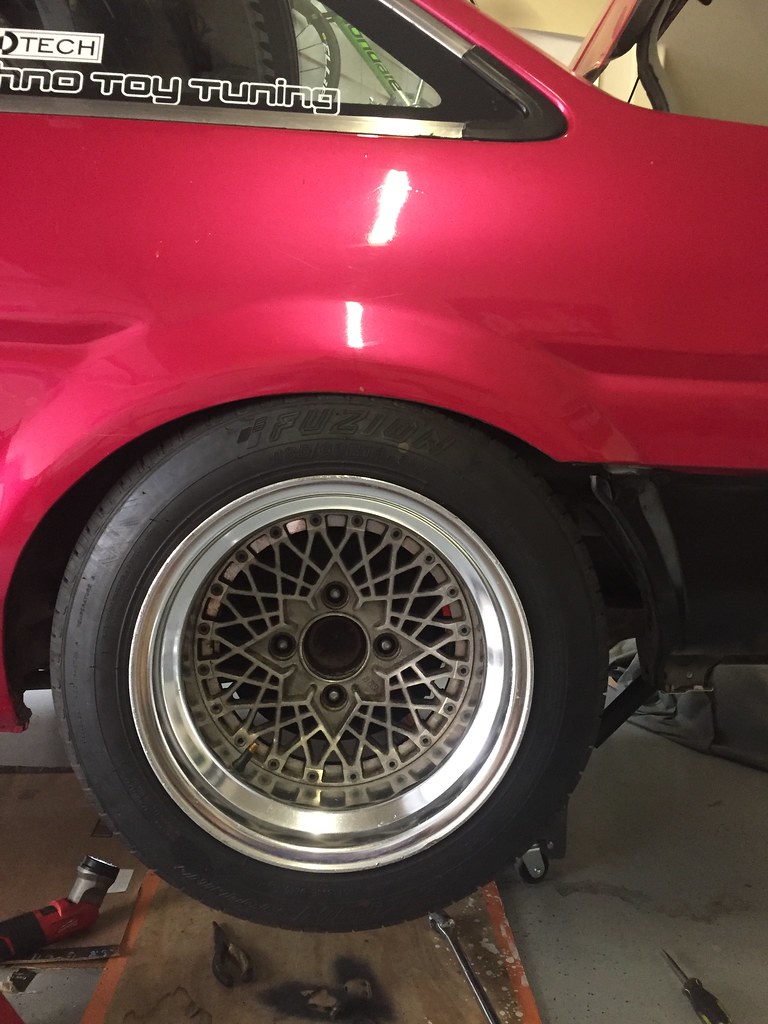
I could got a lot lower haha, but I did adjust the hight a little to something more functional
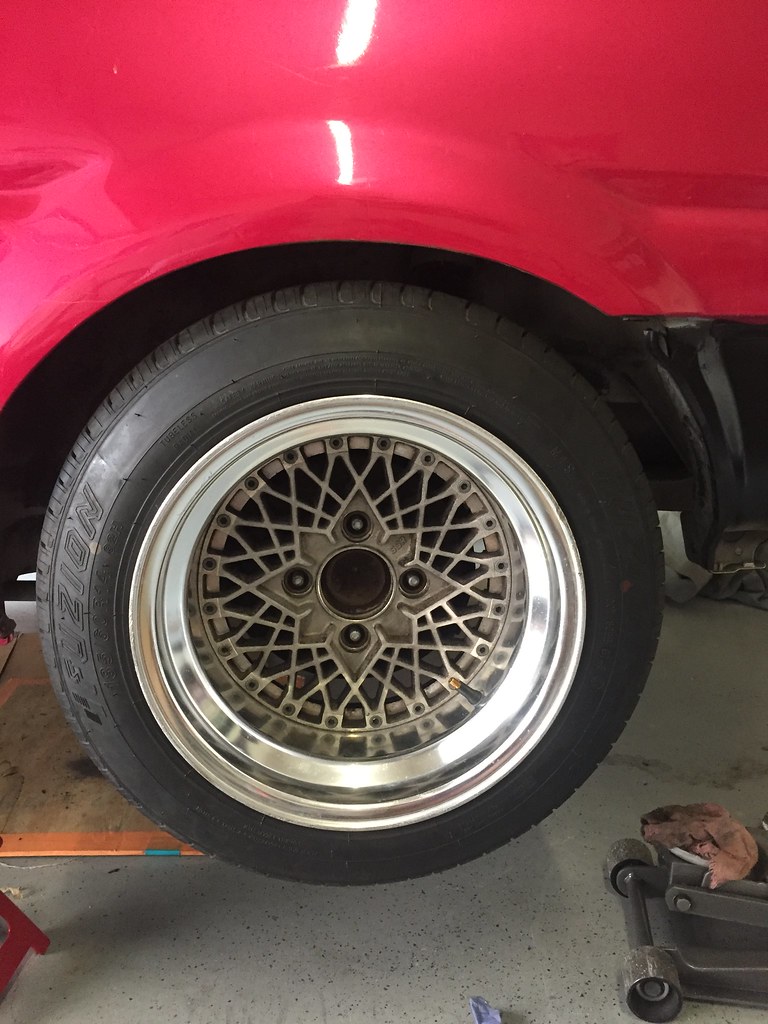
I left it with about 1″ wheel gap. I know the suspension will settle more on the ground. I probably had about 3″ more inches to go lower. I didn’t mount the front wheels for test fit, since I didn’t get around to finishing my wheels bearings and extended studs. She is getting there little by little.
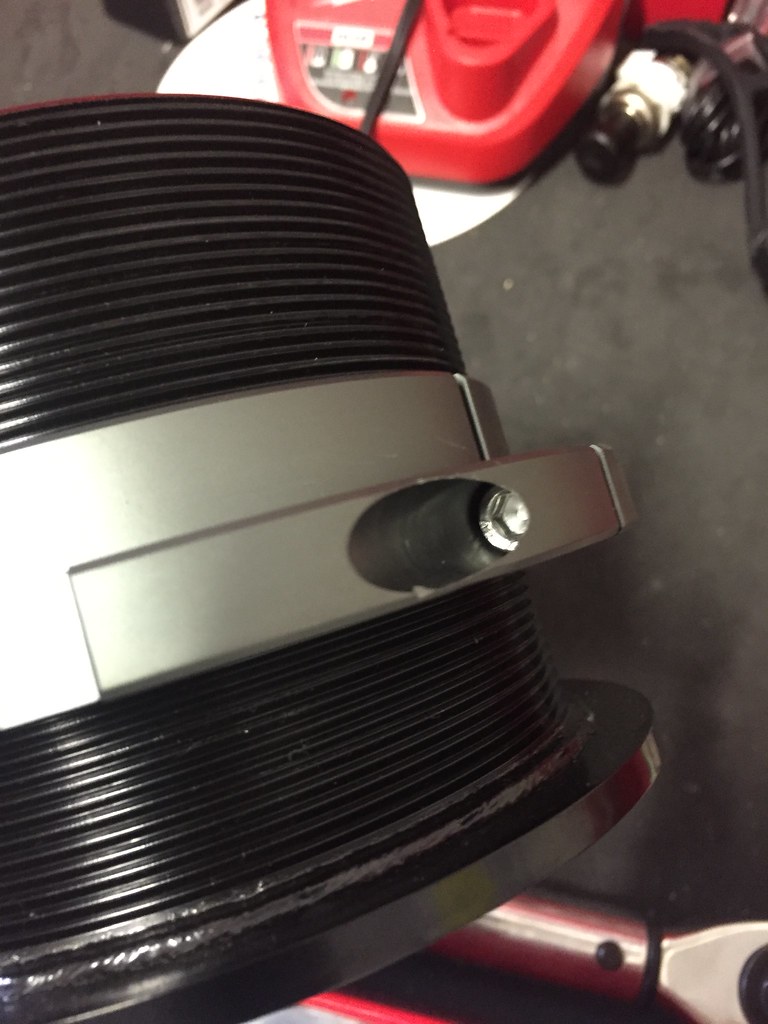
If anyone is wondering, the coilovers I bought was from Battle Garage very own product and hasn’t been on the market yet. They come with adjustable dampening and front camber plates. I have front swift springs 8kg and 6kg rears. Its kinda on the stiff side, but the AE86 will mainly see the track time and on r comp tires. If it was going to be a daily or see more street time would get lower springs rates.
