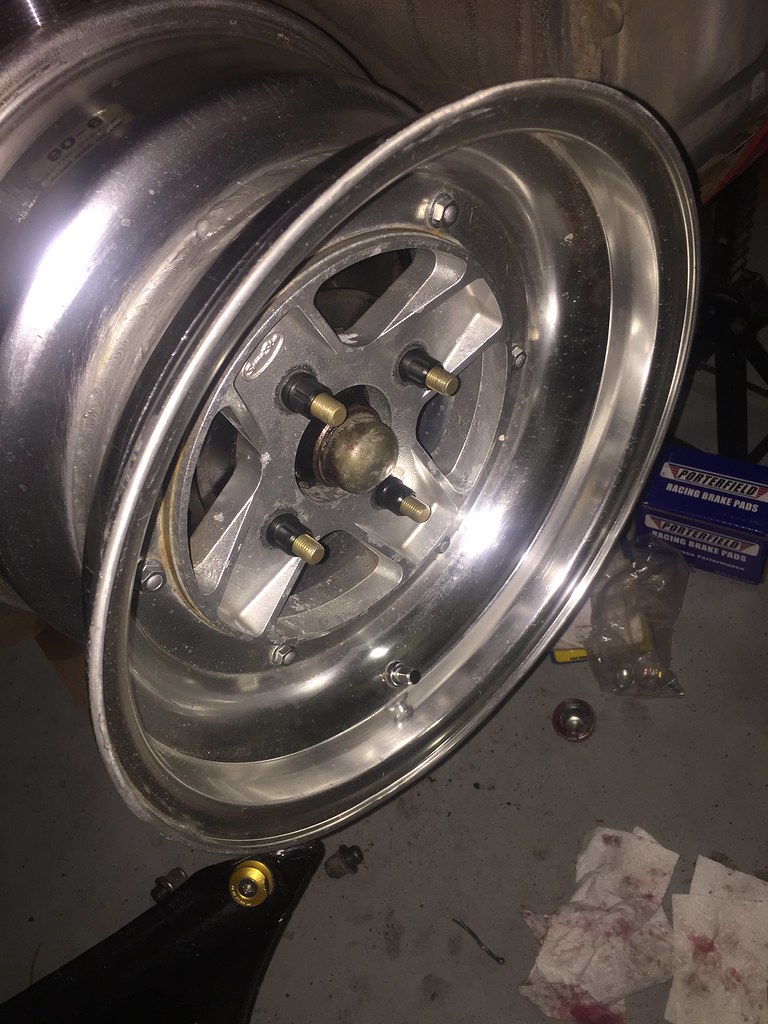
After I installed my coilovers, the next thing on the list was put new wheel bearings, extended studs and rotors. I first tackled the front, since my wheel hub was already out.
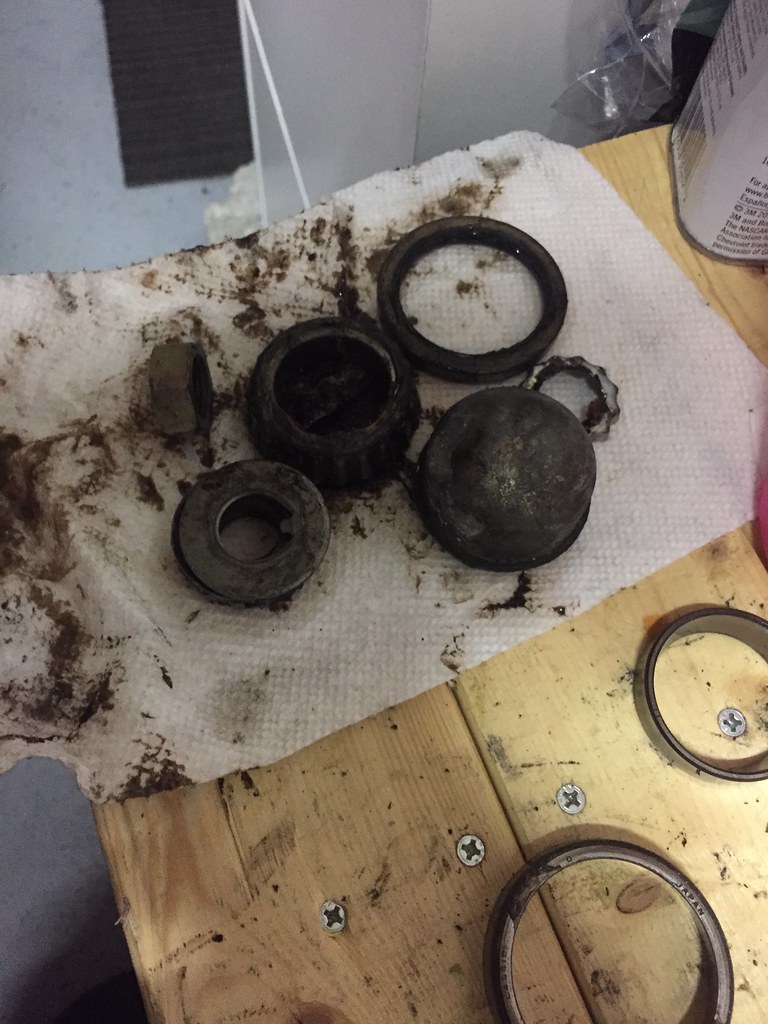
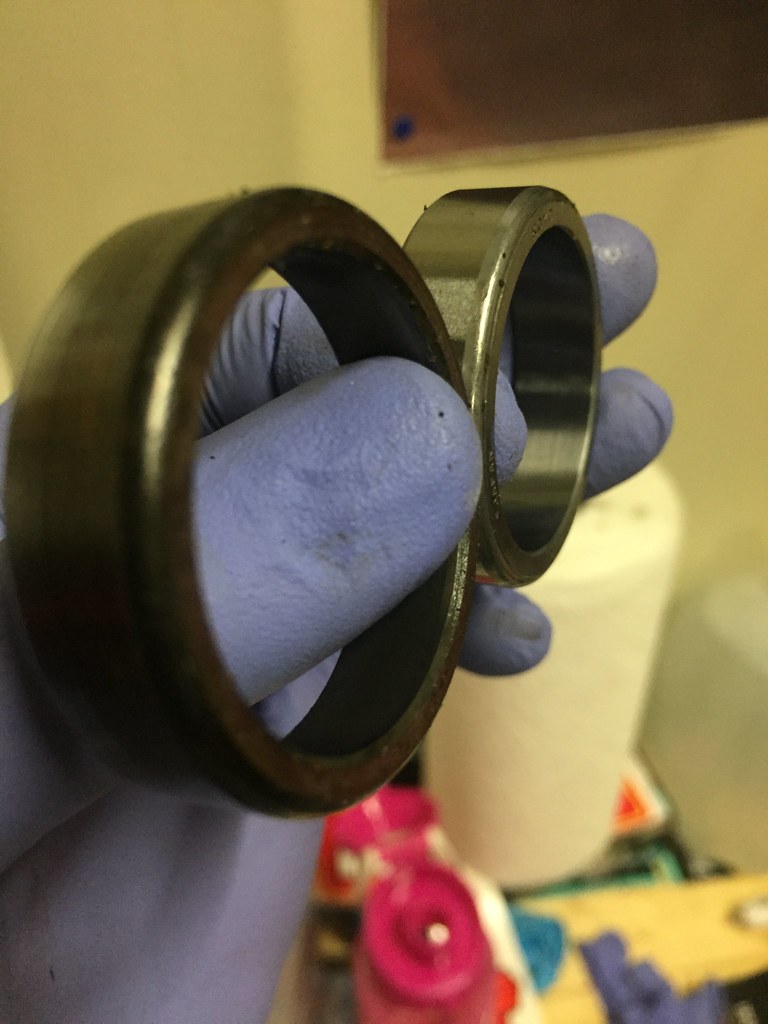
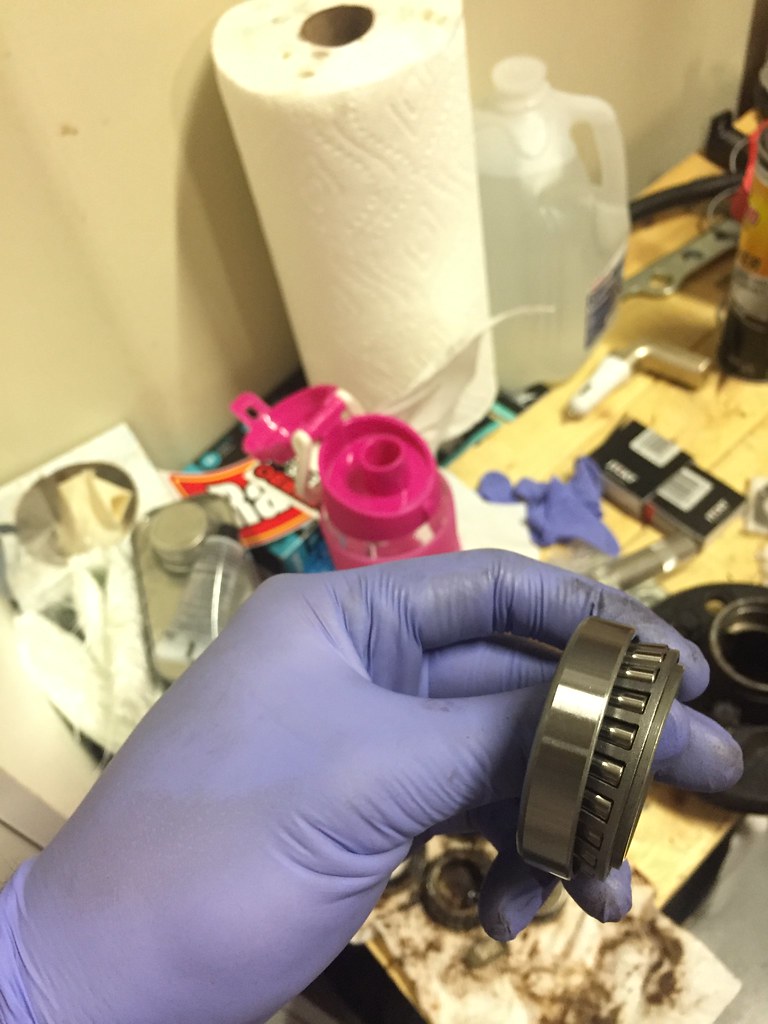
I had to remove the race and wheel bearings, and you dont really need any special tools for this. I used a hammer and 6″ extension socket. Ill like the youtube video on what help guid me during this install. As you can see the old bearing was pretty dirty and looked like is wasn’t changed for a long time. I probably didn’t really need to do it, but since Ill be tracking it, Im sure these bearings wouldn’t last long.
With the race and bearings removed, its now time to clean out all the grease. I used paper towels to take out most of the grease then brake cleaner.
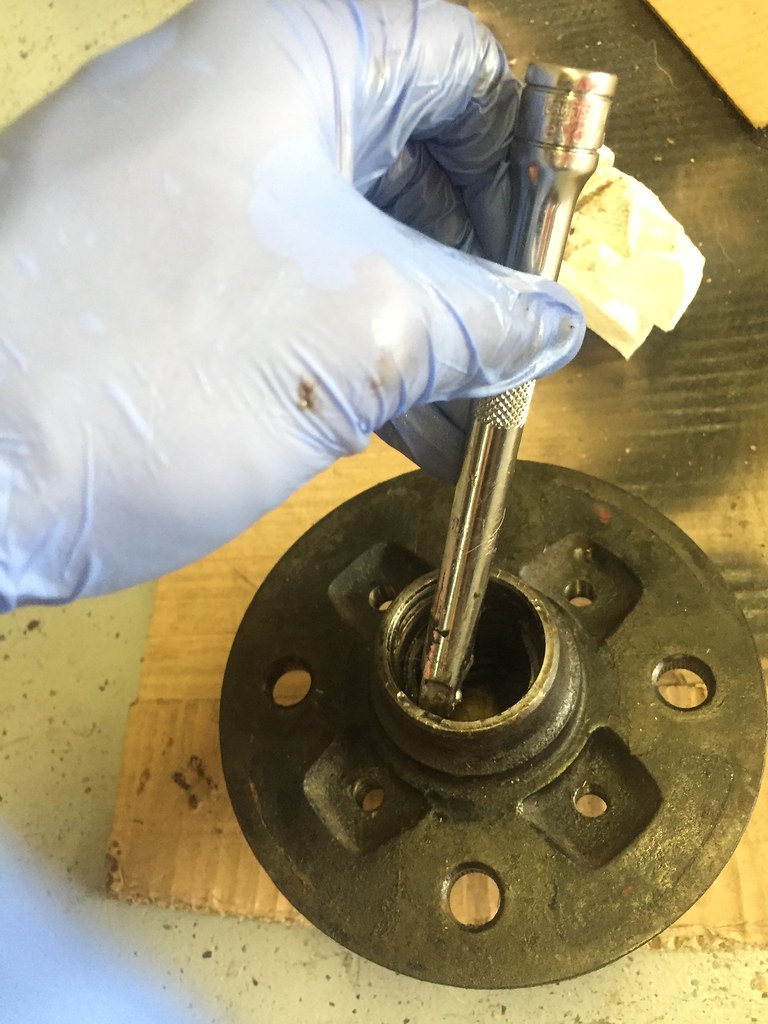
Next was installing the new races. This is where you need a spacial tool to make sure the races go in evenly.
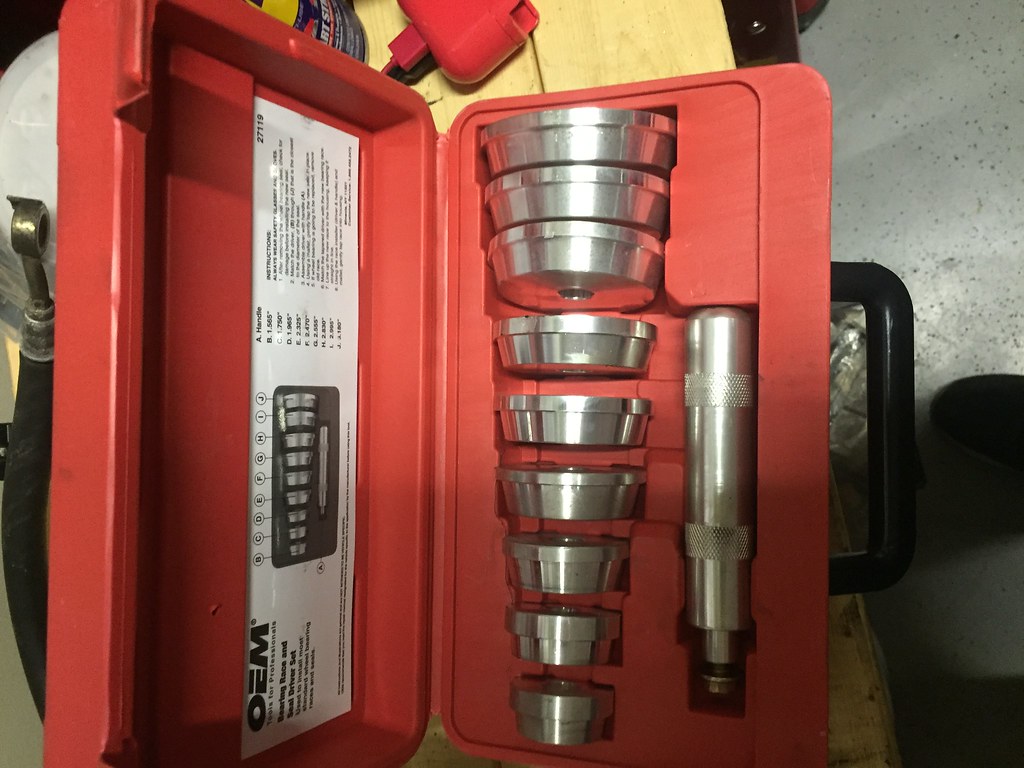
Thankfully Autozone has a race driver set and lets you rent the tool for free!!
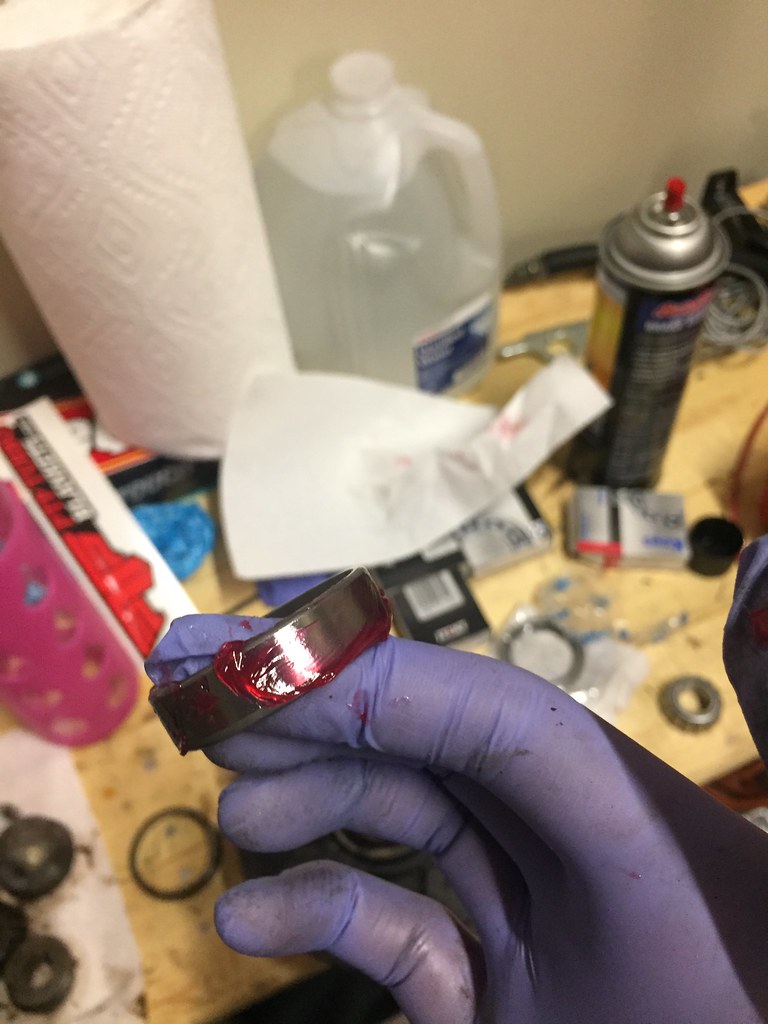
Next was applying high temp wheel grease on the race, to make it easier to slide into the hub. There are two side you have to do.
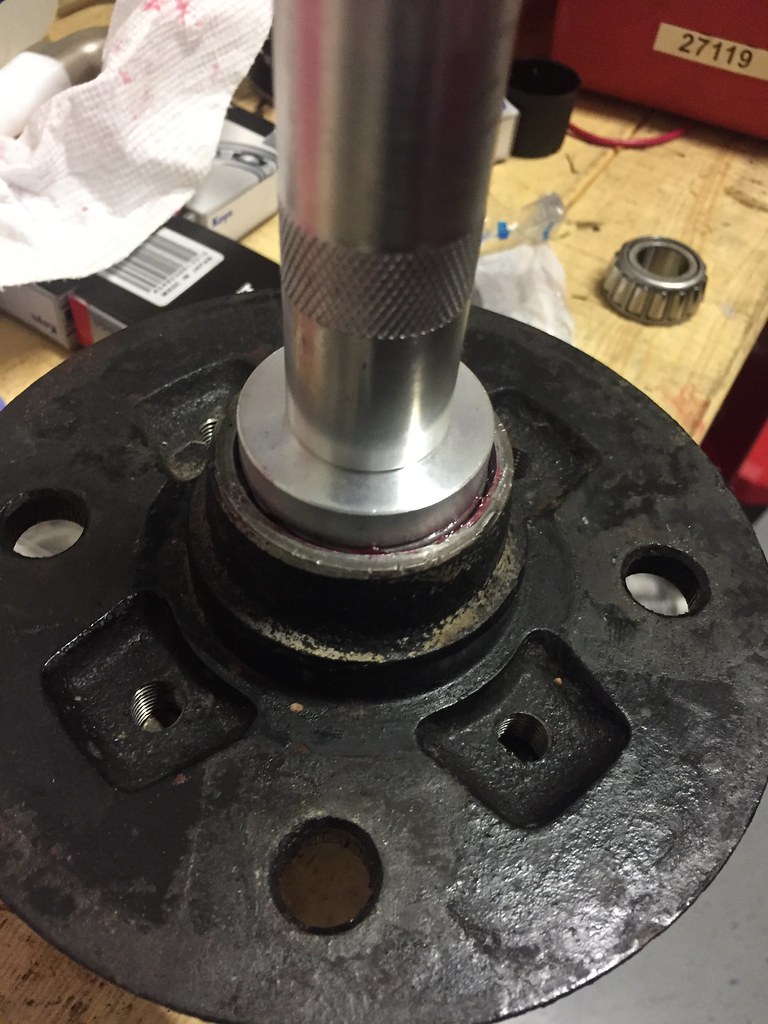
Then you set the driver in the race and hammer away. There is a notch where the race will sit on, and you will know once you hear a distinct sound when hammering. If you are not sure just look into the hub see if the race is flush to the notch.
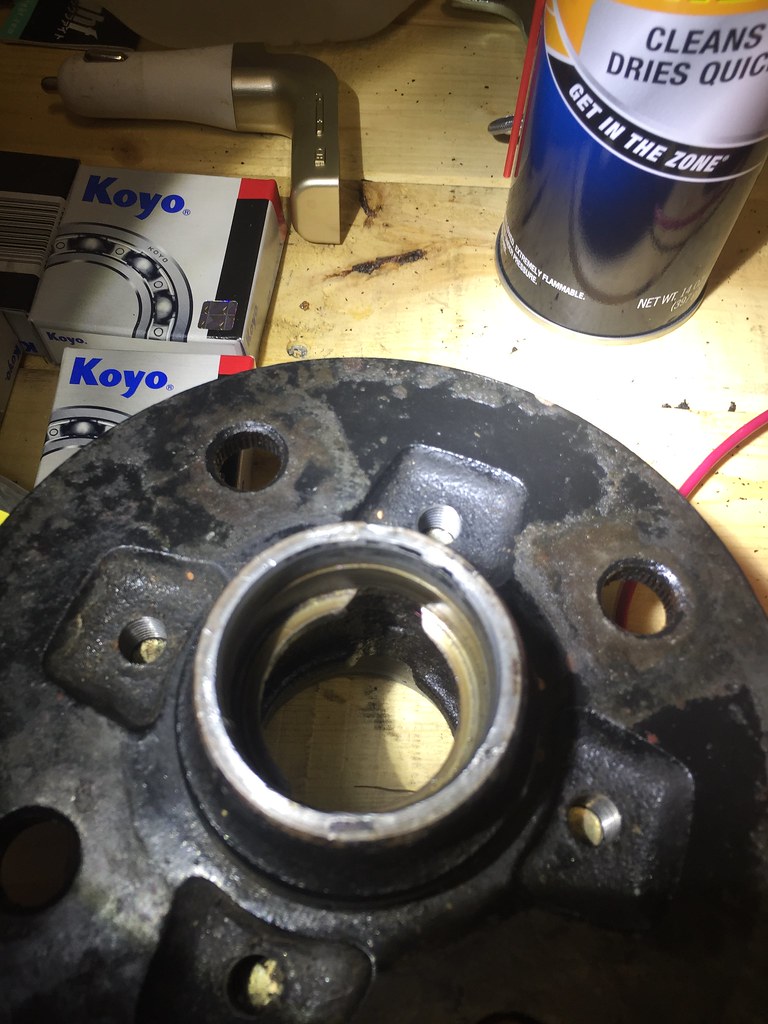
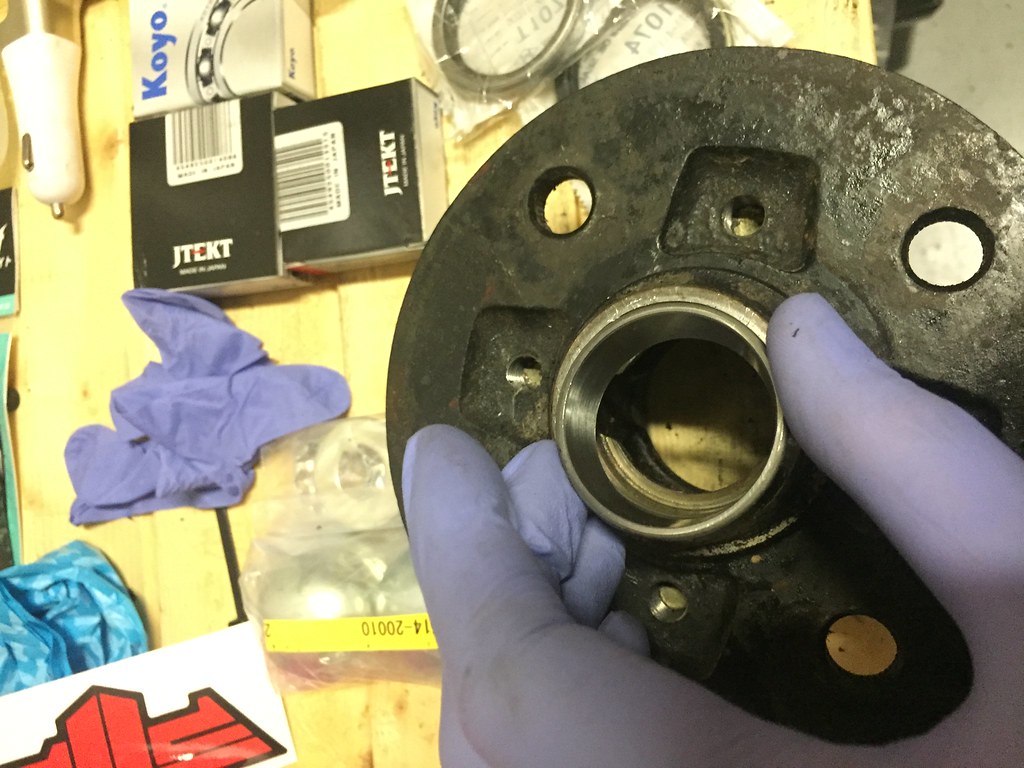
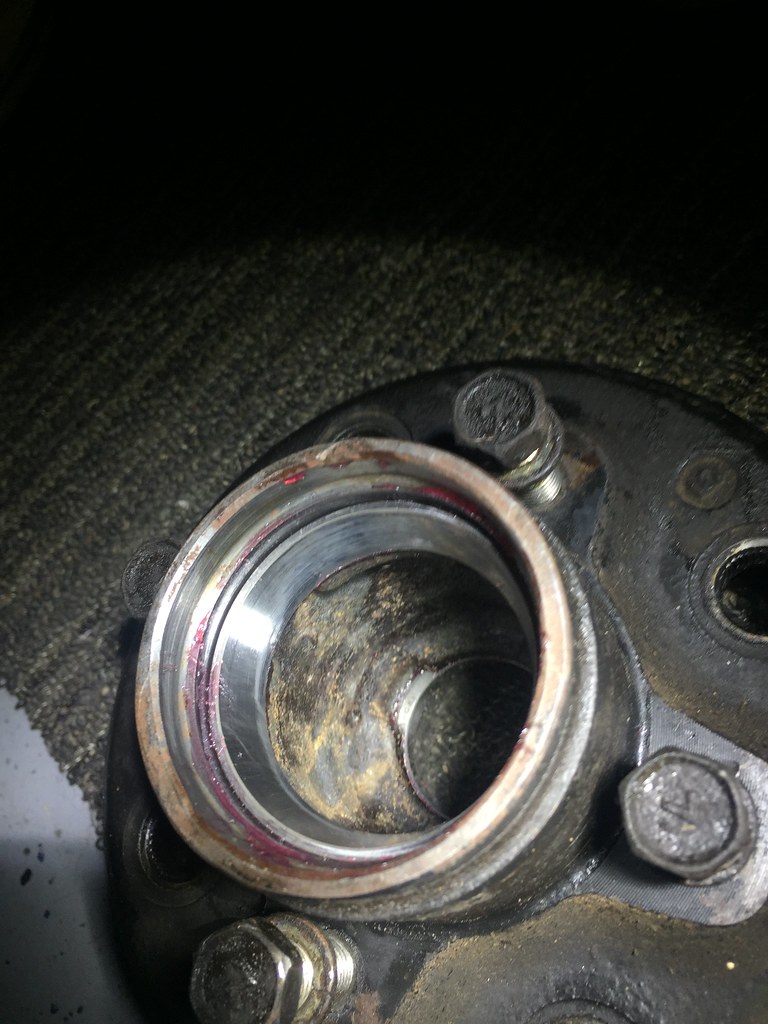
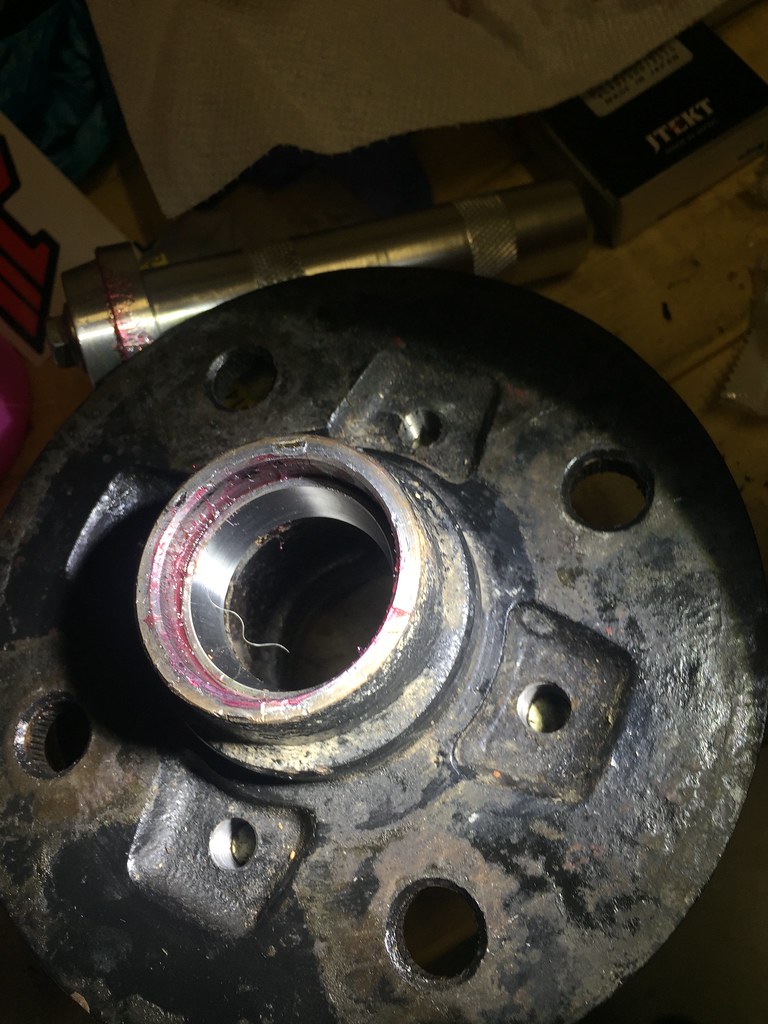 Thats what its suppose to look like.
Then you repeat on the other side.
The race and bearings are slanted inside so there only one way to mount them into the hub.
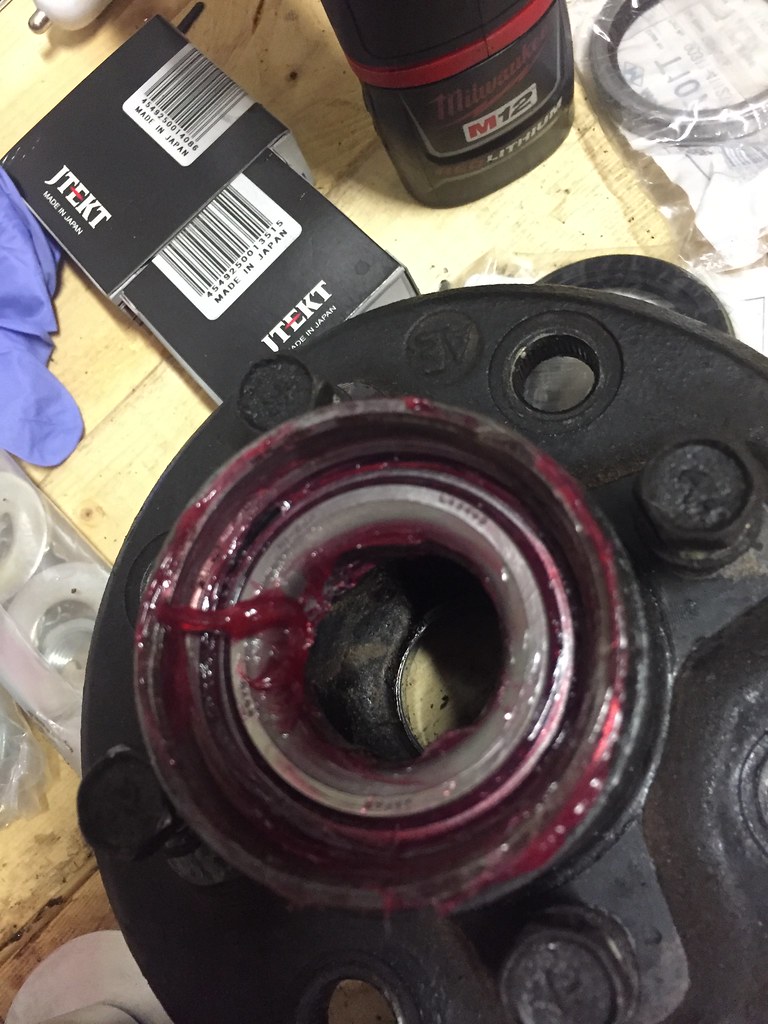
The larger bearing is what you want to seal frist, becuase this is part that will go into the spindle first. Make sure to pack the bearing and hub with lots of grease before putting it into the race. The messier the better.
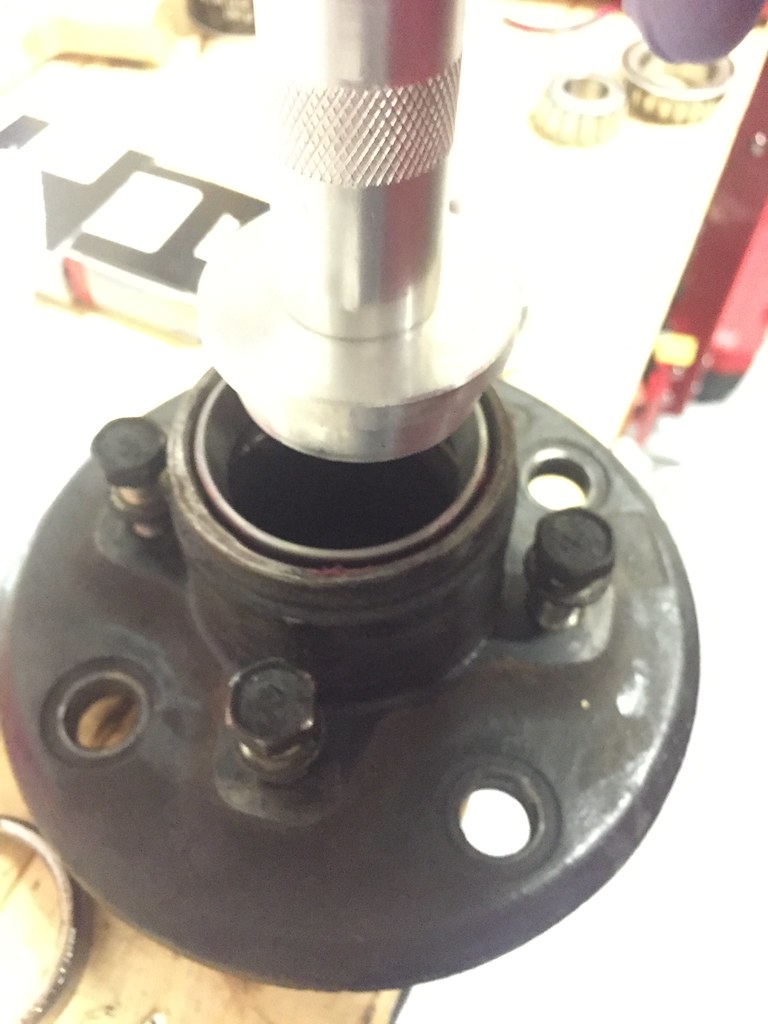
 Then you have to apply the seal after the installing the larger bearing. I used the driver to make sure the seal went in evenly.
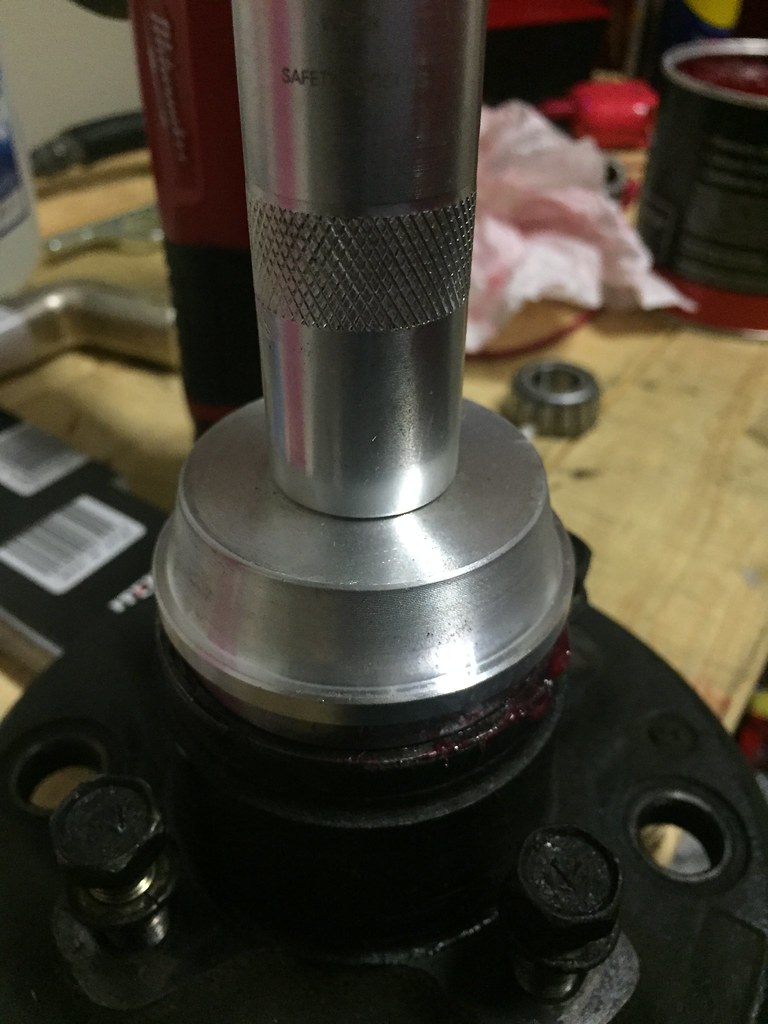
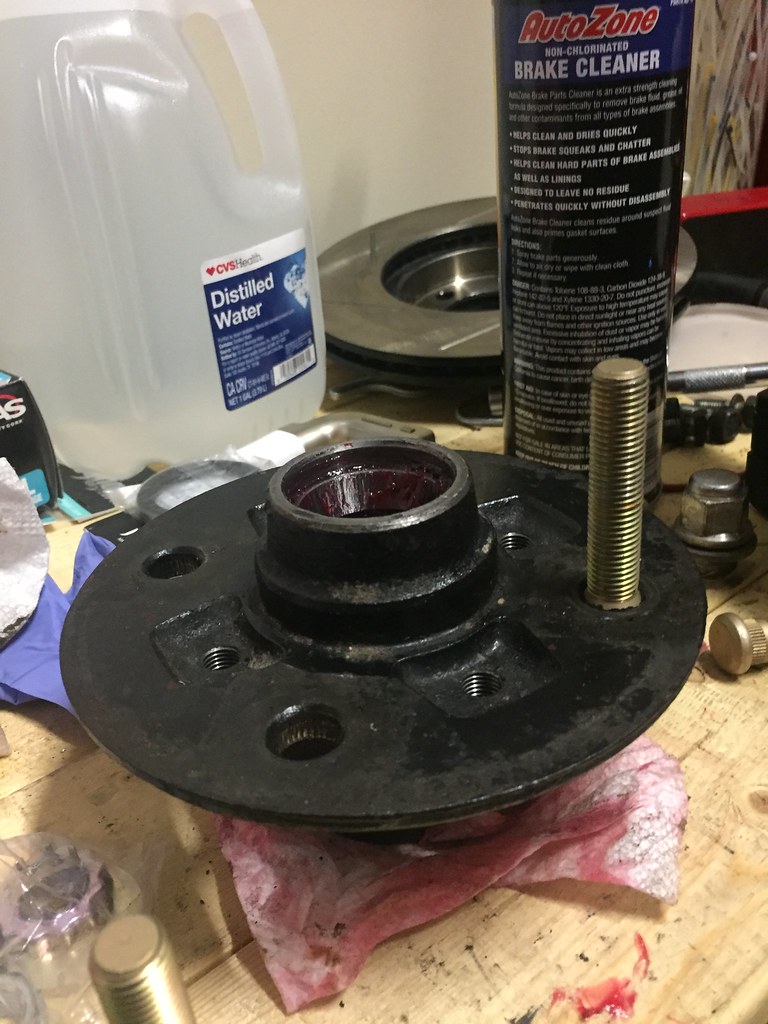
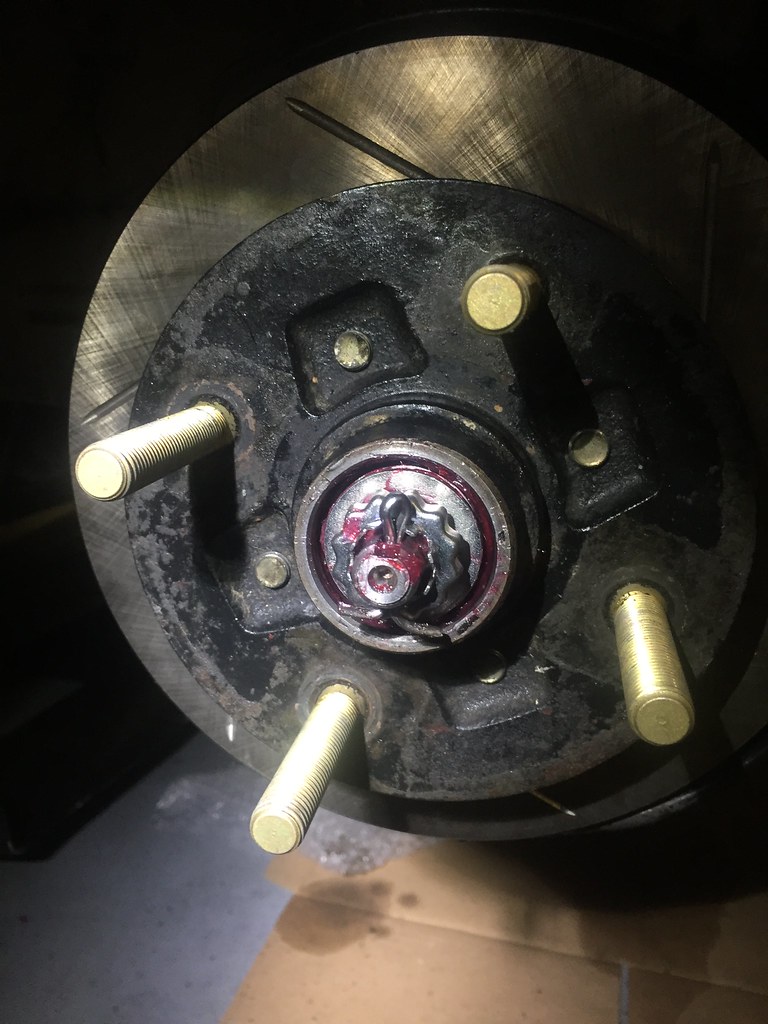
With the back side of the hub done, I had to install my extended studs and rotors. Make sure you follow that order, because if you did the rotors first, then you wouldn’t have room for the studs.
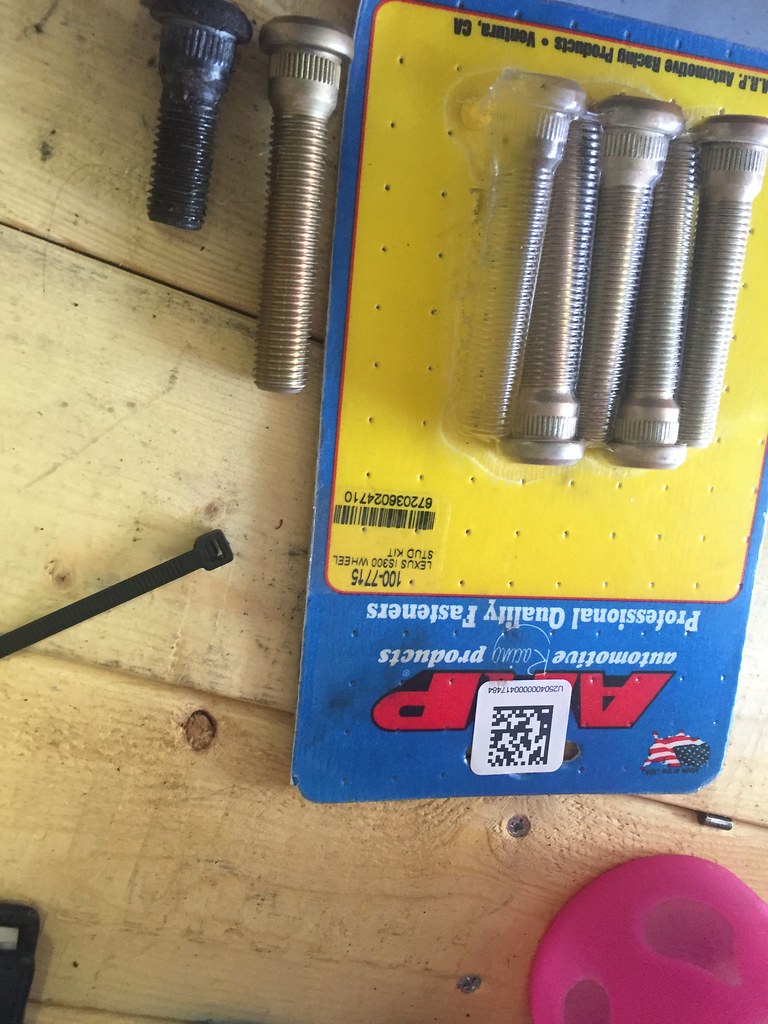
Look at the size difference from OEM and extended. I choose extended studs because its stronger, allows more more surface area for the nut, and you can run spacers safely. You don’t really need it for the street, but at the track its a must. The studs go though a lot of stress especially in the corners. You dont want to be snapping studs on a high speed sweeper.
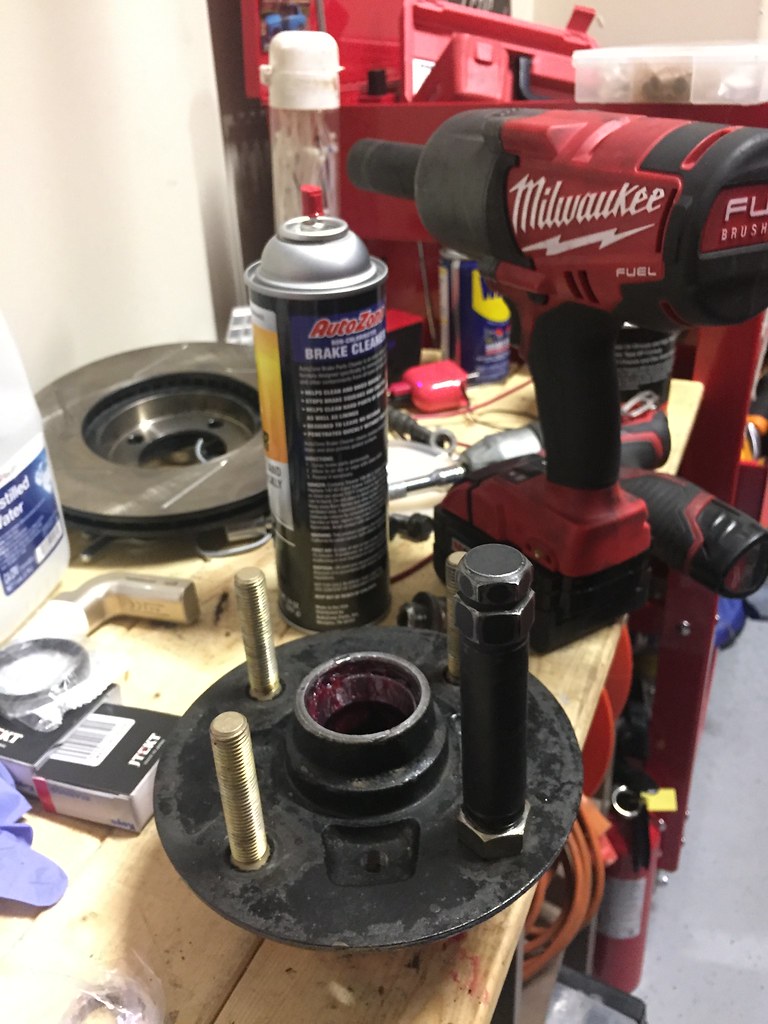
Installing the studs is really quick and easy if you have a impact gun. I used a bigger nut that I didn’t need and another nut that treaded onto the studs. Then is was just basically impacting the stud till it sit flush. If you don’t have an impact for this, then you need a press. Because just using a ratchet and trying to to get the stud to seat right is almost impossible, and tiring.
After installing the studs, you then install the rotors
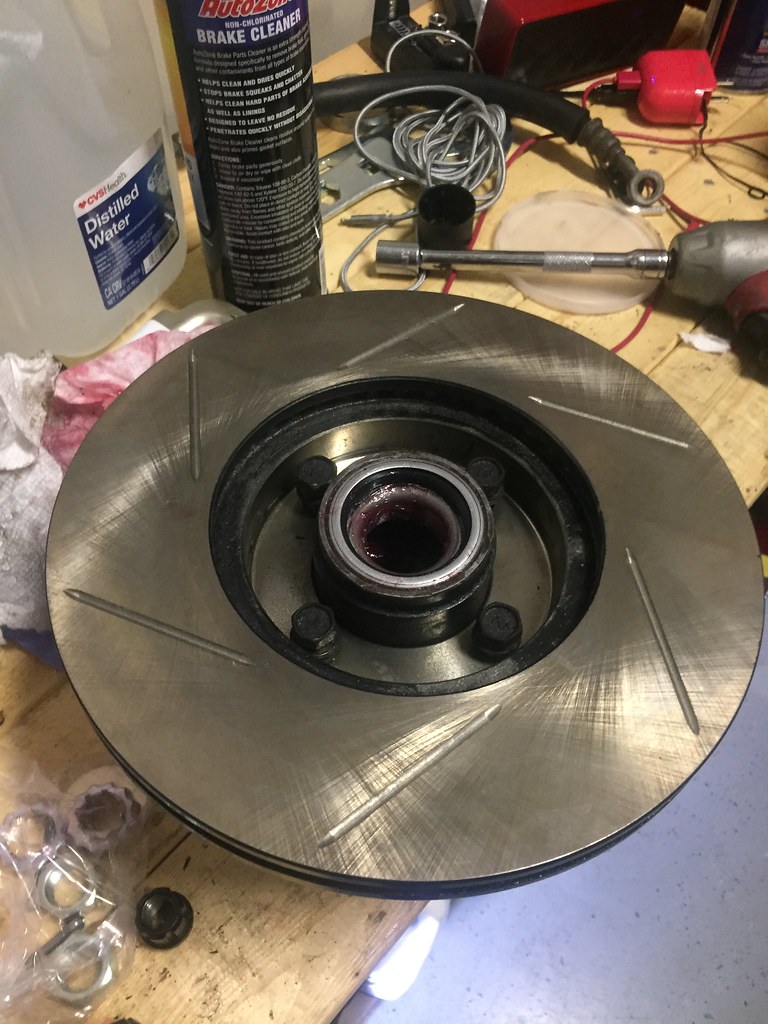
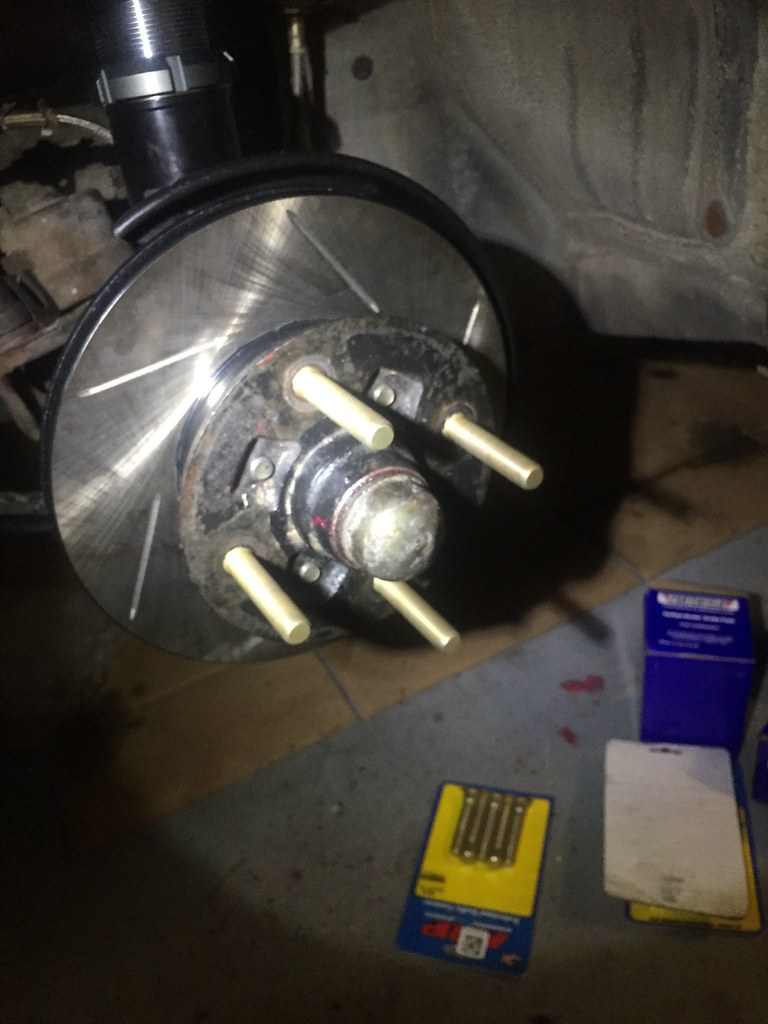
I replaced my rusty front rotors for new vented Stop Tech rotors. For vented rotors, make sure you install the rotors on the correct side. Mine came labeled on the packaging. If you are not sure here is a link: https://www.zeckhausen.com/catalog/index.php?cPath=6446_6515
 Starting to look fresh!
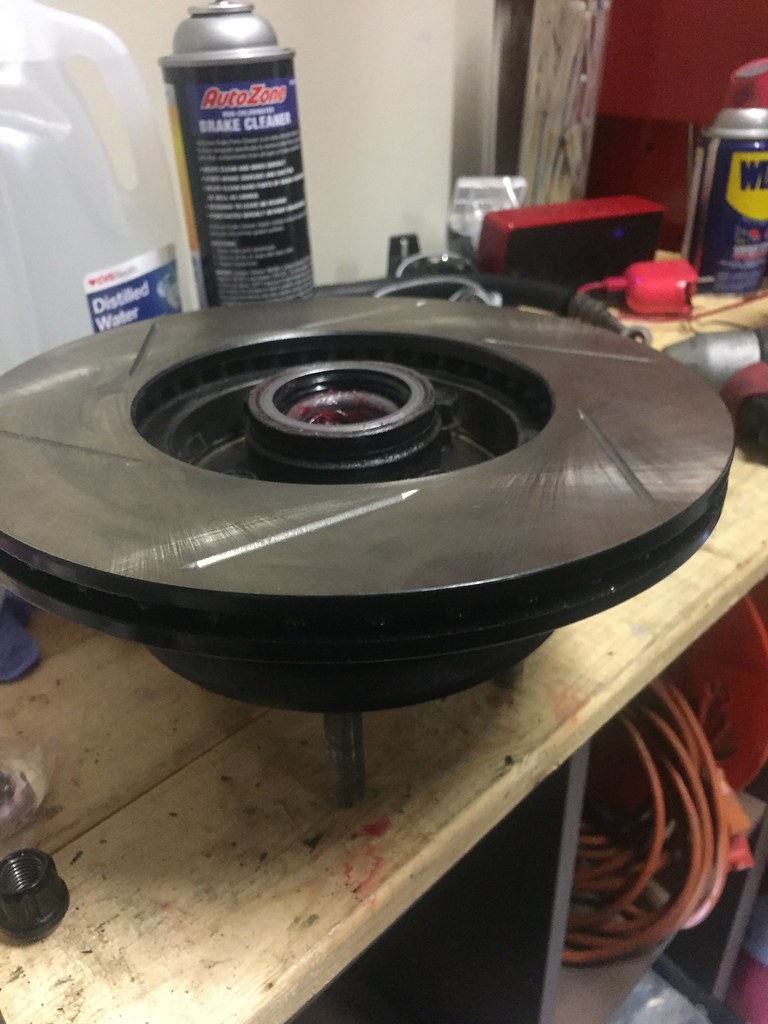
After the studs and rotors, its now time tome to finish the wheel bearings. First is to grease the spindle liberally.
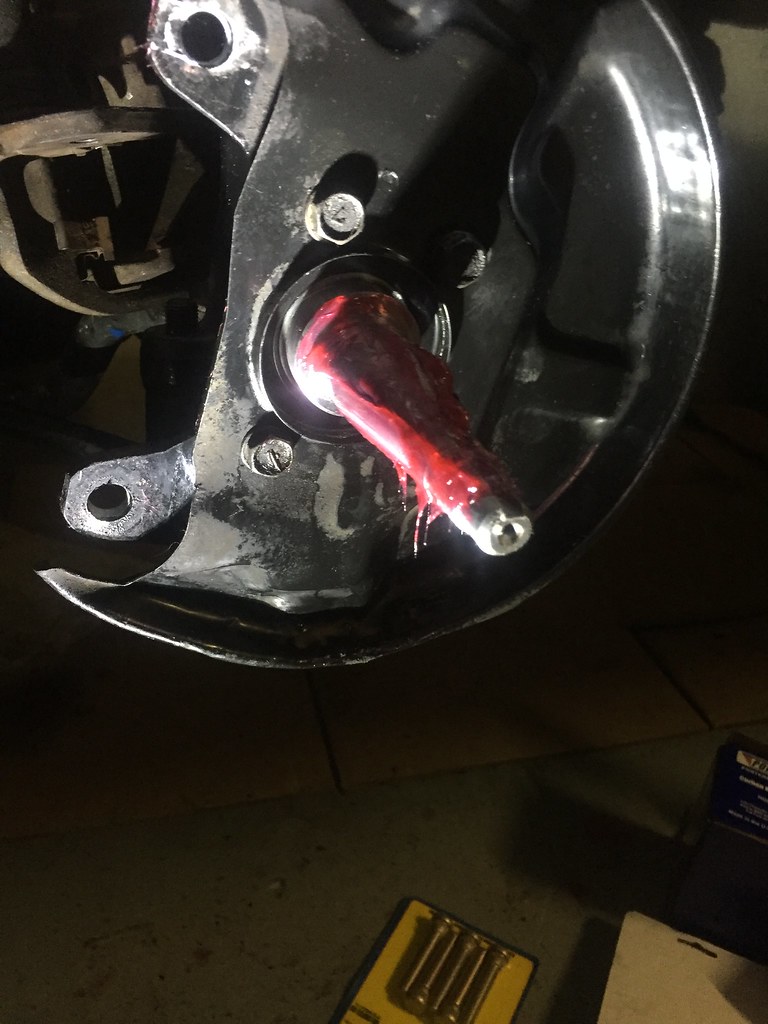
Next was to slide the hub into the spindle. Make sure you don’t get grease on the rotor during installation. But you can use brake cleaner to clean the rotor after everything is installed.
After that, you slide in the smaller wheel bearing and cover. Then you install the nut into the spindle. You torque it to 20lbs, this makes sure the bearings are seated. You then losen the nut to where the hub can spin one full turn. I usually hand tighten the nut then 1/4 turn with ratchet.
Make sure you install the locking pin!! That is was prevents the hub from flying out the spindle!!! you could use the old pin but its best to use a new locking pin after any bearing install.
Then you apply the dust cap. Just hit it with rubber hammer and it will go in. Fresh new parts!!!

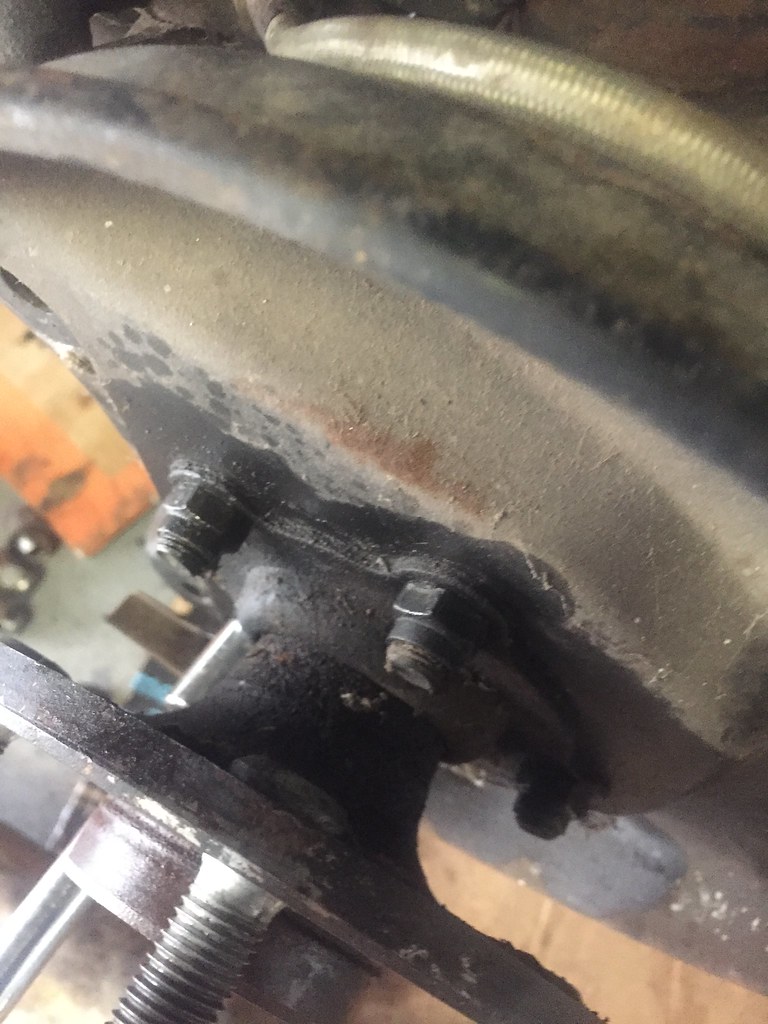
The next day I tackled the rear, and everything was just soo rusty! I even broke my cordless my ratchet trying to remove the rear caliper. Looked like the car hasn’t moved for years. There was spiderwebs and dead bugs all over the calipers and rotors. At least its GTS converted, right??
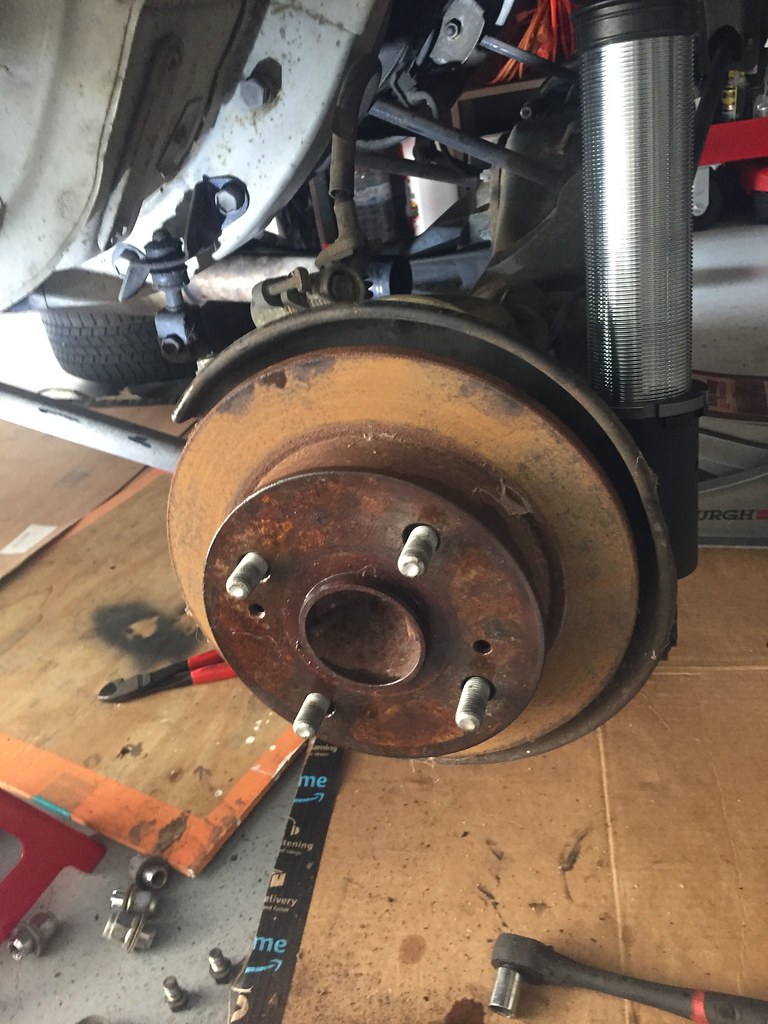
Eventually I was able to remove the rear caliper rotor with a lot of hammering, a stronger impact gun, and a lot of wd40. The rotor was rusted to the axle. Thats why you use anti seize.
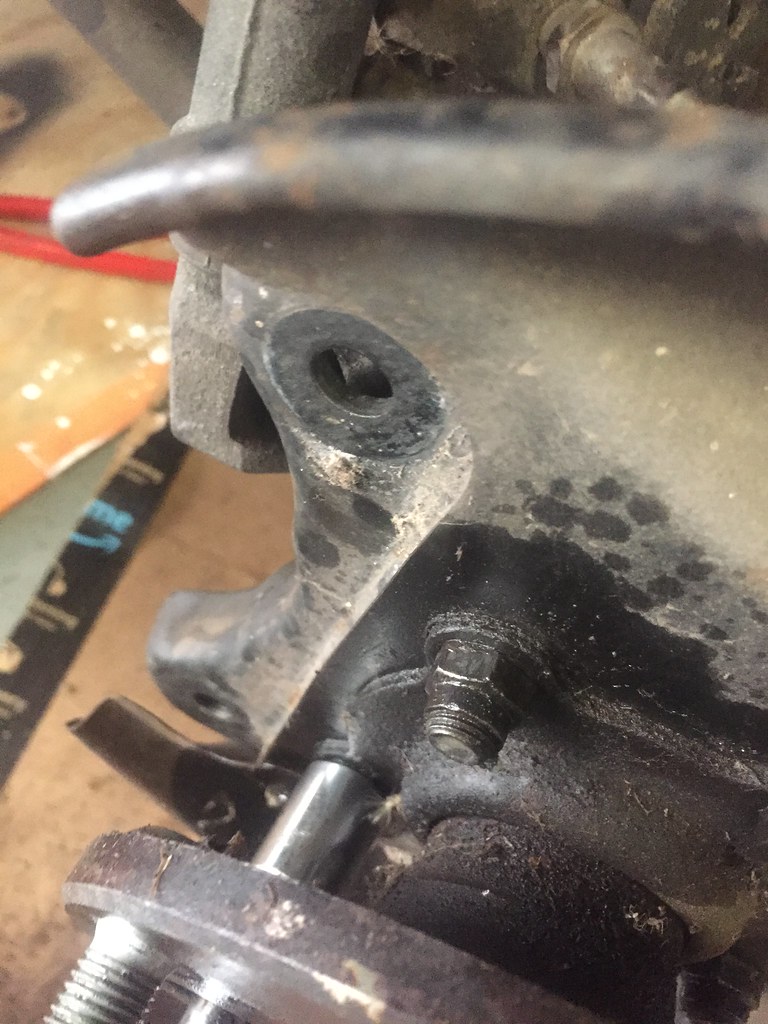
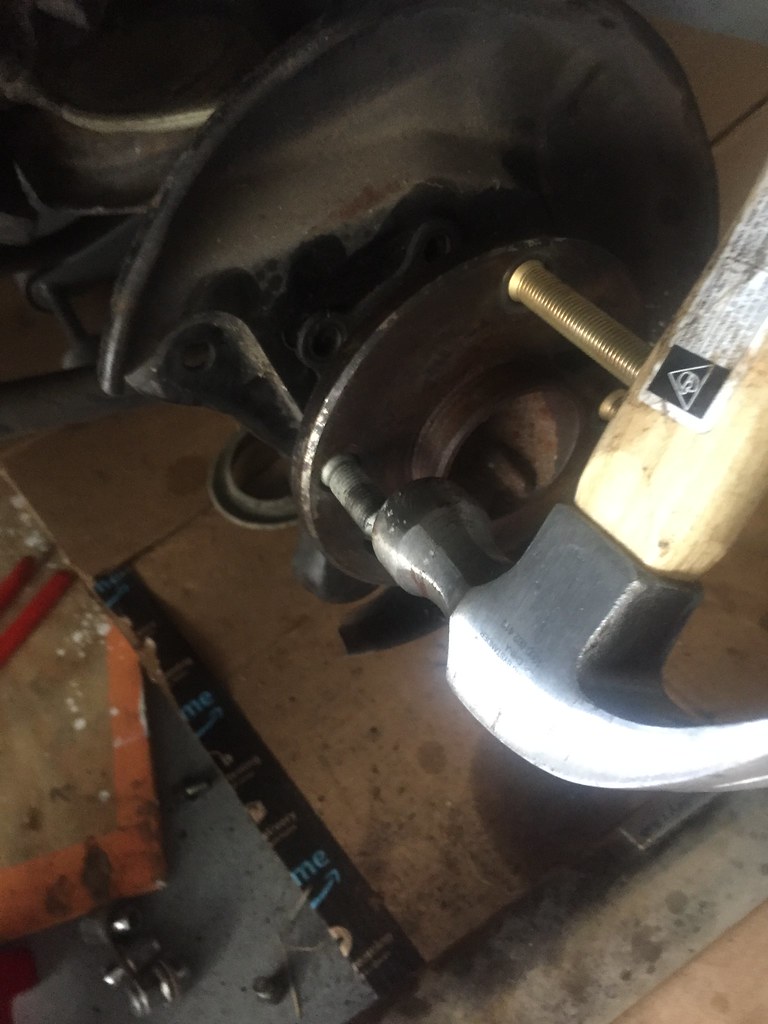
Now the issue was trying to get the extended studs into the hub. I loosened the rear bolts that the hub to the axle. This allowed more space to work with.
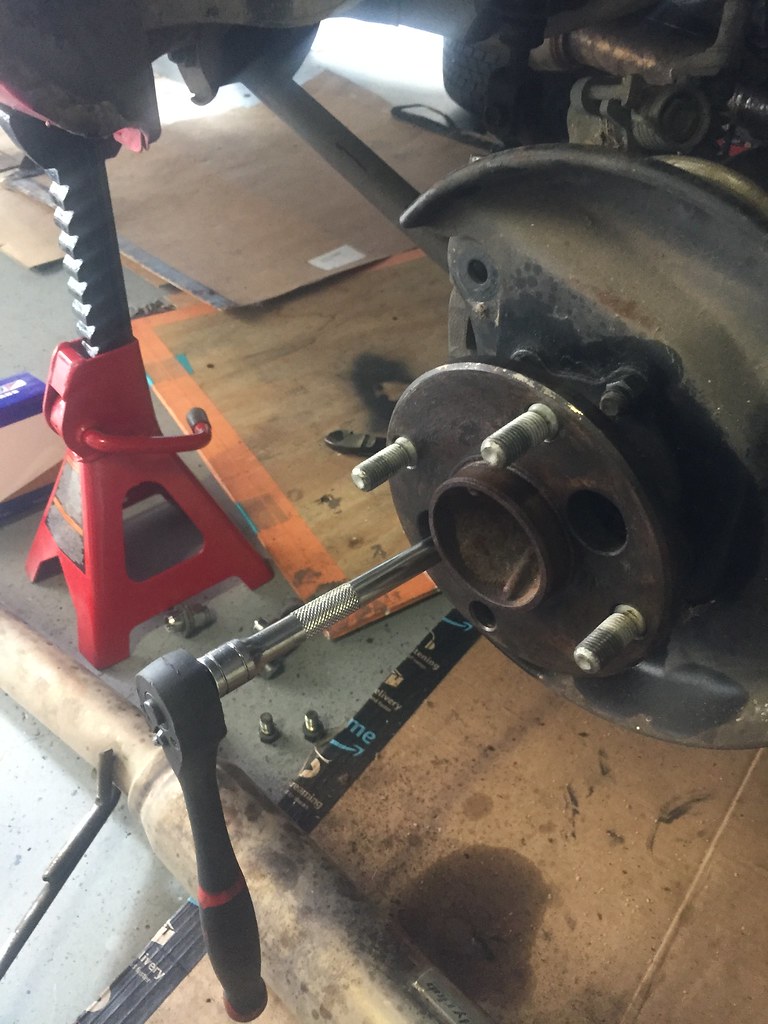
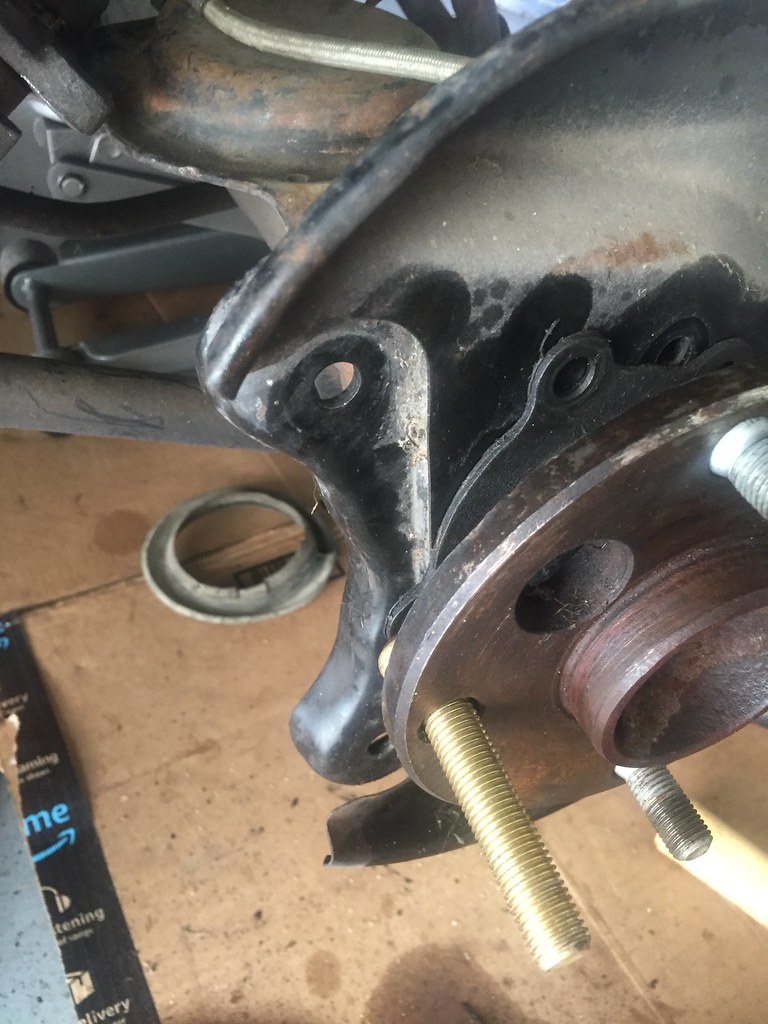
Once you loosen it, you can move the rear backing to allow more room to slide the stud in.
To remove the old studs, you hammer it out. That part was easy.
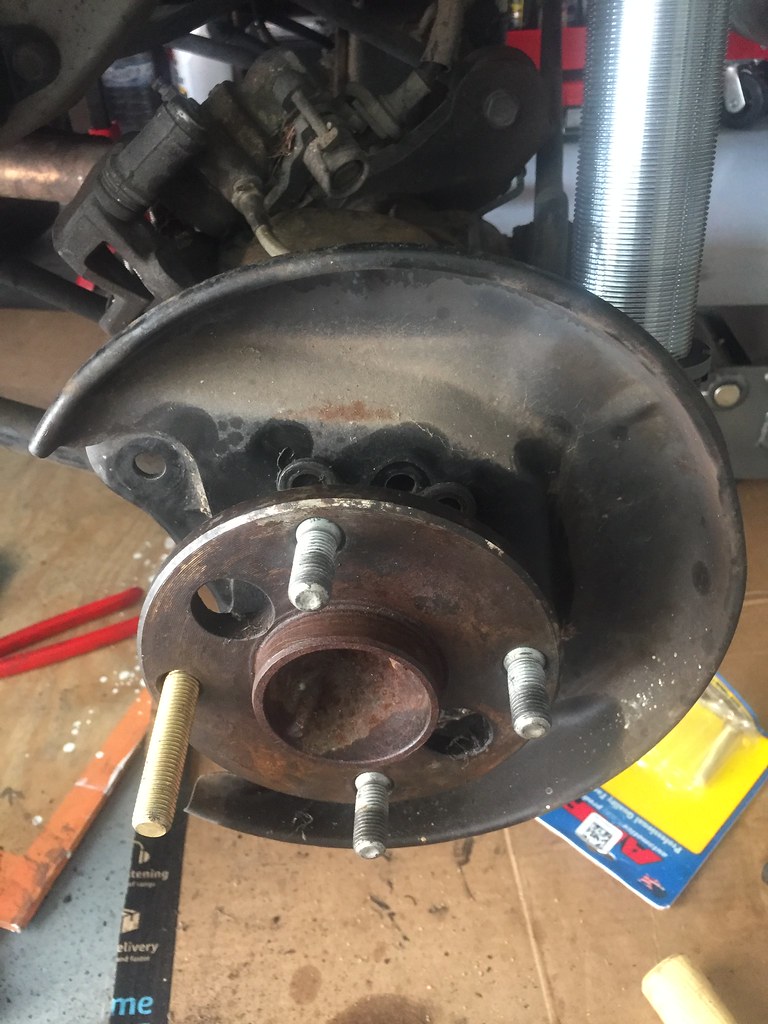
Once you slide the extended stud in, then you use the impact gun method.
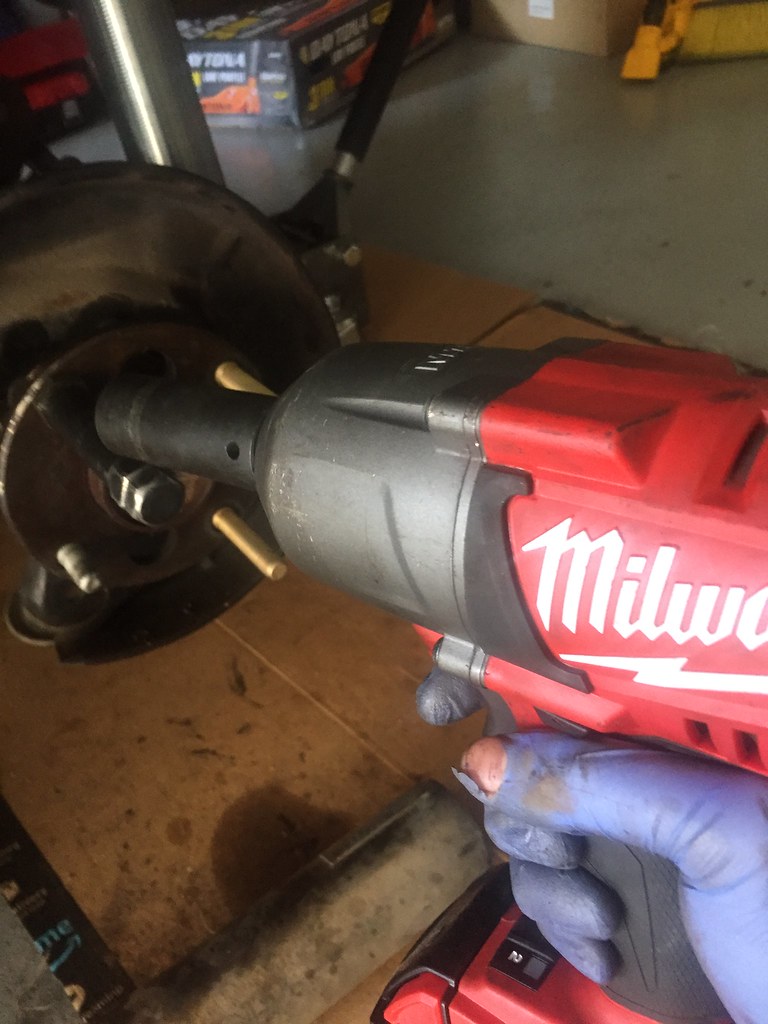
Impact tools, and cordless tools makes the job soo much easier.
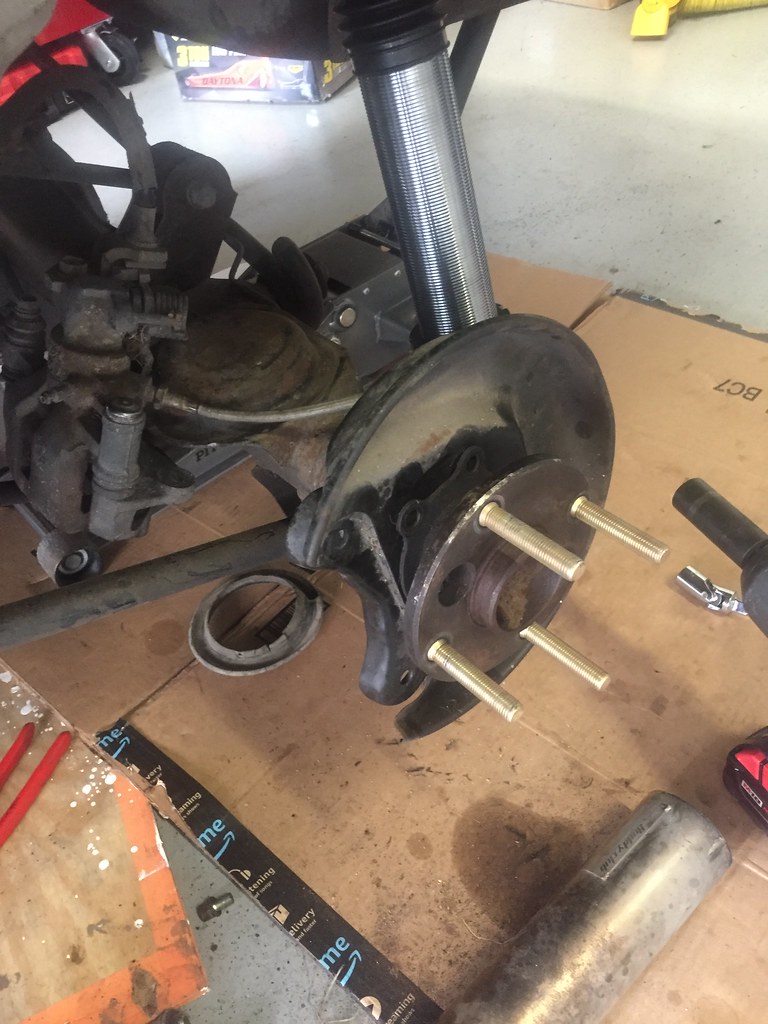
Than you reassemble everything back together!! I didn’t take pics on this part but you get the point. Oh, don’t forget to apply antiseize! After seeing the amount of rust on the bolts the hub, I didn’t want to go though that ordeal again. Joys of having a project car….. you never know what you run into sometimes.
