With a busy work week right after racing, I didn’t have a lot of spare time to work on the 86. I did make some good use of the little time I had to teardown the spare motor and get it ready for the machine shop. I am documenting that process on my YouTube channel: https://www.youtube.com/channel/UCEzkNYW0j2sywupuQ_jg85Q/featured
 //embedr.flickr.com/assets/client-code.js
I still had to pull my blown motor from the AE86 to figure out what went wrong. My hunch is the oil pump gear went out and caused a sudden drop in psi. Which caused the oil starvation and that small second in oil pressure drop caused the motor to blow.
 //embedr.flickr.com/assets/client-code.js
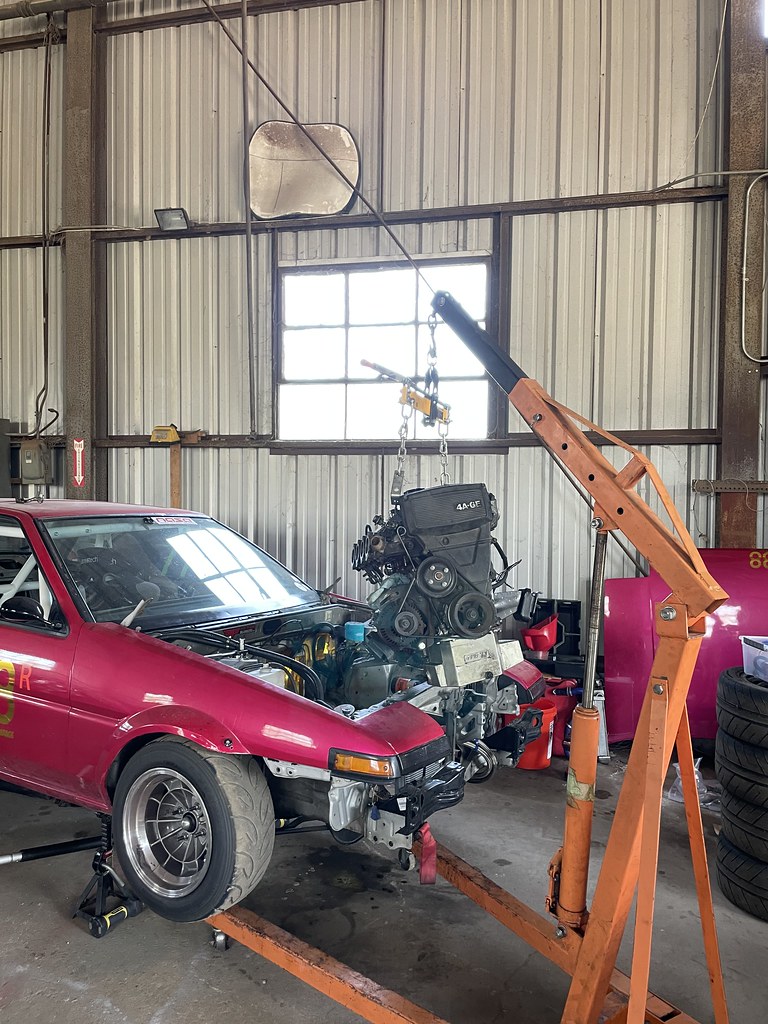
The one day I was off in the week I went to work on the AE86. I already disconnected the engine wiring, fuel lines, and all fluids drained. That day I had to hook up the engine hoist and unbolt the engine and tranny mounts. Having pulled out the 4age motor in the past, it wasn’t that hard after your first time. But I always double checked the motor wasn’t snagging on a line or wire.
 //embedr.flickr.com/assets/client-code.js
I pulled the motor with the transmission, because from the general conscesusons its a lot easier to put it back in that way then trying to stab the motor to the transmission. The transmission looked good on visual inspection and no leaks since I replaced all the transmission gaskets.
 //embedr.flickr.com/assets/client-code.js
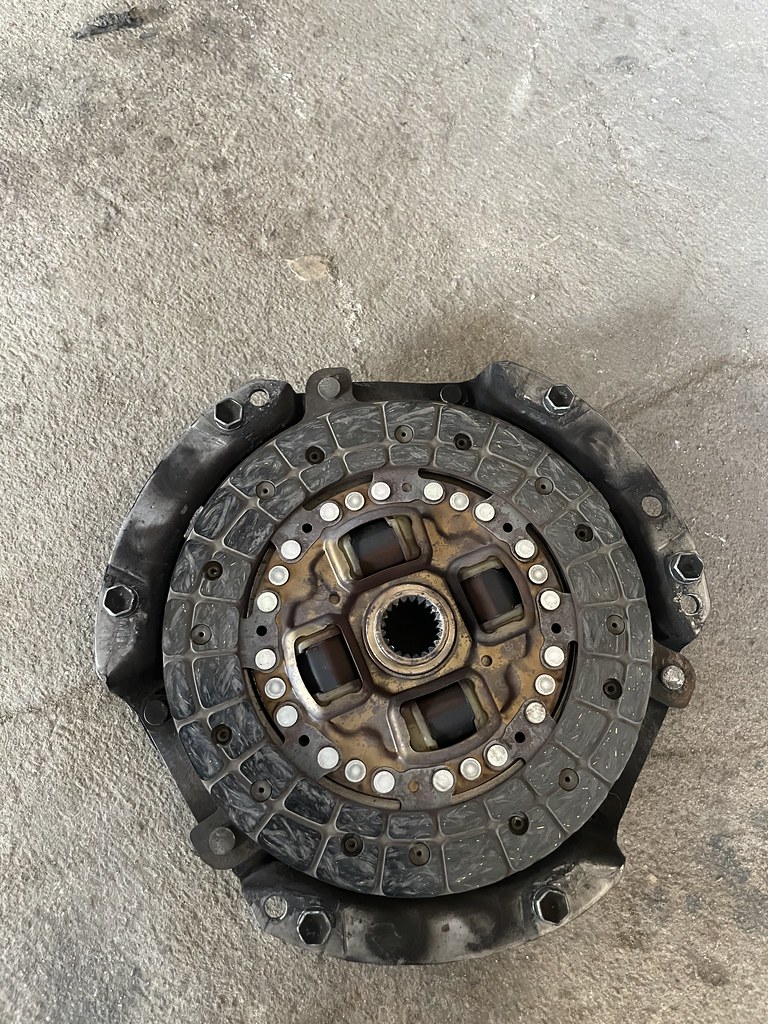
The really nice thing with the motor and transmission out is the ease of access to all the bolts. Next, I separated the tranny from the motor and making sure I take pictures of the process, so I’ll remember on how to put it back together. The clutch looked kind of thin, but will make sure with when I measure the thickness. But then again, wont hurt to replace.
 //embedr.flickr.com/assets/client-code.js
With the motor separated, I was going to go back home to get my engine stand. But thanks to track friends at the shop, they had a couple of spare stands. I borrowed one of them and since the motor was on the stand, I had some time left in the day. I continued on and disassembled the motor. Having the spare motor recently taken apart, I knew from memory what I had to do with this motor, without the manual in hand.
 //embedr.flickr.com/assets/client-code.js
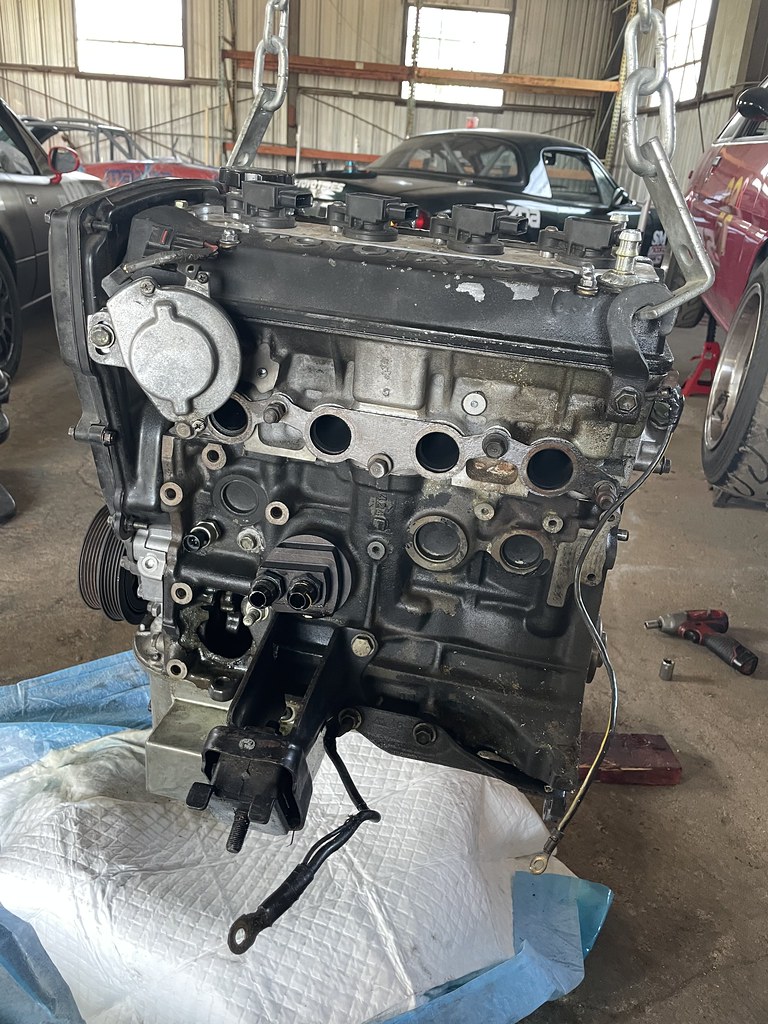
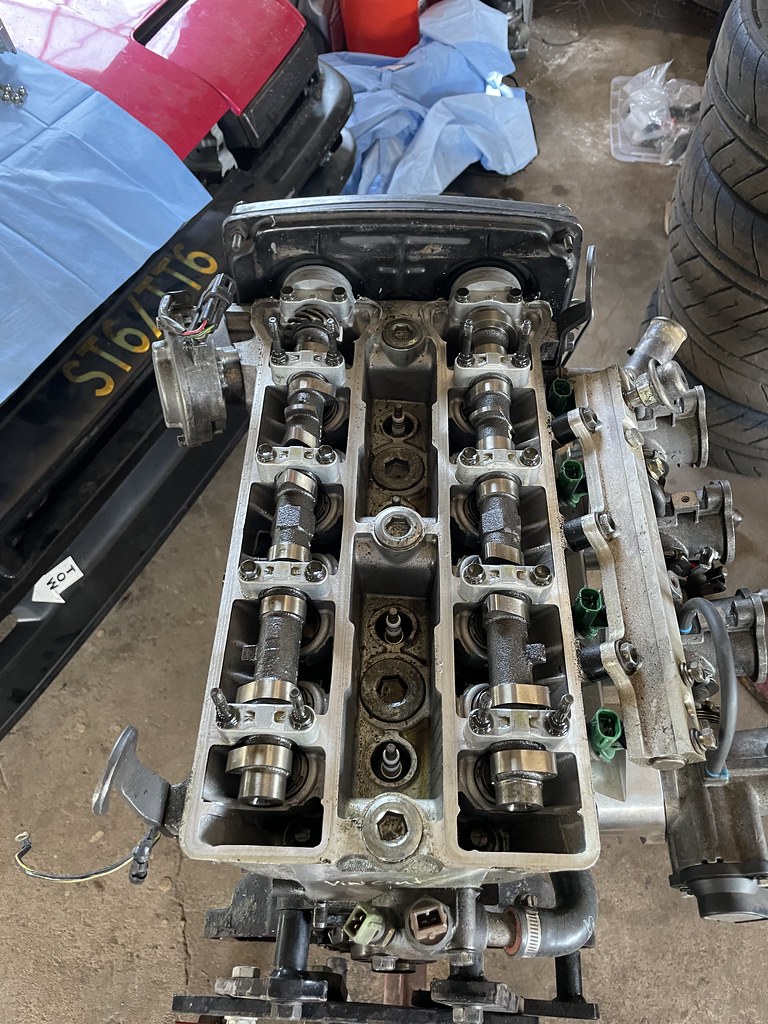
I took off the head and cylinder #1 looked visually good. The valves has some scratches from the aftermath but no cracks or gash marks. I’m hoping it will be useable but I’ll get confirmation from the machine shop. Then I continued on to the bottom end, to really see the carnage.
 //embedr.flickr.com/assets/client-code.js
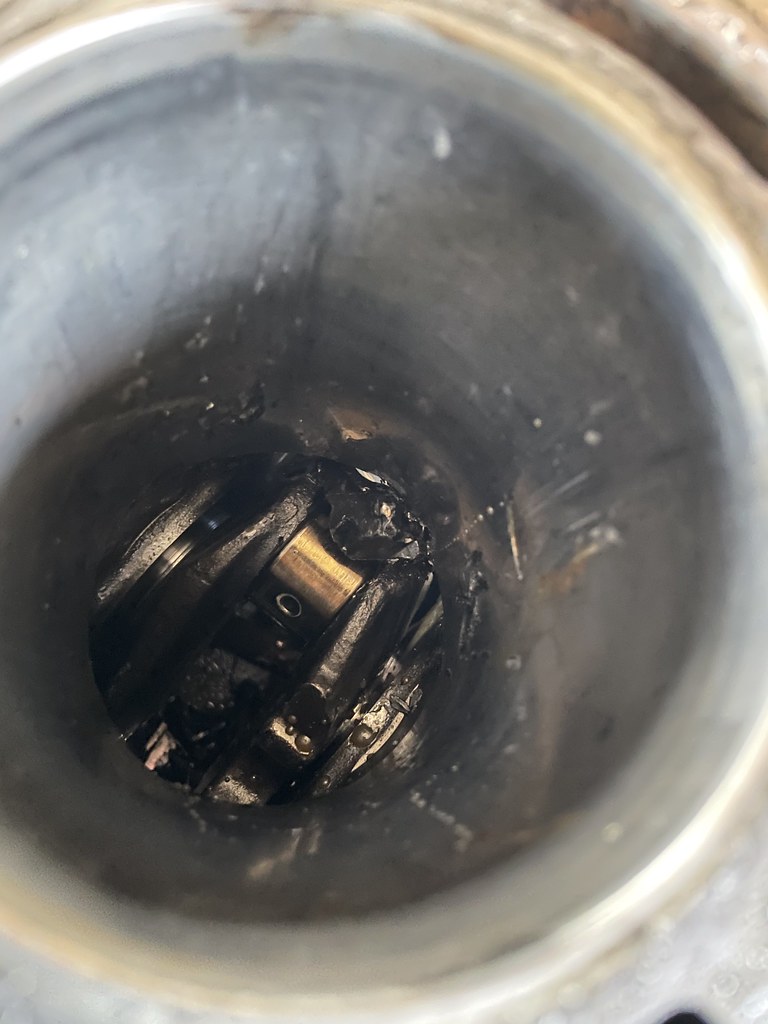
As I flipped the block you could hear all the metal chunks from the oil pan. The bearing for cylinder 1 is nowhere to be found and its not fused to the crank. Once side of the con rod part of crank is burned, which I think is a sign of excessive heat from oil starvation. The piston broke in half and the con rod is bend in a bad way. Something failed and caused a chain reaction of unfortunate events.
 //embedr.flickr.com/assets/client-code.js
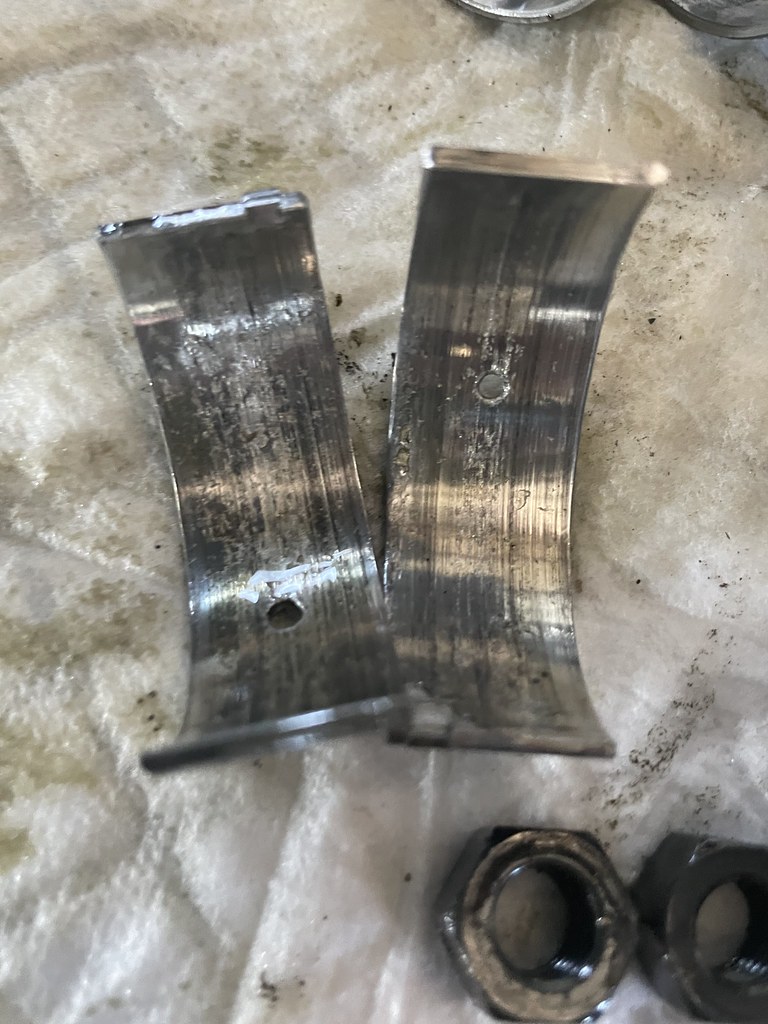
I continued on and started to removed pistons 2-4. The con rod bolts wasn’t loose, so I don’t think the con rod bolts failed that caused the motor to blow up. But the con rod bearings looked scored. Signs of poor oil lubrication meaning oil starvation. Then I continued to removed the main caps for the crankshaft. The main bearing looked new and no scoring. This tells me the lubrication was good for the main bearing but since the bearings on the con rods looked scratched up and worn out. I didn’t feel gouging though.
 //embedr.flickr.com/assets/client-code.js
The hole in the block location means its the first areas to be lubricated from the pump. This makes me think oil pump failed or the sloshing of the oil caused a slight air in the oil pick up that I had brief moment in oil loss the motor went boom. To rule out oil pump failure is to open the oil pump and check the gears. The oil pump body didnt have any damage. But to make sure I took apart the pump to see if it the gears inside are broken. Well, the gears in the pump are not broken and its the updated toyota gears too.
 //embedr.flickr.com/assets/client-code.js
This tells me the pump is functioning properly and with no other damage. The conclusion: motor blew up because of higher cornering Gs, which caused the oil to slouch one side creating a air pocket for the oil pick up. This caused a drop in oil pressure soo low the protective film of oil was gone. The metal to metal contact made the rod bearing fail, and that failure caused a chain reaction which ultimately lead to demise of the motor.
 //embedr.flickr.com/assets/client-code.js
Things to learn from this is even with proper baffle pan and up pressure spring, you still get oil starvation. Having a gripper tire increases that chance. Upgrading the oil system is a must for any track car. For the next build I will add an accusump, and have additional oil drains from the head. The accusump will provided additional oil if it senses a dip in oil pressure. Adding an extra drain from the head will allow oil to drain quicker down to the pan.
 //embedr.flickr.com/assets/client-code.js
I do hope these measures will make my motor last more then 1.5yrs of track use. But if my 2nd motor fails then I’m going dry sump.
 //embedr.flickr.com/assets/client-code.js
Stay tuned.
