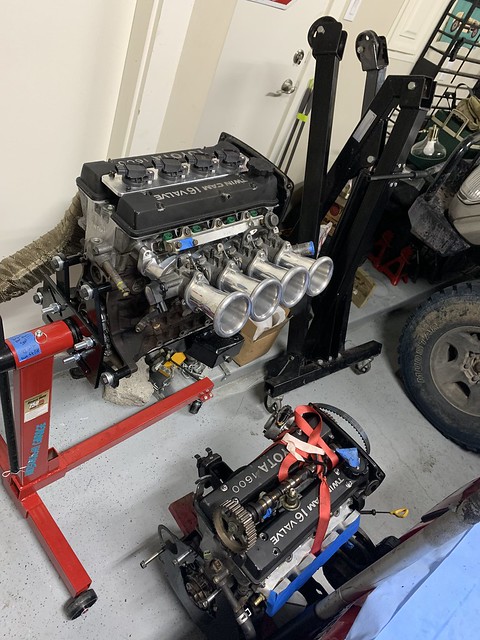
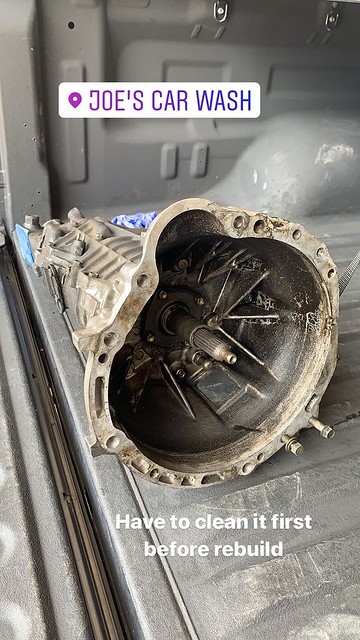
My 4age motor sealed up and 90% done, I was waiting on some few gaskets and miscellaneous hoses for the cooling system. I figured now would be a good time to work on the transmission. I didn’t have any issues with the transmission shifting or getting into gear, but it looked very dirty and was leaking oil on both ends of the transmission.
This meant the gaskets were bad and needed to be resealed. This is a common problem with old cars. Since they are old, a lot of the factory seal and gaskets gets worn out. Thankfully, the parts isn’t too expensive and I don’t have to do it again for many years to come. While the transmission is out, I might as well do it.

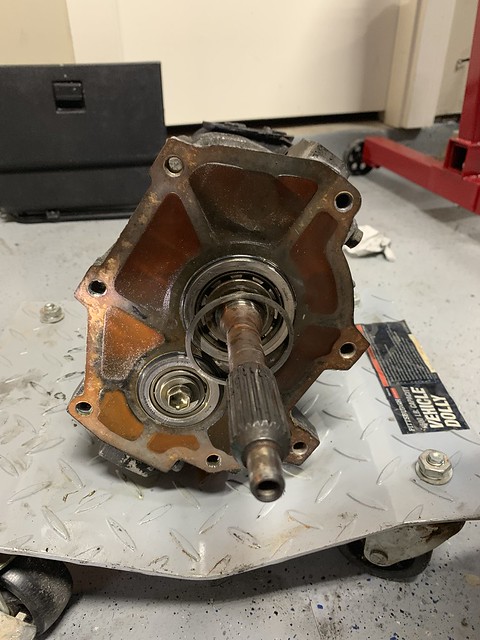
First thing I did was clean the transmission. I can tell the leak has been going on for some time with the amount of junk coating the transmission. It wasn’t 100% clean but its good enough for me to work on.
I like to make sure the parts are decently clean because its less messy, and you’ll be able to see if there are surface damage.
I was able to find the manual for the transmission:
http://www.aeu86.org/forum/Thread-Manuals. I downloaded it online and saved to my hard drive. You never know when the website might go down, and its good to have a back up.

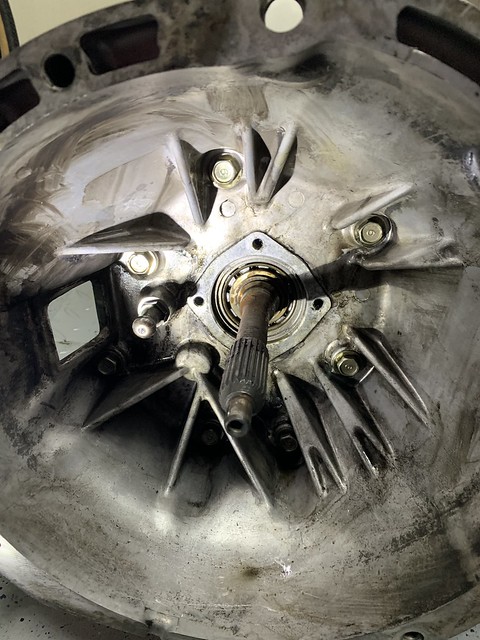
I next removed the front bell housing, and that was pretty easy. Remove the bolts and tap with a rubber hammer. The more difficult part was removing the rear extension housing. The manual states to remove the rear speedo gear but doesn’t specify how to. Searching the online forums and youtube, they didnt provide any helpfull information.

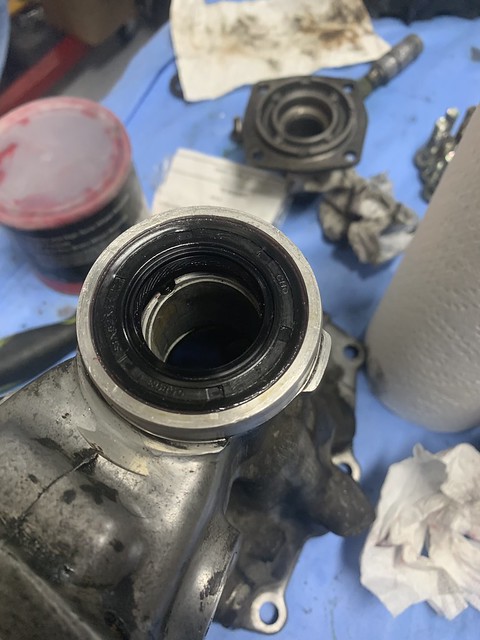
I took out the bolt and locking plate for the speedo gear. With lots of PD blaster and constant wiggling of the speedo gear with pliers, I was able to get it off.
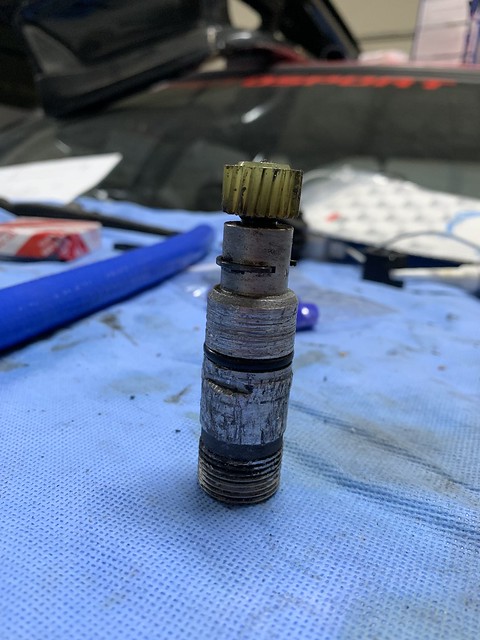
Trying to pull out the speedo gear was really hard. As you can tell it took me awhile before I was about to remove it. I know the speedo gear, you pull it out but mine was a bit stubborn. I guess thats just the issue with the old cars now. Probably hasn’t been removed since the factory.

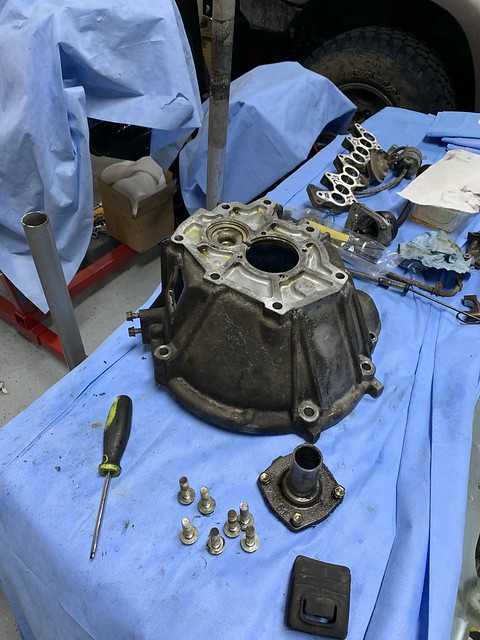
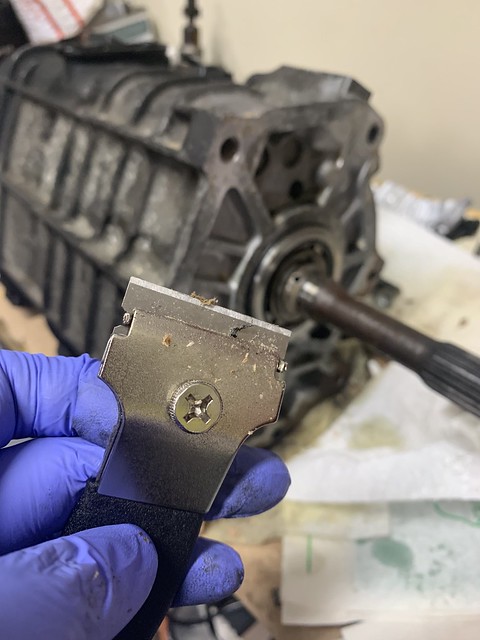
I started to clean the inside, and remove the old gasket. Brake cleaner, brushes and a razor blade made the job easy.
Next was replacing the seals and gaskets.

Ideally you want to get OEM, or a reputable aftermarket brand. You don’t to go back and redo to the job.
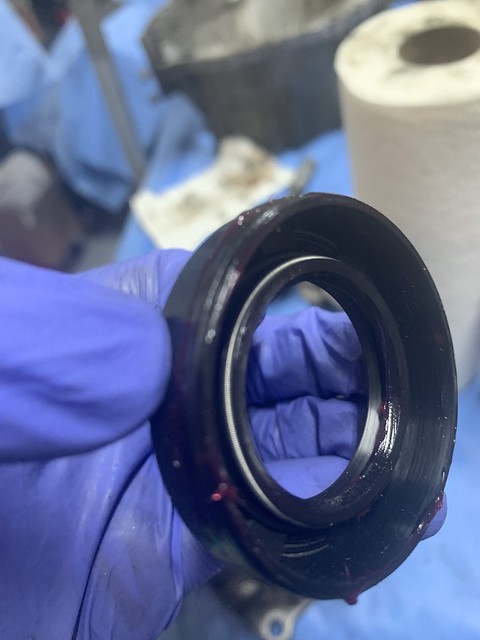
Apply grease to all the rubber seals. This makes pressing in the seals easier and prolongs the life the rubber from cracking.
Good as new.

The manual states to apply liquid sealant between the gaskets. I first aligned the gasket and test fitted the front and rear housing. This made sure I wasnt going to run into problems. Putting on liquid sealant is a timed process and if you wait too long the sealant will set before you have time to place the gasket and housing. If that happens, remove the liquid sealant and start over again.


Torque all the bolts to spec


I checked if I was able to shift all the gears and spin the gears smoothly. No issues.

Finally, its all done. I’m taking this build one step at a time and slowly completing the puzzle piece. Im learning a lot with the build and yeah I made some mistakes in the process but at least I know what to do next time. Next on the list is the cooling. Stay tuned.
