
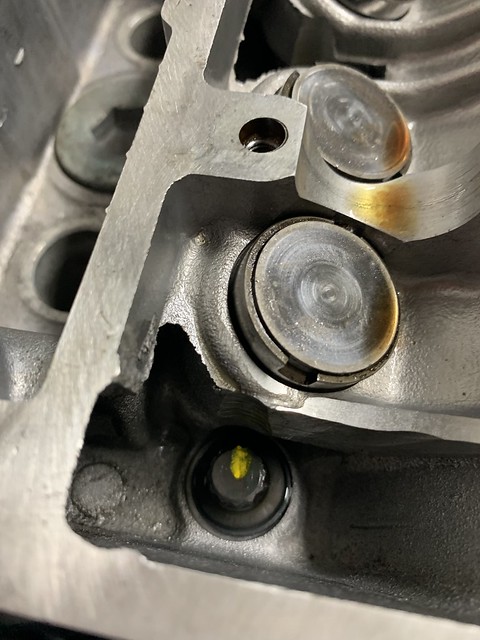
After finishing up the short block assembly. The next step was to install the cylndar head. The head was resurfaced, cleaned, and received new valve seals, and springs. Nothing to crazy here, just something for reliability.

First step is putting the head gasket correctly. You can get it backwards but you can tell because the holes for the cooling passages wont exactly line up.

Then you place the head onto of the block. There are dowel pins to align the head to the block. I also prepped all the parts for assembly. One thing noting, is the cylinder head bolts are diffent lengths. The intake side are shorter then the exhaust side bolts.
When tightening any bolts there is sequence to do it. Basically you start in the middle and work your way out. I tighten in several pass, till I torqued it to spec. Then I marked the bolts because you have to turn the bolts on two 90 degree passes. 
These bolts are yield to torque. Meaning, you first tourque the bolts, then you turn the bolts more which stretches the bolt. These are one time use bolts, if you take the bolts out then you have to replace them, since they have been stretched. Some people don’t do it but it is recommended. You’ll might have problems with the head sealing onto the motor properly.
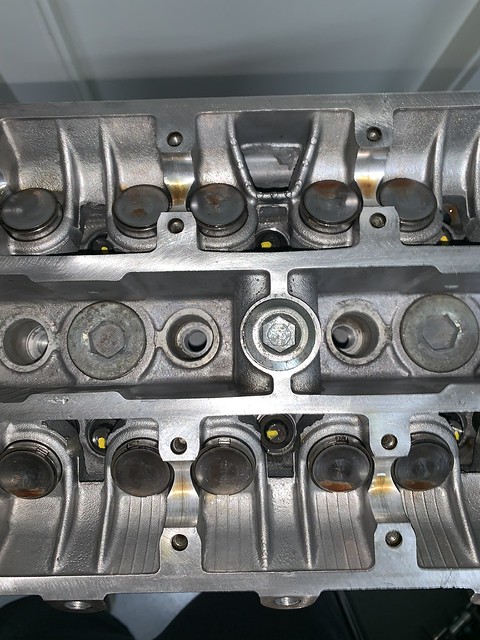
The next step was installing the cam gears. I didn’t take pictures there but it wasnt too hard. You want to make sure the knock pins on the camshafts are aligned correctly. The caps for the camshafts have a specific location on the head. They are labeled and the manual tells you where to put it. Next is properly tightening the bolts in the correct sequence.
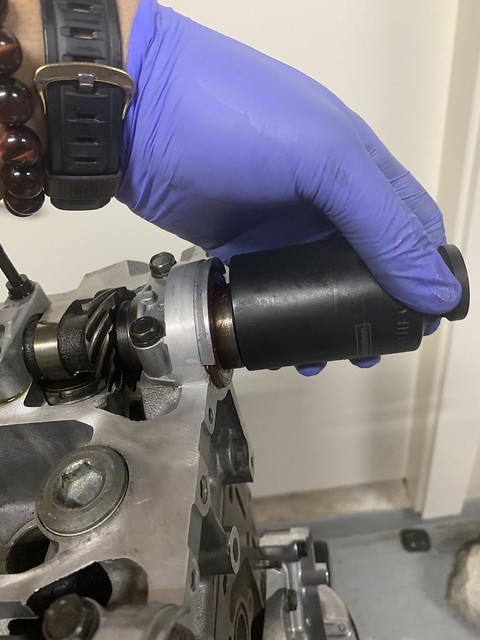
Putting in the cam seals. I used a big socket and tapped the seal in. Grease also made the job easier.
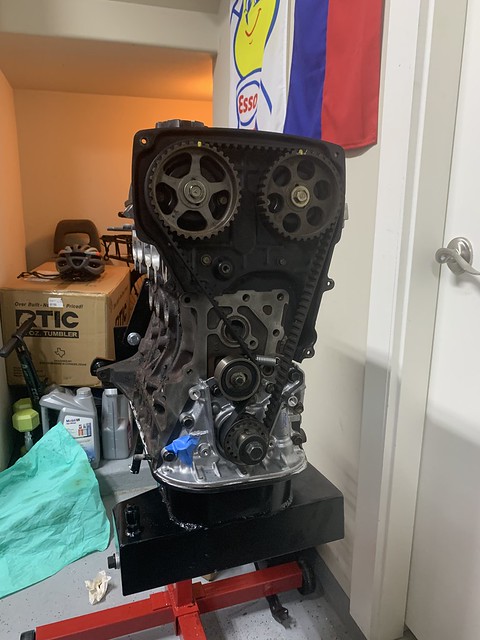
Then you install the cam gears and timing plate cover. Starting to look like a motor!!! The motor is almost done, and will be working on the cooling system soon.

Stay tuned!!!
